Adding a header and footer in Canva is easy! Just follow these simple steps:
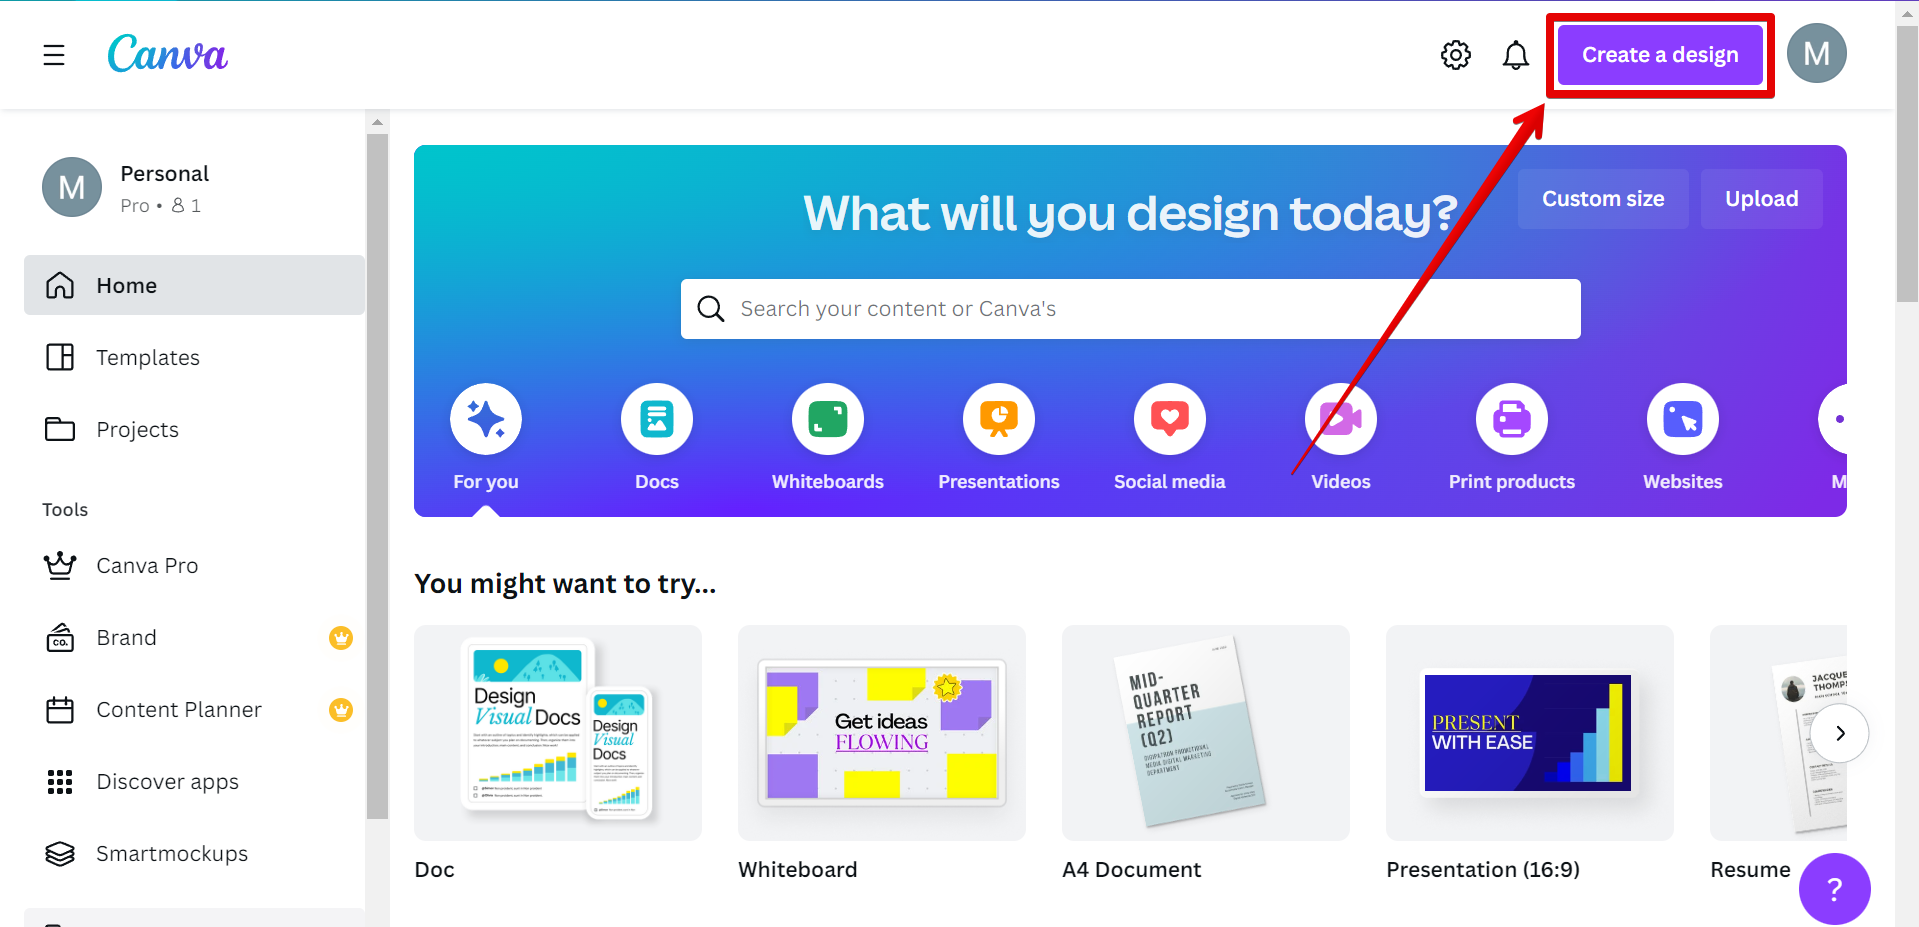
1. Open Canva and sign in or create an account. Then, click on the “Create a design” button.
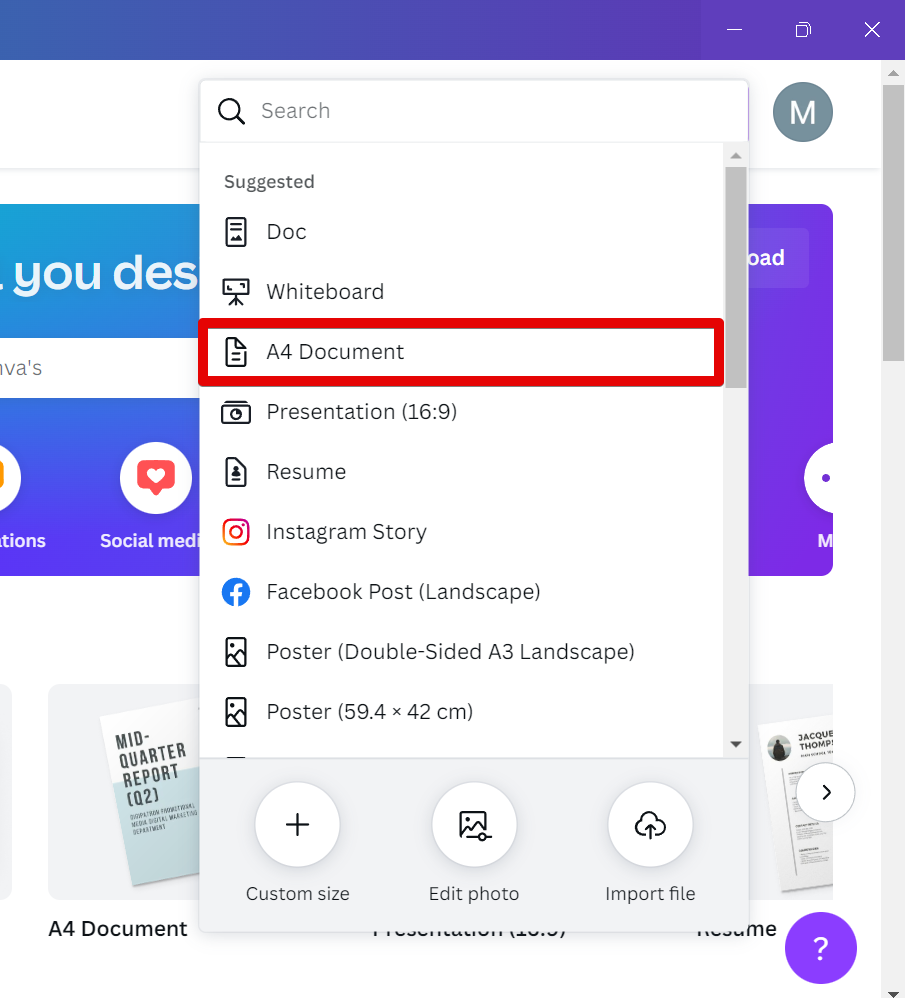
2. Choose the template that you want to use for your design.
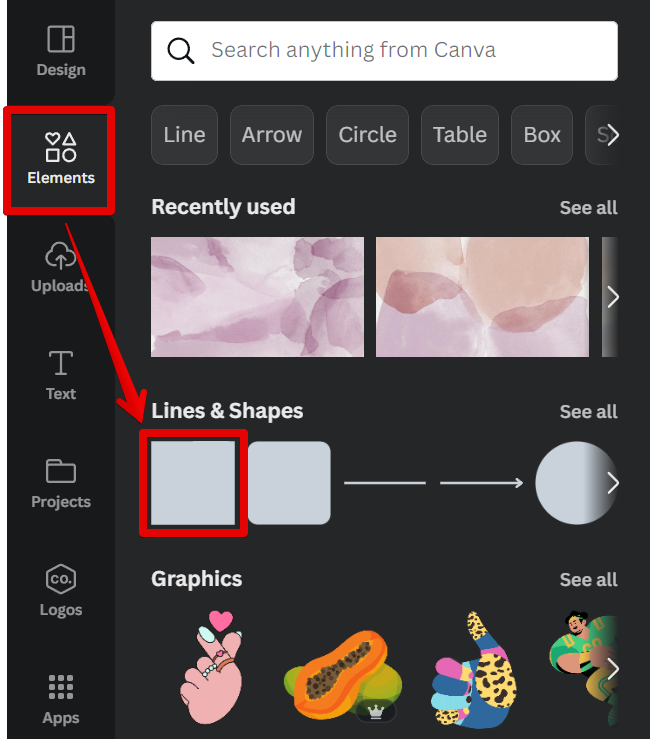
3. We will first create the header of our document. To do this, select elements that you want to add to your header. In this case, we will add a square element that will serve as the background of our header.
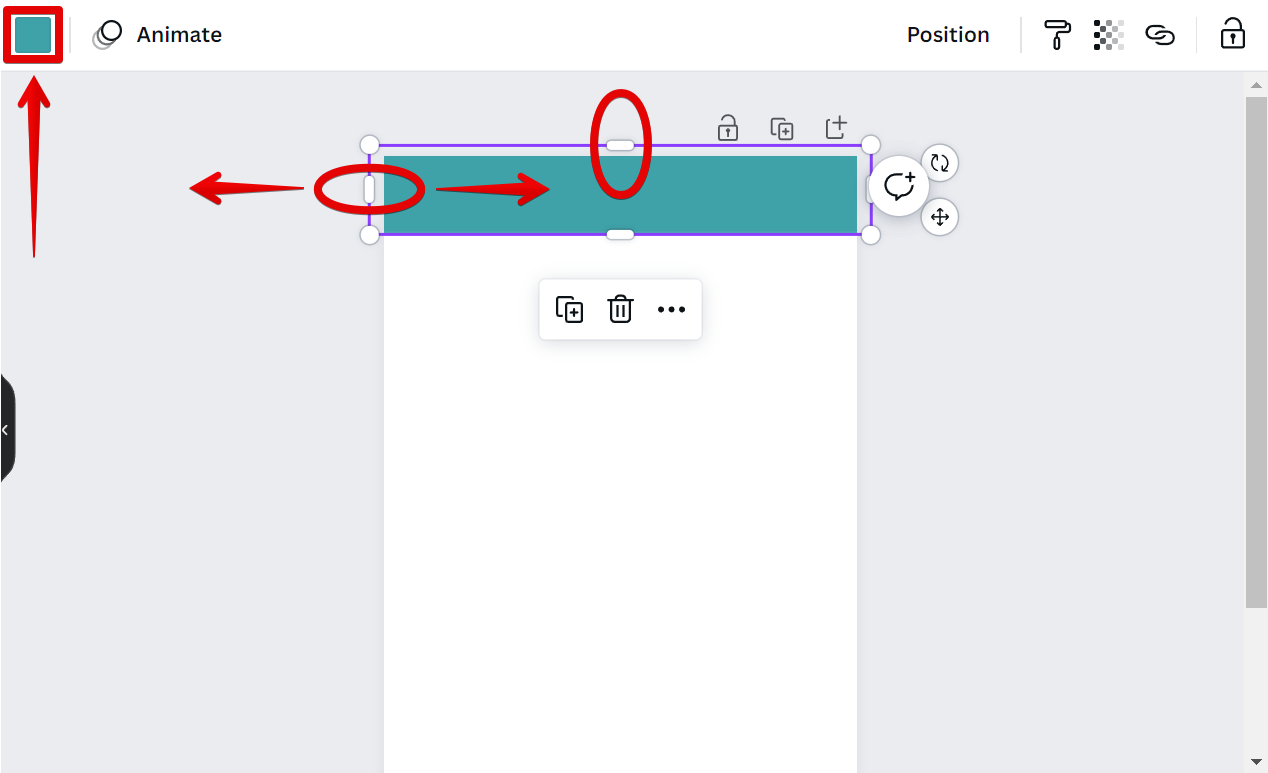
4. From there, resize your element by clicking and dragging on the pill handles. You can also add color to your element using the “Color” button at the top-left corner.
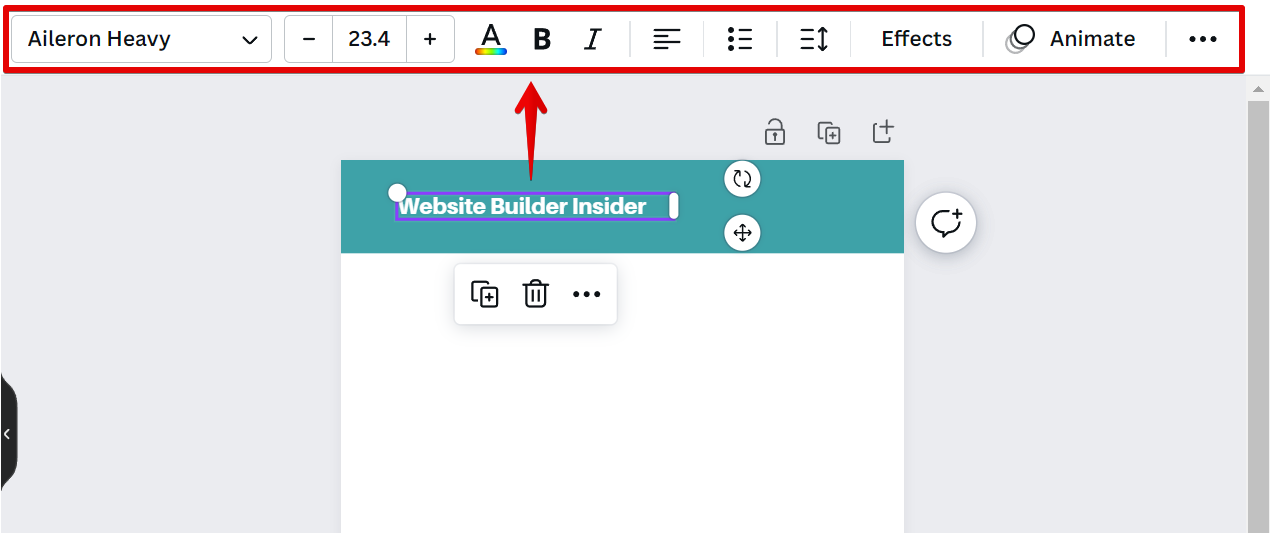
5. You can also add text to your header. To do this, in the design editor, select the “Text” tab and click on the “Add a text box” button, then type in your header text.

6. Use the “Text” toolbar settings at the top to style your text as desired.
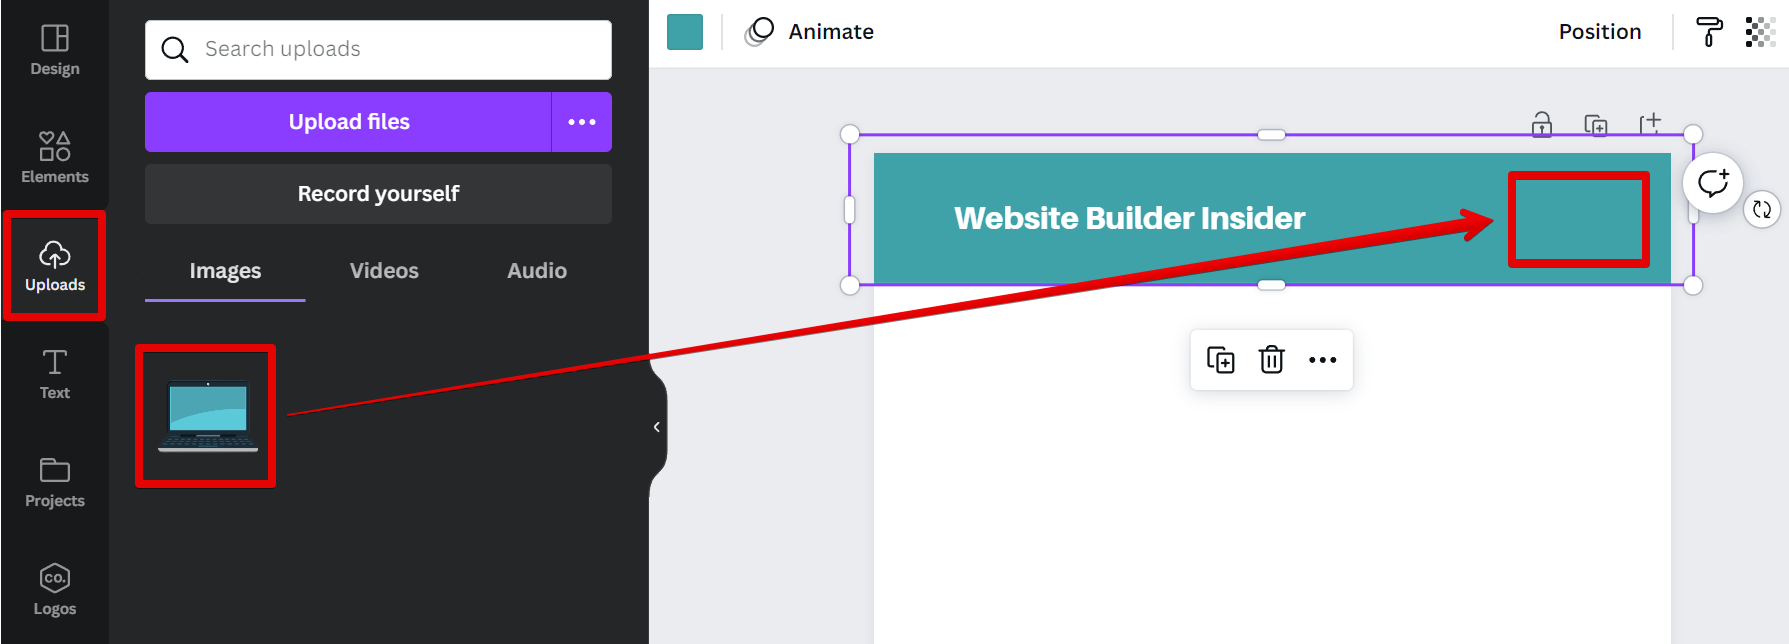
7. Images from your files can also be added to your header using the “Uploads” tab. Just click and drag the image to your canvas and place it in your header.
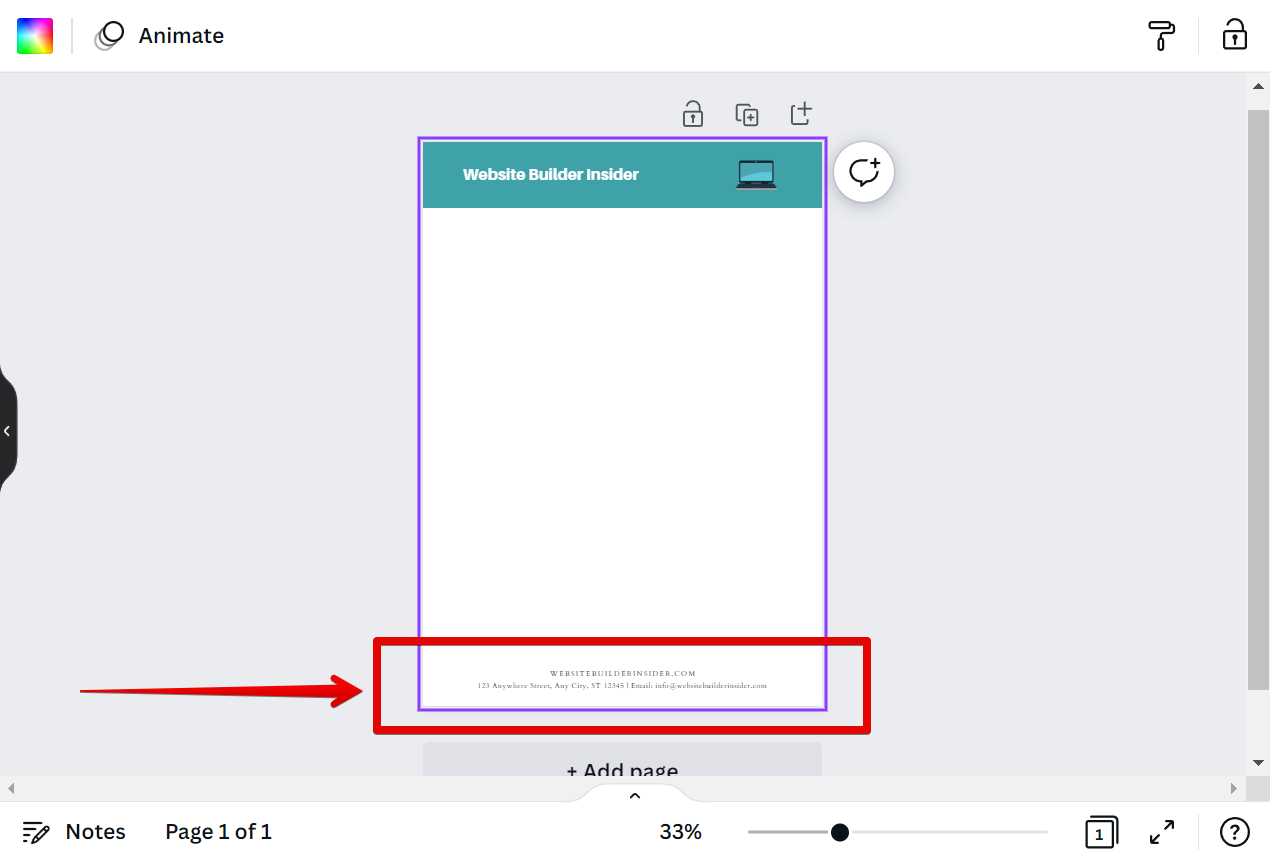
8. Repeat the same procedures with your footer to design it to your preference.
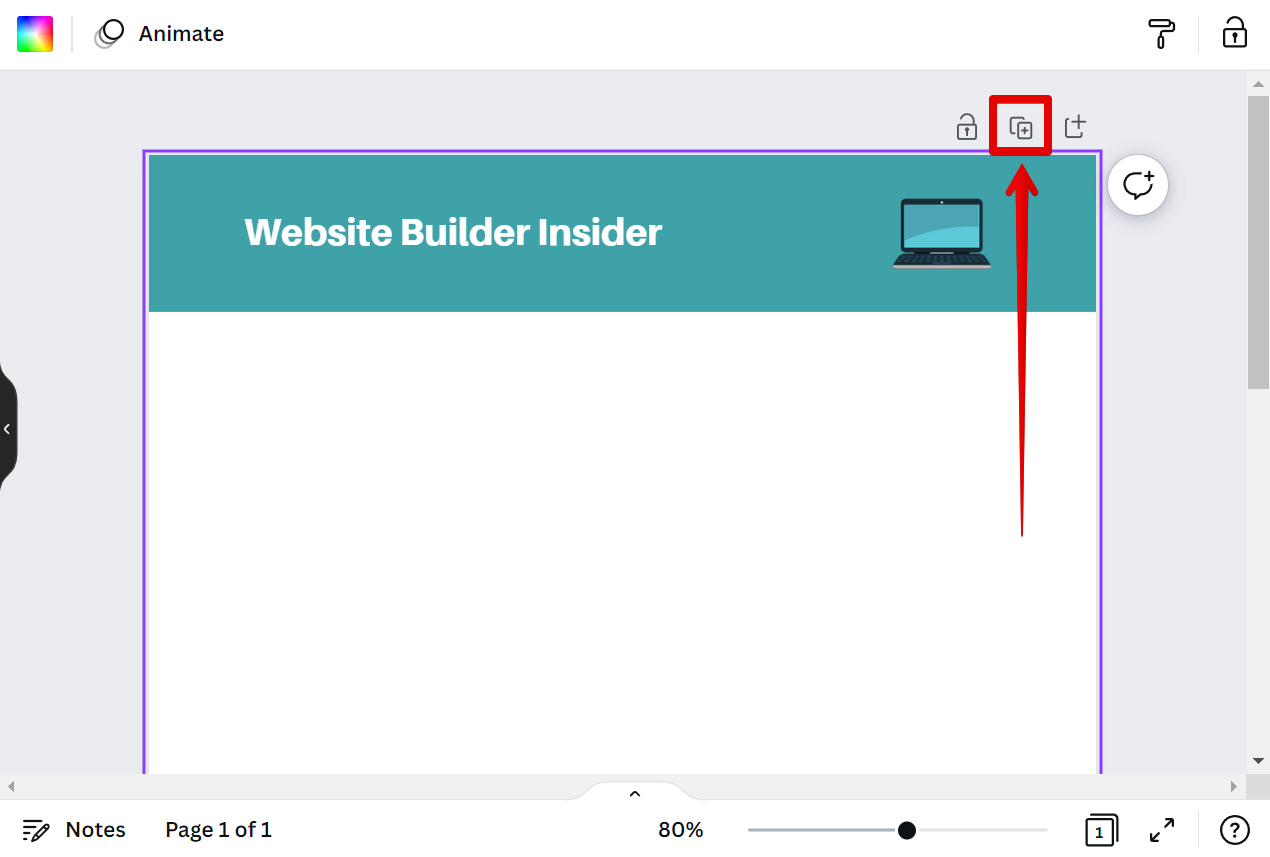
9. Once done, click on the “Duplicate page” button to create duplicates of the page with the header and footer you added.
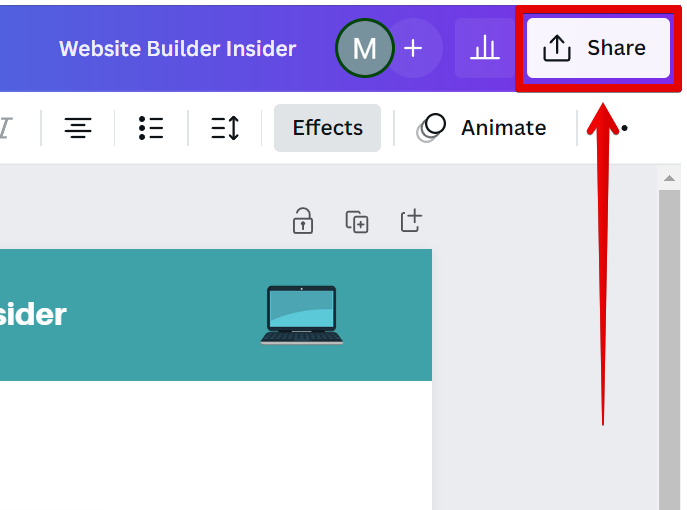
10. When you’re happy with the results, click on the “Share” button to save and download your design.
PRO TIP: If you are not familiar with Canva, we recommend that you ask someone for help before attempting to add a header and footer. Otherwise, you may end up with an incorrect or misaligned design.
That’s all there is to it! With Canva, you can easily add headers and footers to your designs, and style them however you like. So why not give it a try today?
10 Related Question Answers Found
There are a few different ways that you can add a footer in Canva. One way is to simply add a text box to your design and type in your desired text. You can also use Canva’s built-in shapes to create a footer, or even upload your own image to use as a footer.
There are a few different ways that you can add a header in Canva. One way is to use the text tool and simply type out your header. You can also use the shapes tool to create a custom header.
Adding stickers to Canva is easy! Just follow these simple steps:
Open the Sticker library from the left-hand panel. Choose the sticker you want to add to your design.
Adding a sticker to Canva is easy! Just follow these simple steps:
1. Open the Canva editor and select the design you want to add a sticker to
2.
As someone who works with a lot of digital content, I often find myself in need of a quick and easy way to create checklists. Canva is a great tool for this, as it offers a wide variety of templates that can be customized to fit my needs. Here’s how you can add a checklist in Canva:
First, log in to your Canva account and click on the “Create a design” button.
Email headers are a great way to add a personal touch to your messages. Canva makes it easy to add email headers to your messages with our easy-to-use email header maker. To add an email header in Canva:
1.
When you’re raising money for your startup, one of the most important tools in your arsenal is your pitch deck. This is a presentation that tells potential investors everything they need to know about your company, and it’s your chance to make a good impression and secure the funding you need. Canva is a great way to create a professional pitch deck quickly and easily, without spending a lot of money on a designer.
As a design platform, Canva offers users a wide range of features and capabilities to create stunning visuals. One such feature is the ability to add headers to their designs. Headers are a great way to add visual interest and impact to your designs, and Canva makes it easy to add them with just a few clicks.
Adding a ruler line in Canva is easy! First, open your design in the Canva editor. Next, click on the “Text” tool in the left sidebar.
HTML is the standard markup language for creating web pages. Web browsers can read HTML files and render them into visible or audible web pages. HTML describes the structure of a web page semantically and originally included cues for the appearance of the document.