Creating a checkbox in Canva is easy! Just follow the steps below to get started.
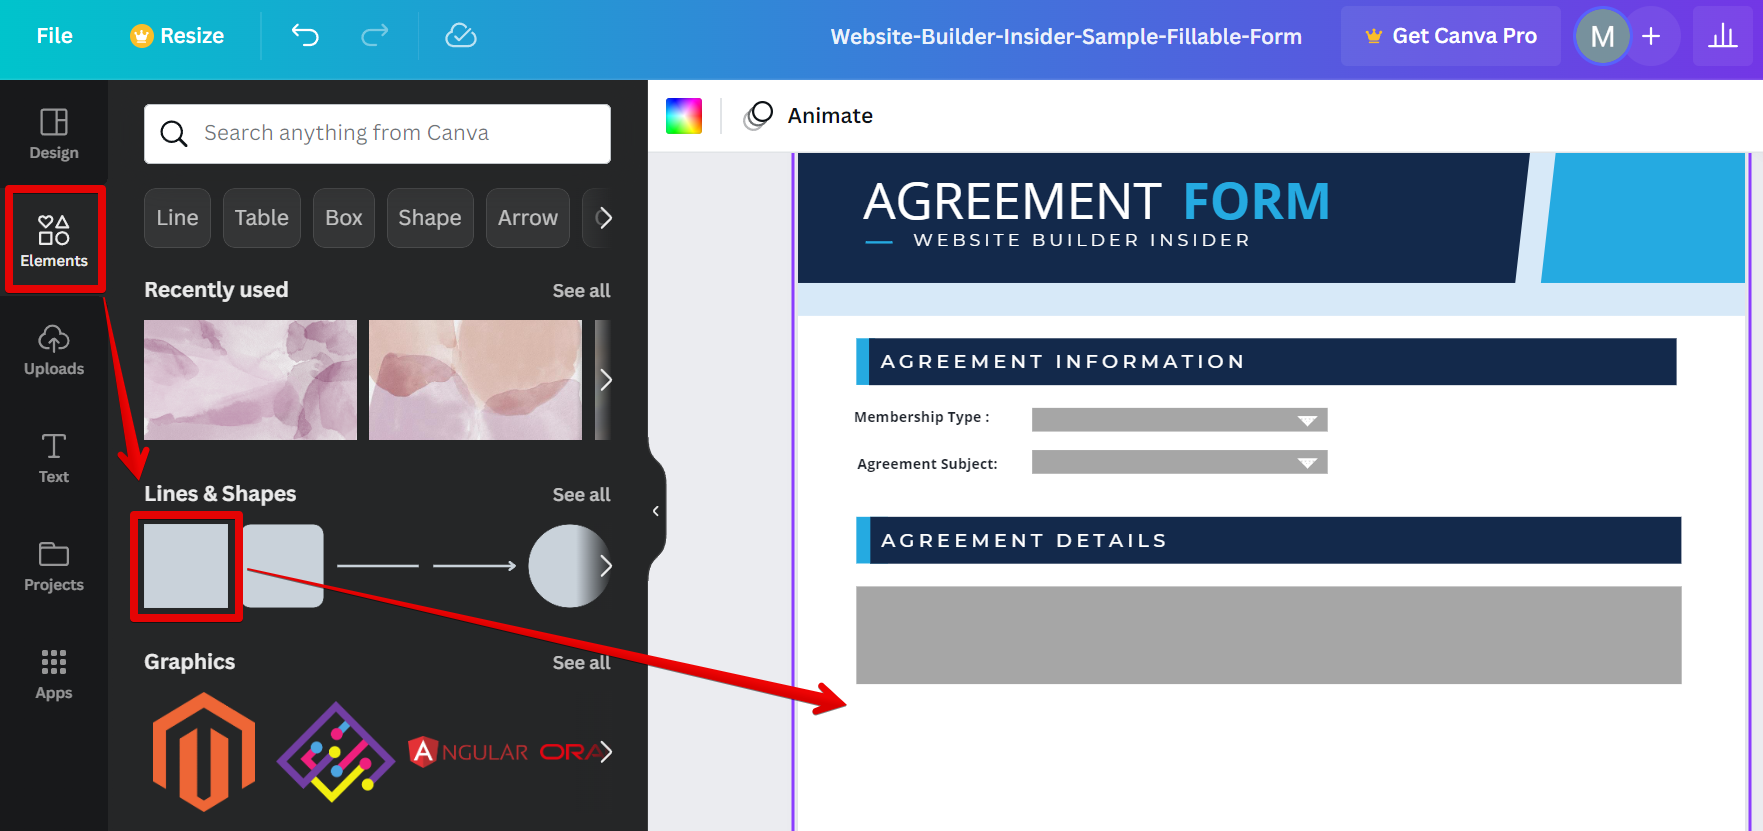
First, log in to your Canva account and open the design you want to work on. Then, select the “Elements” tab on the left toolbar. From the options available, choose the square element and add it to your canvas.
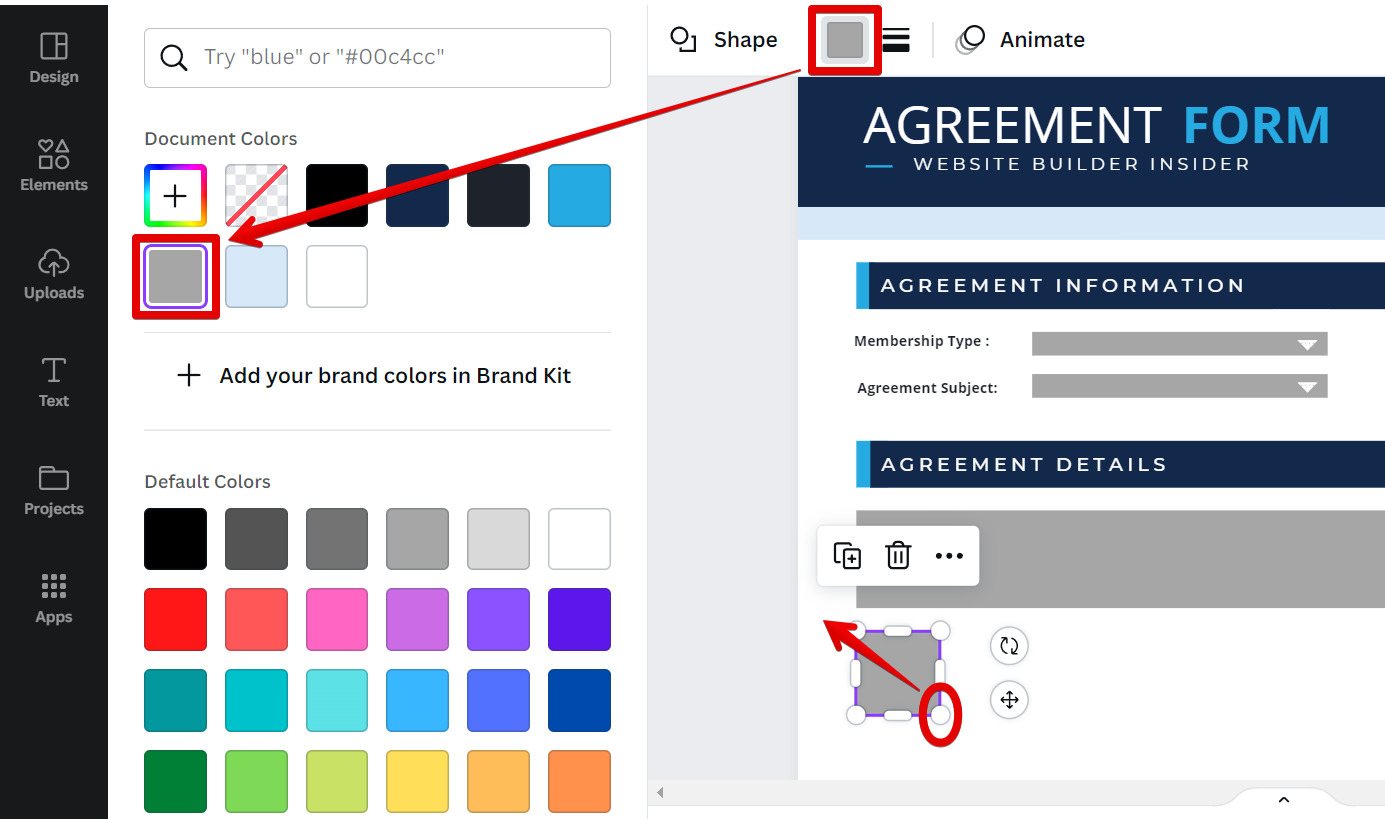
Resize the element by clicking and dragging on the pill handles. You can also change the color using the color box option at the top menu.
NOTE: When resizing, you can hold the “Shift” key on your keyboard while dragging on the handles to maintain the ratio of the square element’s dimensions.
PRO TIP: This tutorial is all about creating a checkbox in Canva. The process for creating a checkbox in Canva is quite easy and can be done with just a few steps. Just follow the procedures and you’re good to go!
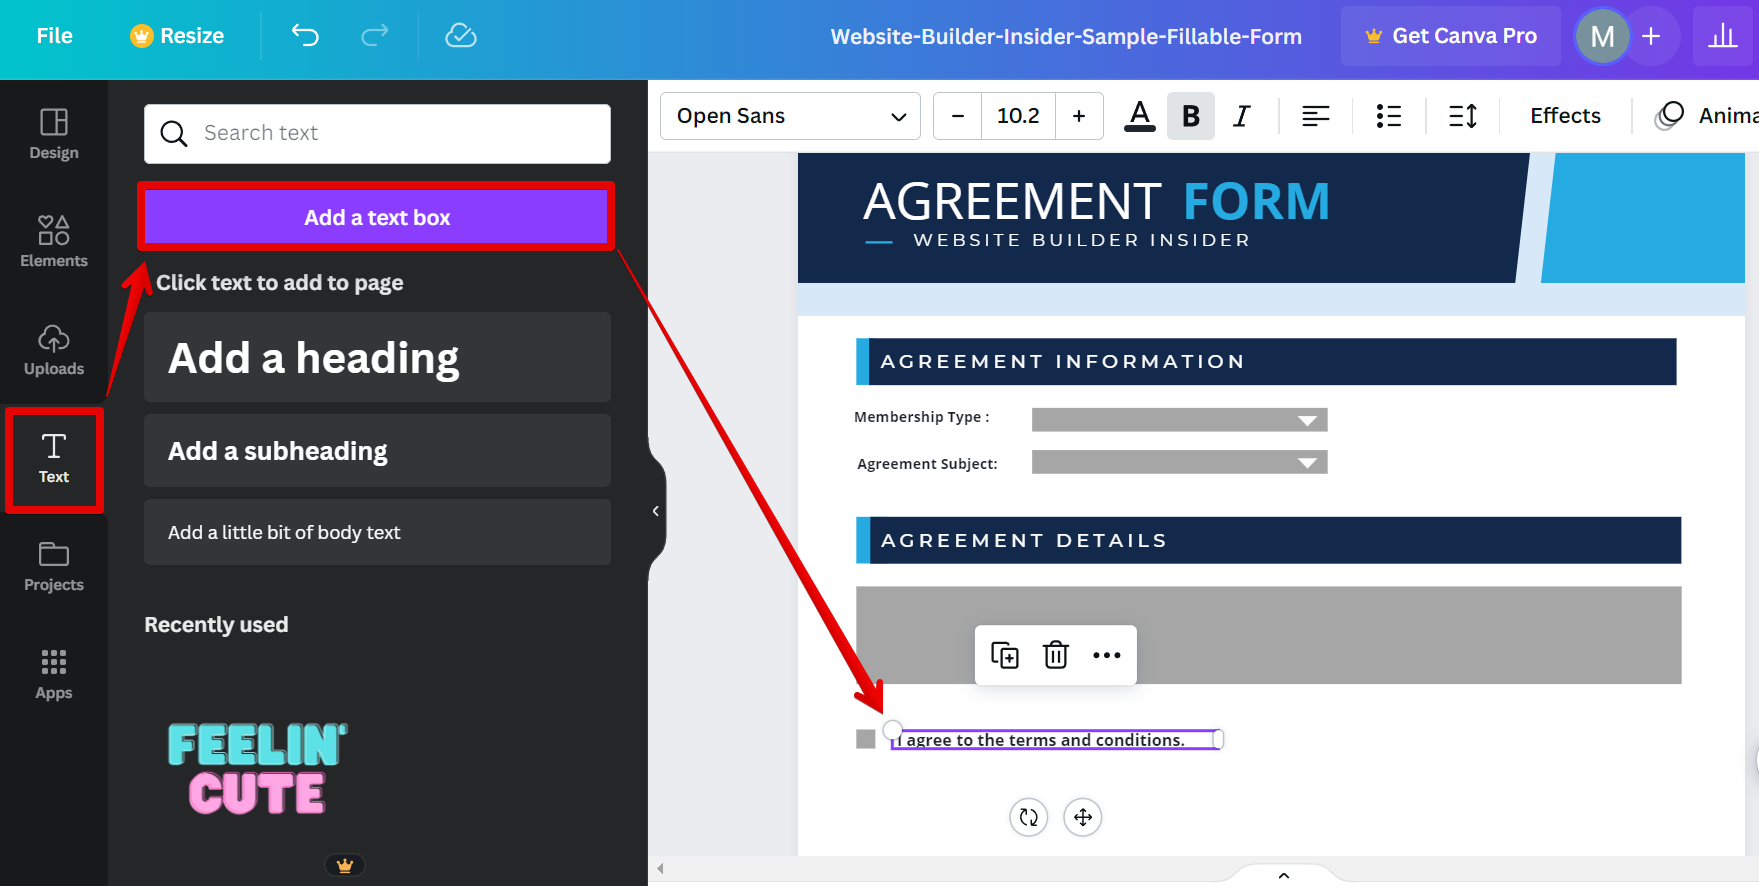
You can now see a checkbox in your design. Now, we need to add text beside it to provide context. To do this, click on the “Text” tool in the left-hand panel. Then, select the “Add a text box” button and type in the text you want for your checkbox. For this example, we’ll use “I agree to the terms and conditions.”
And that’s it! You’ve successfully created a checkbox in Canva.

Conclusion:
Creating a checkbox in Canva is easy! Just log in to your Canva account and open the design you want to work on. Next is to add a square element that will serve as your checkbox and then add context to it using the Text tool. You can also place your checkbox beside other text accordingly. Just click on the checkbox and drag it to wherever you want it to appear in your design.
7 Related Question Answers Found
A checklist is a great way to keep track of things, whether you’re planning an event, packing for a trip, or trying to get through your to-do list. Canva’s easy-to-use online design tool makes creating a custom checklist quick and easy. Here’s how:
1.
Yes, you can create a checklist in Canva! Here’s how:
First, sign up for a free Canva account. Once you’re logged in, click on the “Create a design” button on the homepage.
A digital signature is a mathematical scheme for demonstrating the authenticity of digital messages or documents. A valid digital signature gives a recipient reason to believe that the message was created by a known sender, and that it was not altered in transit. Digital signatures are commonly used for software distribution, financial transactions, and in other cases where it is important to detect forgery or tampering.
A checklist is a great tool to help you keep track of what needs to be done. You can use a checklist to help you remember to do things like take out the trash, feed the dog, or do your homework. Checklists can also be used to track your progress on a project.
Making a postcard in Canva is easy! With a few clicks, you can create a custom postcard that’s perfect for any occasion. To get started, sign up for a free account at www.canva.com.
To make a heart-shaped picture in Canva, first create a new Canva account or log in to your existing account. Then, click on the “Create a design” button and select the “Custom dimensions” option. In the “Width” field, enter 5 inches and in the “Height” field, enter 4 inches.
A Canva signup sheet is a free online tool that helps you easily create a signup sheet for your event or party. All you need is a computer with an internet connection and a printer. Creating a signup sheet with Canva is easy and fun.