When you are creating a design in Canva, you may want to add a border around your image. This can be done in a few simple steps:
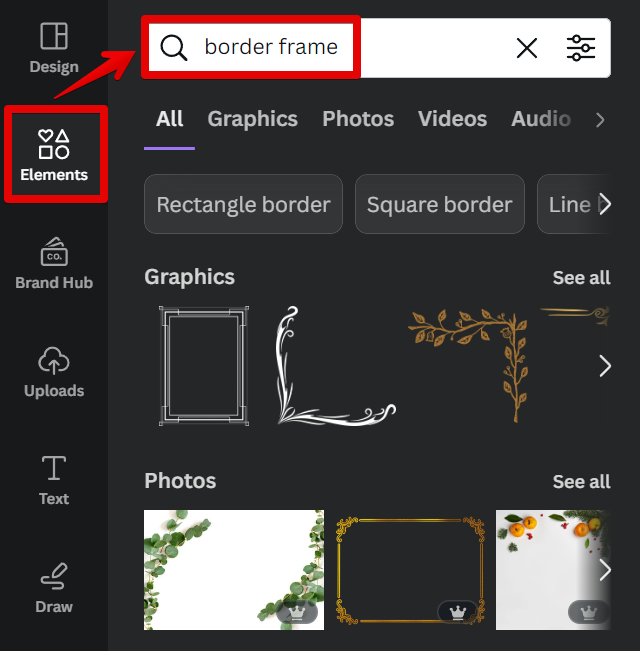
1. First, go to the Elements tab and type in “border frame” in the search tab, then press “Enter” on your keyboard.
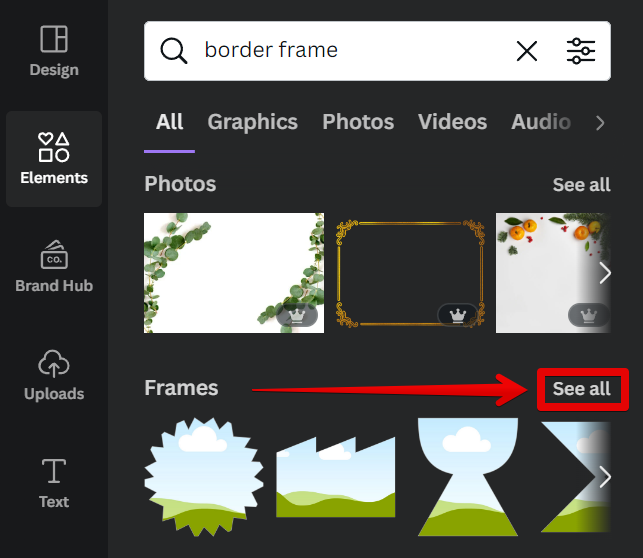
2. Next, scroll down to the Frames section and click on the “See all” link beside it.
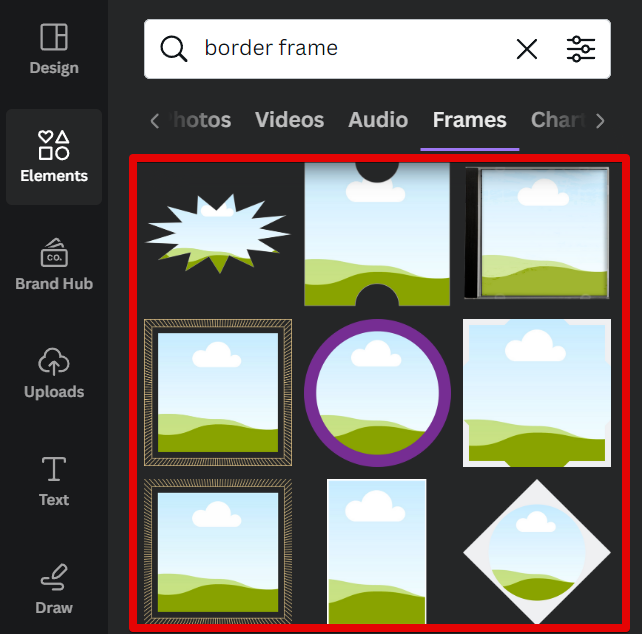
3. The Frames menu with several border options to choose from will then be shown.
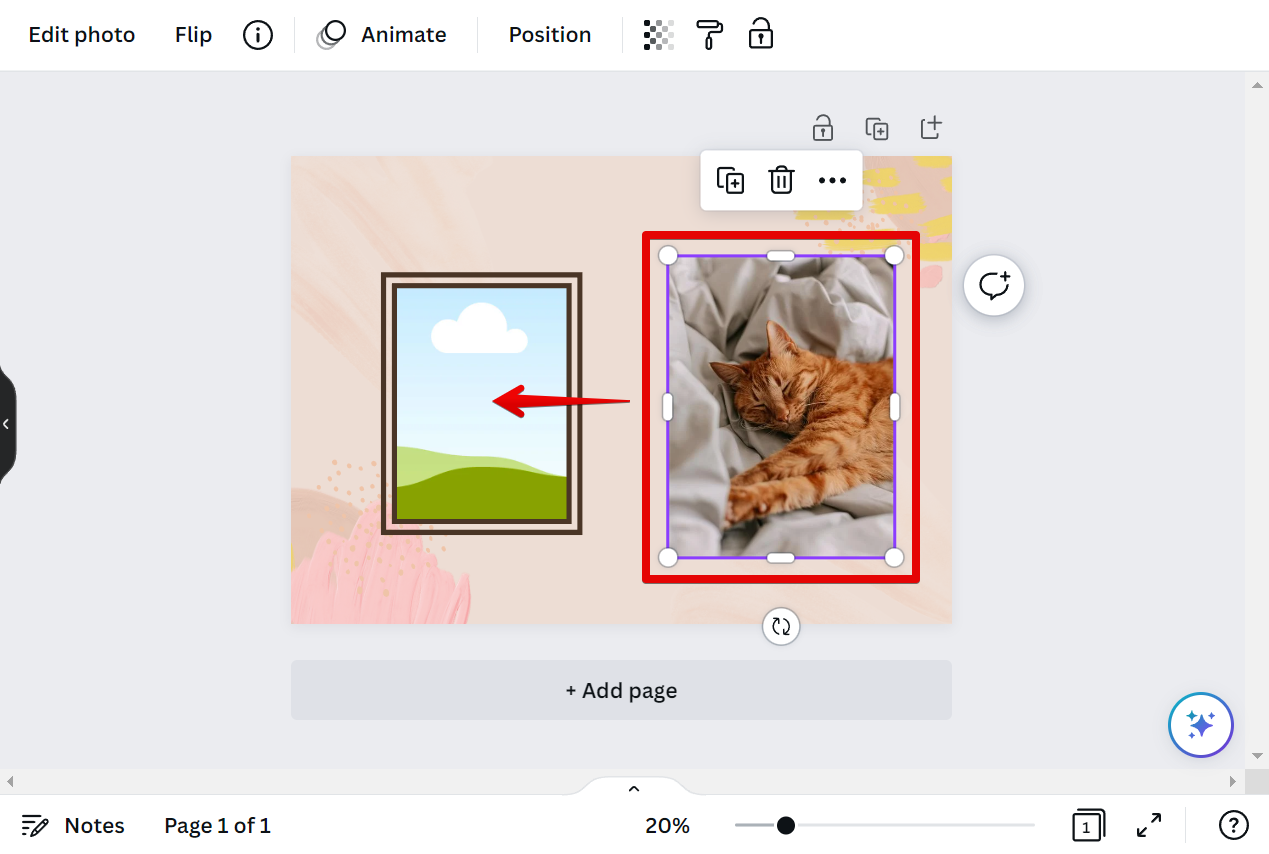
4. Select the one that you would like to be the border of your image from the Frames menu and drag it to your canvas.
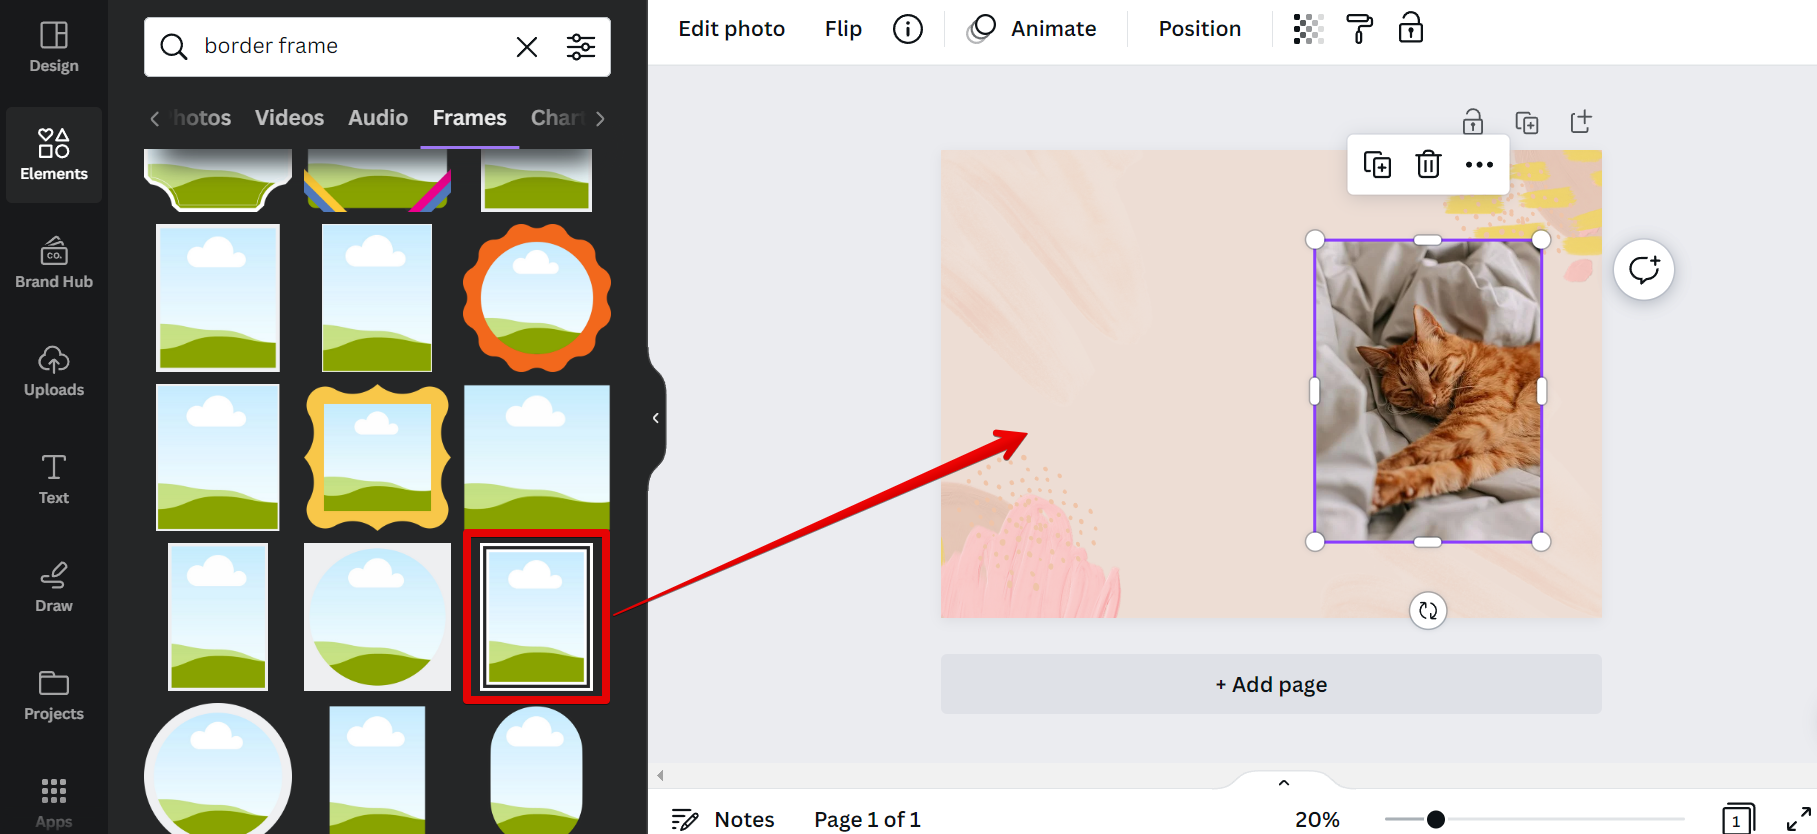
5. Finally, click on the image and drag it into the added frame.
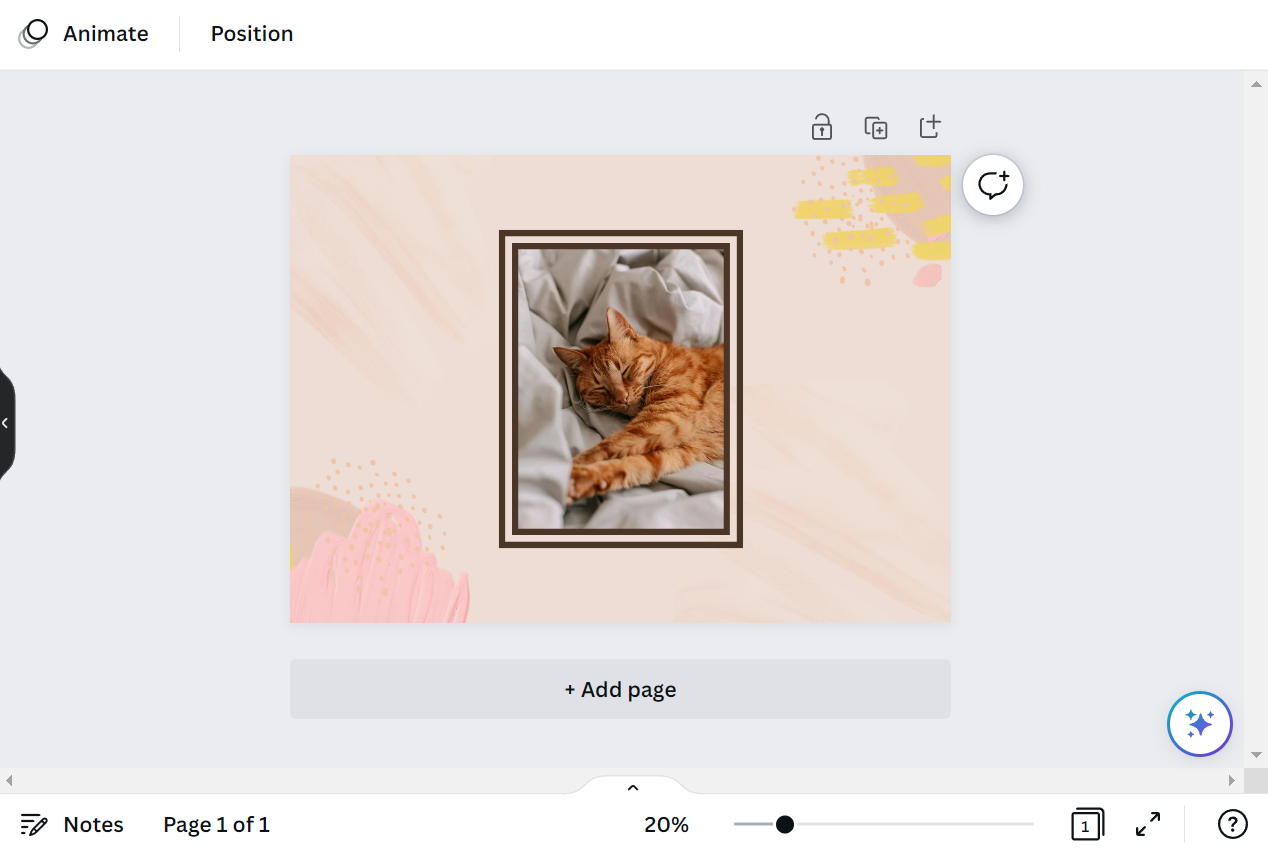
6. Your image will then be absorbed by the frame and a border will be automatically applied to your image depending on the type of frame you selected.
PRO TIP: If you are planning to put a border around a picture in Canva, be aware that there is a potential for the image to become distorted. This is because the border may not be of an even width all the way around the picture. To avoid this, make sure that the width of the border is the same all the way around, or else the image may become skewed.
9 Related Question Answers Found
When it comes to creating stunning visuals for your blog, website or social media, Canva is a fantastic tool to use. With its easy-to-use design interface, you can create beautiful images with just a few clicks. One of the great things about Canva is that you can add borders to your images.
A border can be added to a shape in Canva by first selecting the shape, then clicking on the “Stroke” option in the top toolbar. From here, the thickness, color, and opacity of the border can be adjusted. Additionally, the “Dashes” and “Arrowheads” options can be used to further customize the border.
You can use the “Rectangle Tool” to draw two lines across the image or use the “Grid tool“ to divide the image into a number of sections. You can also use the “Crop tool” to select a specific area of the image and then crop out the rest. Here is an example of splitting a picture in Canva:
1. Put 2 images on top of each other.
You can add a white border to a photo in Canva by first selecting the photo, then clicking on the “Edit” button in the top toolbar. This will open up the editing menu for the photo. Next, click on the “Background” tab, and then click on the “Border” button.
If you’re looking to add a little bit of flair to your next project on Canva, one way to do so is to add a picture in a shape. This can give your design an more unique look, and can be accomplished with just a few clicks. Here’s how:
1.
There are a few different ways that you can put a border around text in Canva. One way is to use the “Text on Top of Image” tool. With this tool, you can add a text box on top of an image, and then add a border to the text box.
Adding a border to your design is a great way to make it pop! Canva makes it easy to add a border to your design. Here’s how:
1.Open your design in Canva.
2.Click on the “Elements” tab in the sidebar.
3.Scroll down to the “Frames” section and click on the frame you want to add to your design.
4.Your frame will be added to your design.
Shapes are a great way to add interest and visual appeal to your design. But what if you want to add a picture to a shape? In Canva, it’s easy to do!
There are many ways to insert a picture into Canva, but the most common way is to click on the “Uploads” tab in the left-hand sidebar and then click the “Upload Media” button in the center of the screen. This will bring up your computer’s file explorer, allowing you to navigate to the image you wish to insert. Once you’ve selected the image, click the “Open” button and it will be added to your Canva workspace.