When it comes to digital design, one of the most important tools in your arsenal is photo editing software. Canva is a user-friendly, online design platform that’s perfect for creating stunning visual content.
And one of its handy features is the ability to soften the edges of photos. This can be useful for creating a dreamy or romantic effect, or for simply making an image look more polished. Here’s how to do it:
1. Open Canva and sign in or create an account.

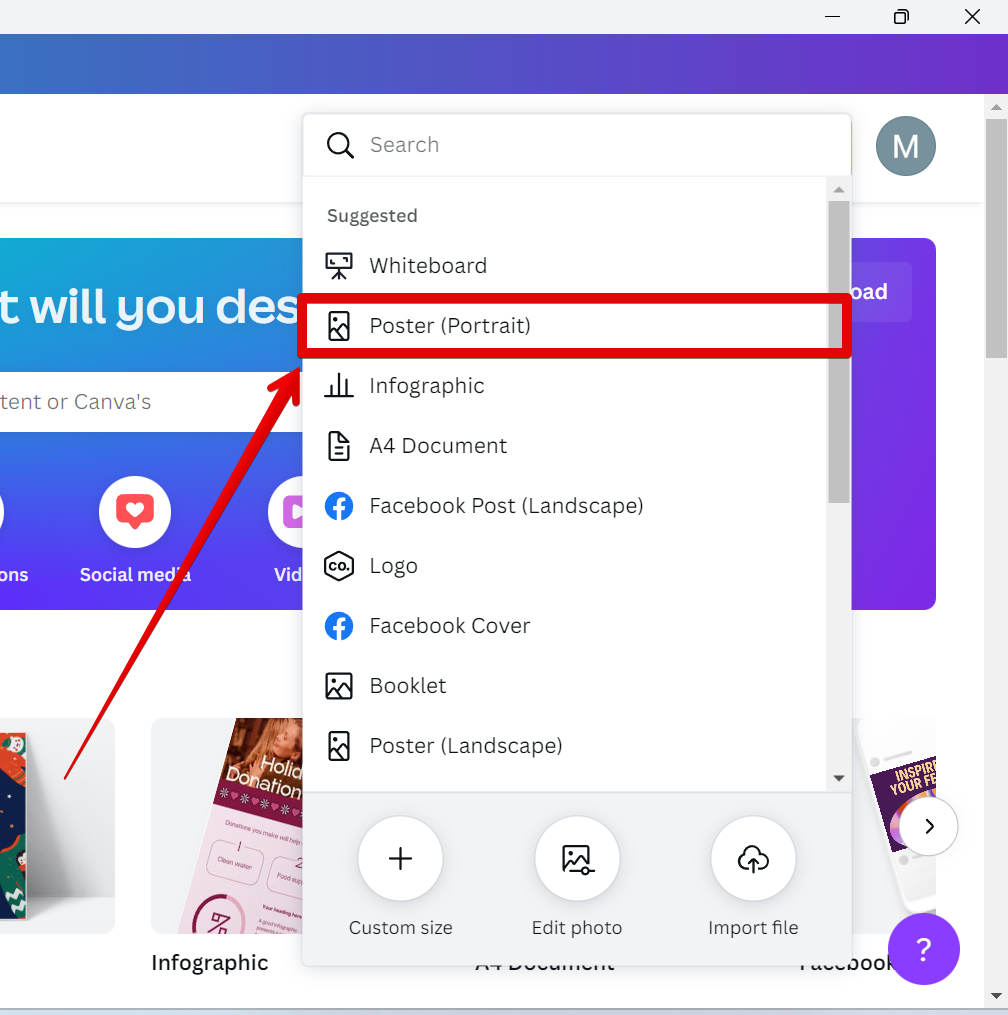
2. Click on the “Create a design” button.

3. Select your preferred template from the list. For this example, we will use the “Poster” template.
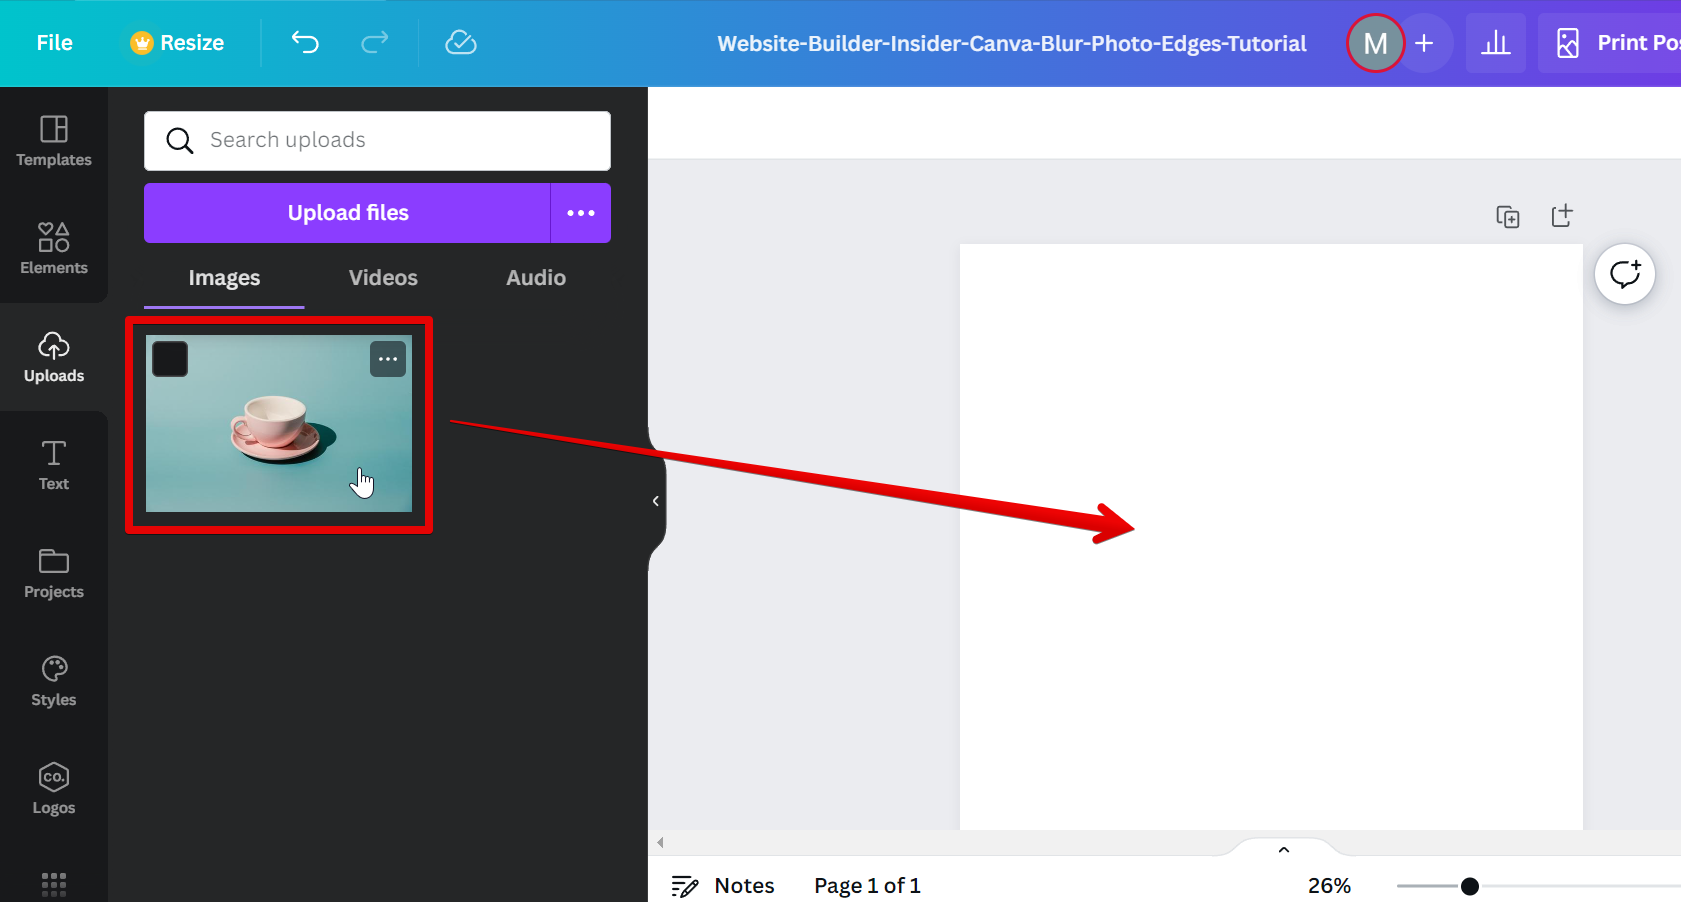
4. Drag and drop your photo into the template.
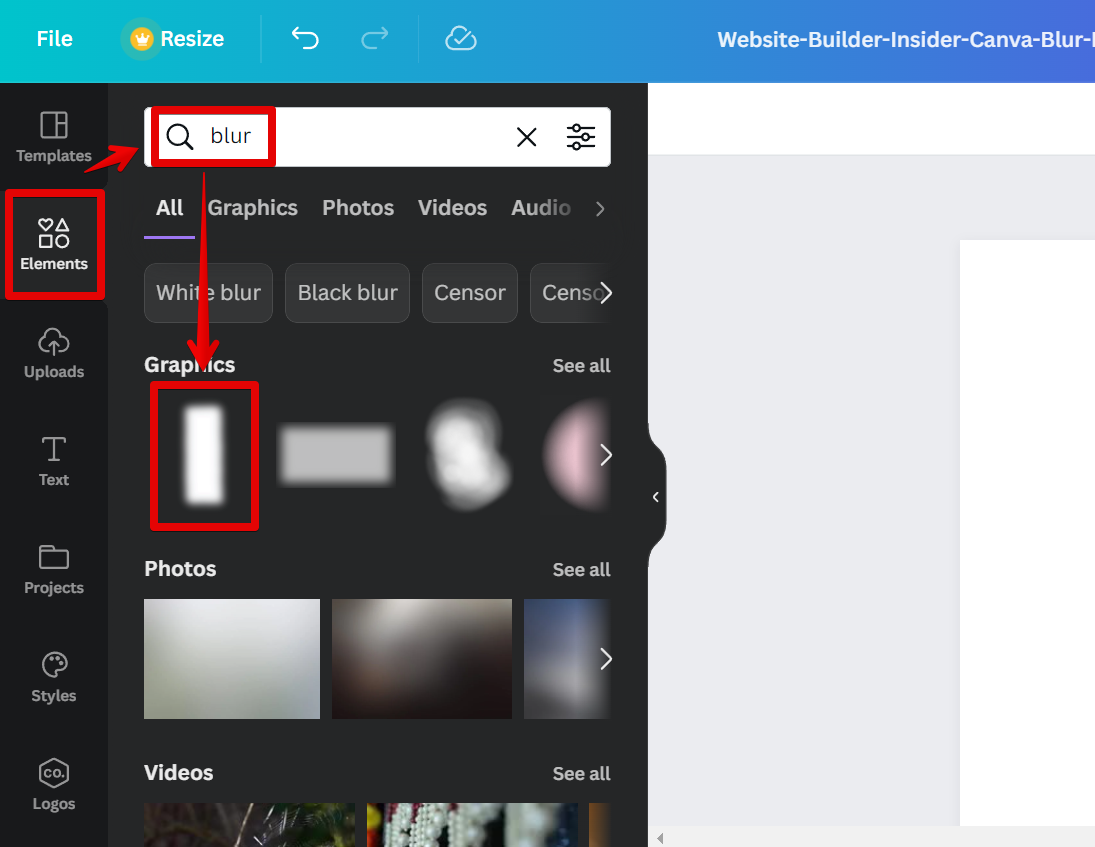
5. Click on the “Elements” button in the left toolbar. Search for “blur” and press “Enter” on your keyboard, then select your preferred option from the results.
6. Adjust the intensity of the effect using the slider in the “Transparency” option at the top-right corner.
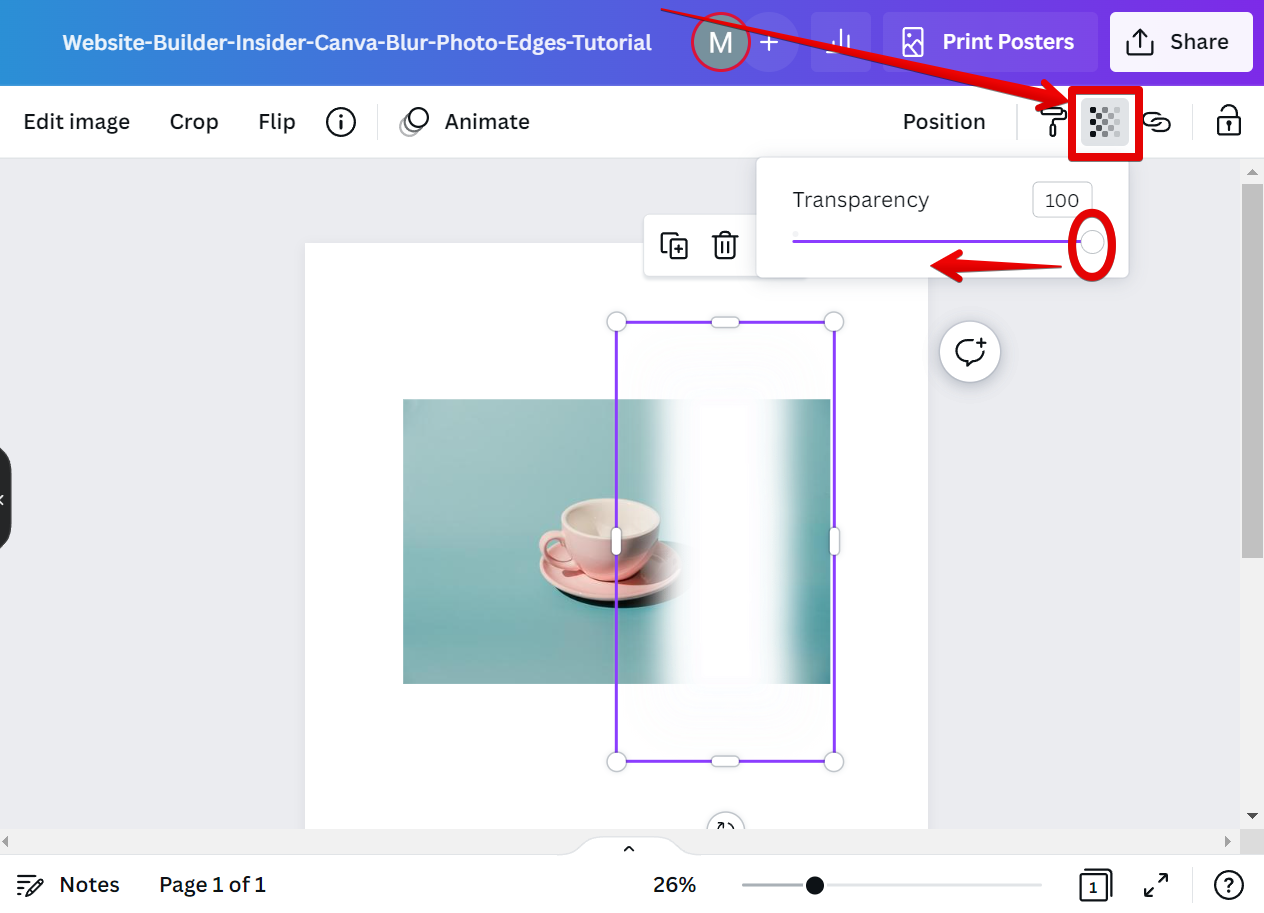
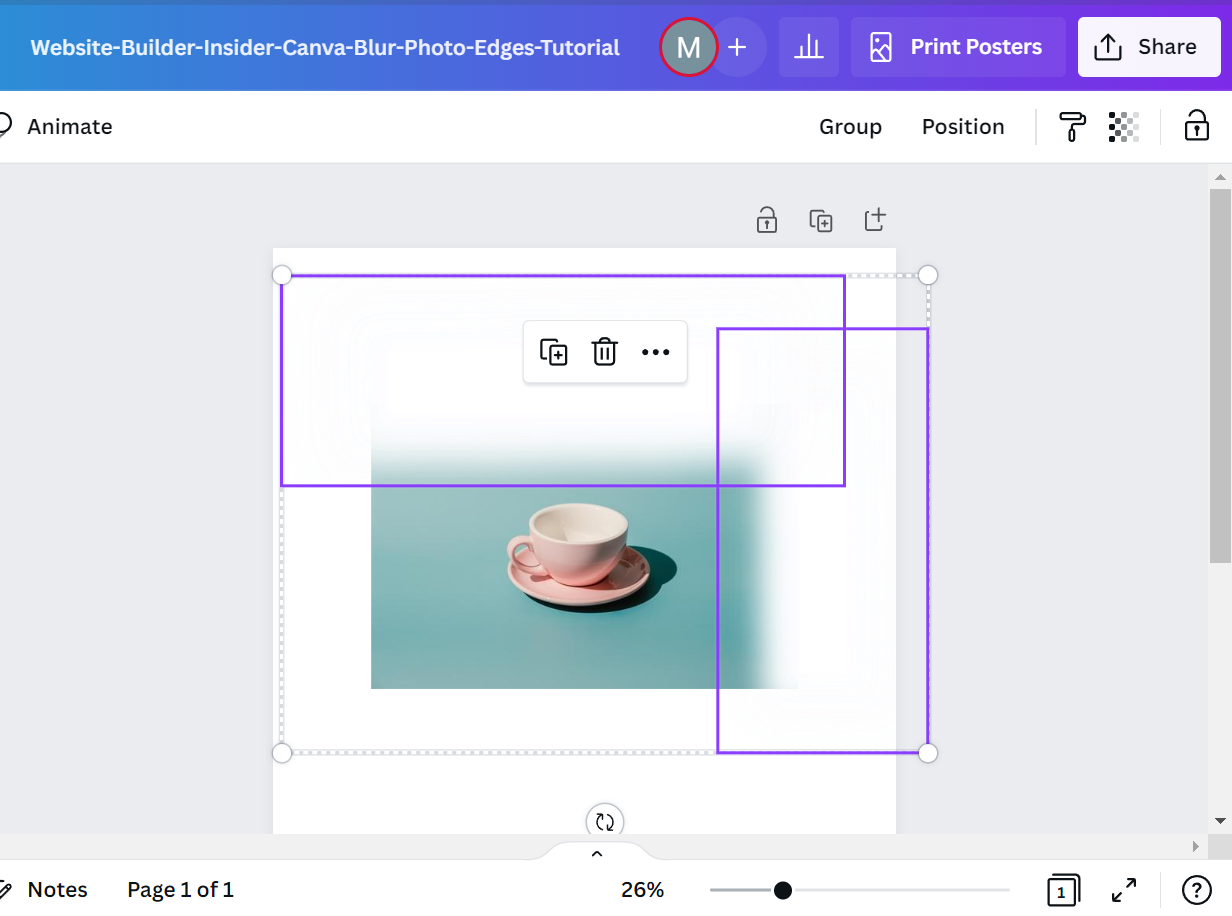
7. Place the blur effect around the edges of your photo.
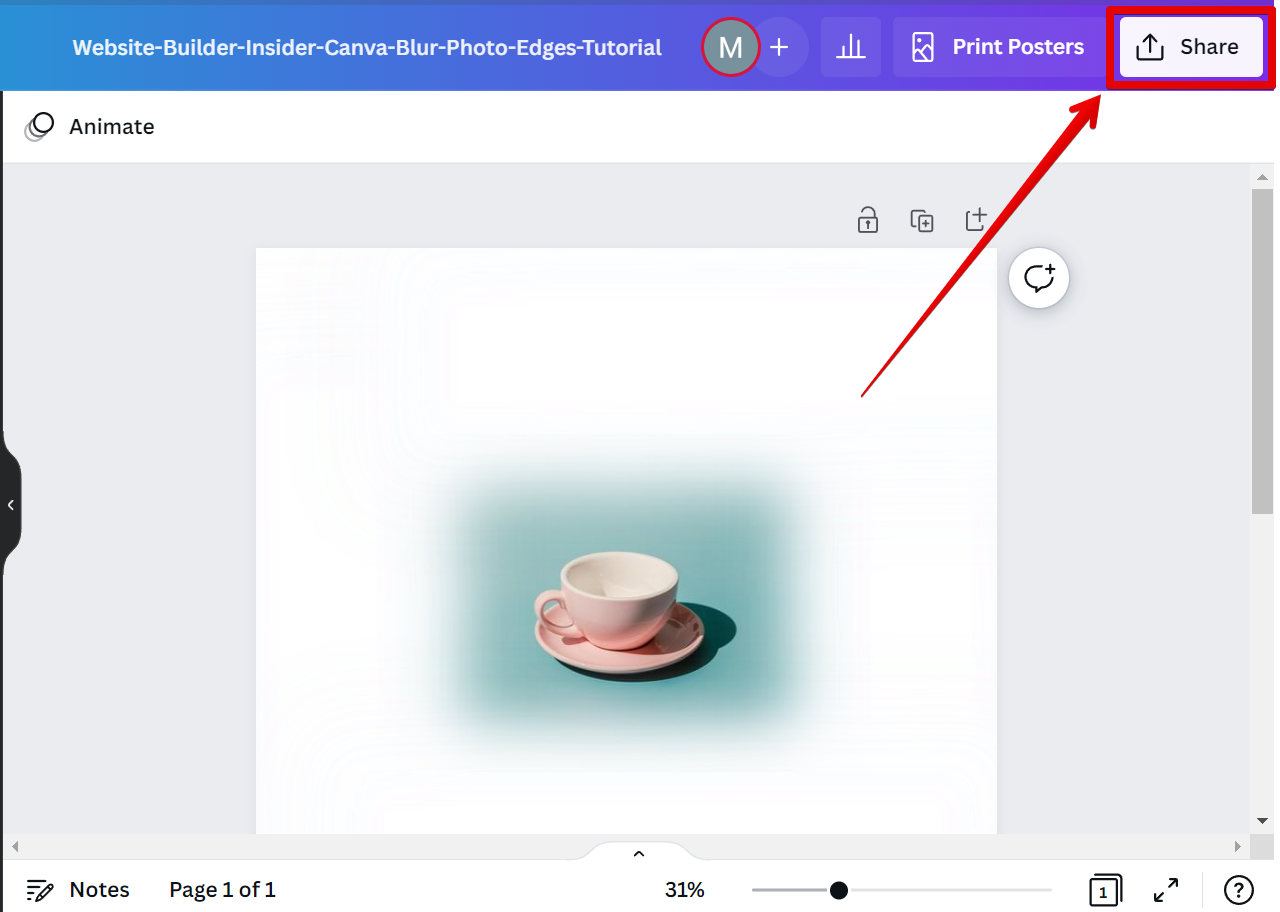
8. Now you have softened the edges of your photo! Once done, click on the “Share” button to save your changes and download a copy.
PRO TIP: If you are not careful, softening the edges of a photo in Canva can result in a blurry or low-quality image. Make sure to preview your image before saving or exporting it to avoid disappointment.
8 Related Question Answers Found
When working with images in Canva, you may want to create a soft, faded edge around your photos. This can be a great way to make your images stand out, and it’s easy to do with Canva’s tools. Here’s how:
1.
There are many different ways that you can delete a part of a photo in Canva. One way is to use the ‘Crop’ tool. With the Crop tool, you can select the area that you want to keep and then click on the ‘Crop’ button.
There are times when you may need to delete a portion of an image in Canva. For example, you may want to remove the background from an image of a person or object. Or, you may want to remove a watermark from an image.
How Do You Remove the Background of a Picture in Canva? There are a few different ways that you can remove the background of a picture in Canva. One way is to use the Magic Resize tool.
Whether you’re creating a marketing campaign or designing a website, you’ll likely need to use photos with transparent backgrounds. Canva is a great tool for creating designs with transparent backgrounds, but what if you need to remove the background from an existing photo? In this article, we’ll show you how to remove the background from a photo in Canva using the Background Eraser tool.
Rearranging photos in Canva is easy! First, open up the editor and click on the “Uploads” tab in the left-hand sidebar. From there, you can either drag-and-drop photos from your computer into the uploads area, or click the “Upload Images” button to select photos from Facebook, Google Drive, or your computer.
Whether you’re trying to remove a person, an object, or even a background, erasing something from a photo is easy to do with Canva’s photo editor. With the help of Canva’s eraser tool, you can erase any element from your image without affecting the surrounding area. This is perfect for when you want to remove something from a photo without ruining the rest of the image.
Editing images is a breeze with Canva! Our easy-to-use online editor makes it simple to add text to your photos— no matter how many words you want to include. When you’re creating a design with text, one of the first things you’ll want to do is add some visual interest to your words by adding a border or fading the edges of your text.

