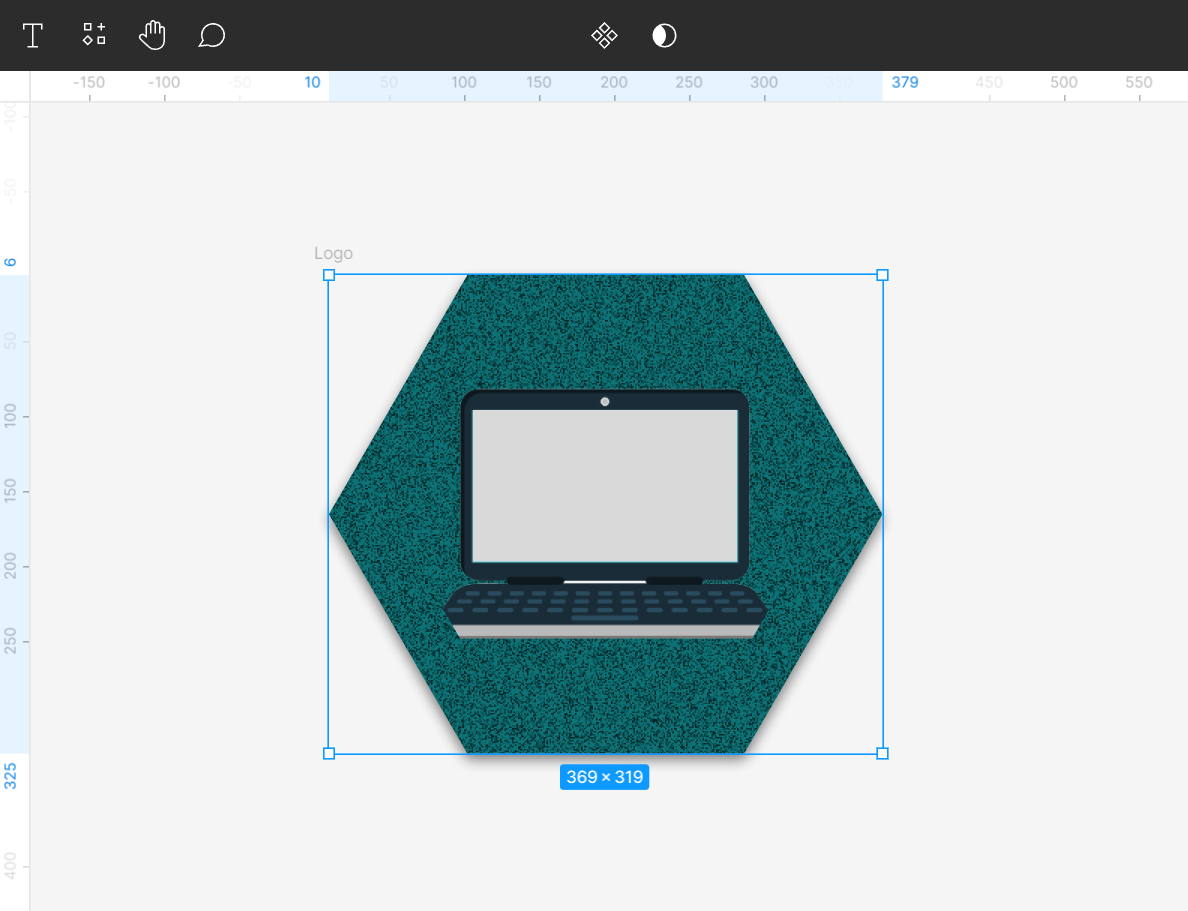
Adding a background texture in Figma is a great way to add interest and depth to your design. There are a few different ways to do this, but the easiest is to use the “Noise & Texture” plugin in the “Resources” menu.
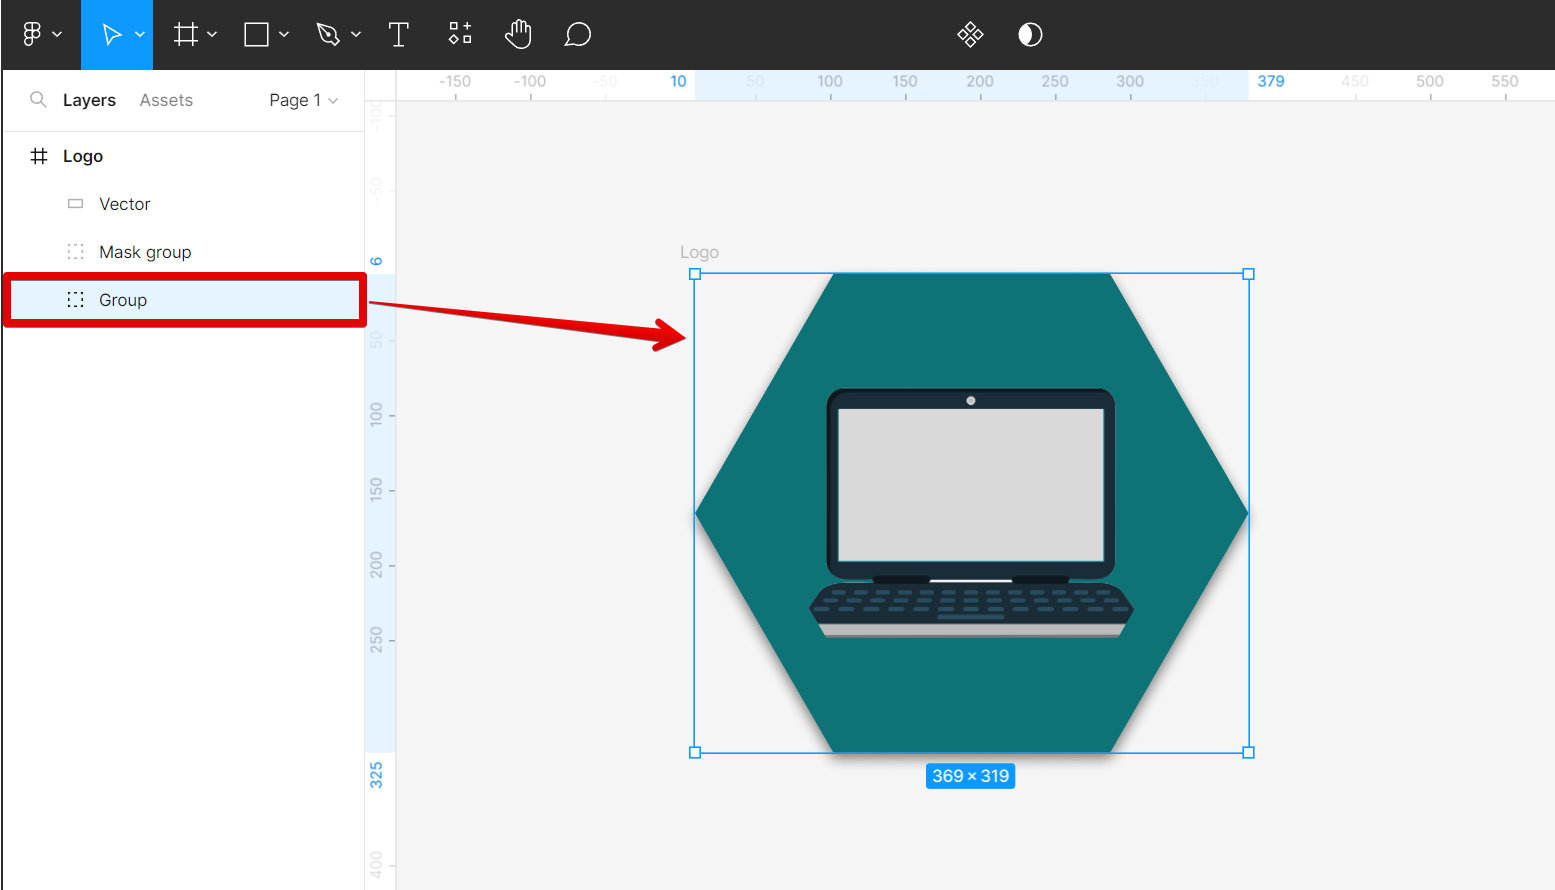
To add a background texture, first, go to the Layers window and select the background layer.

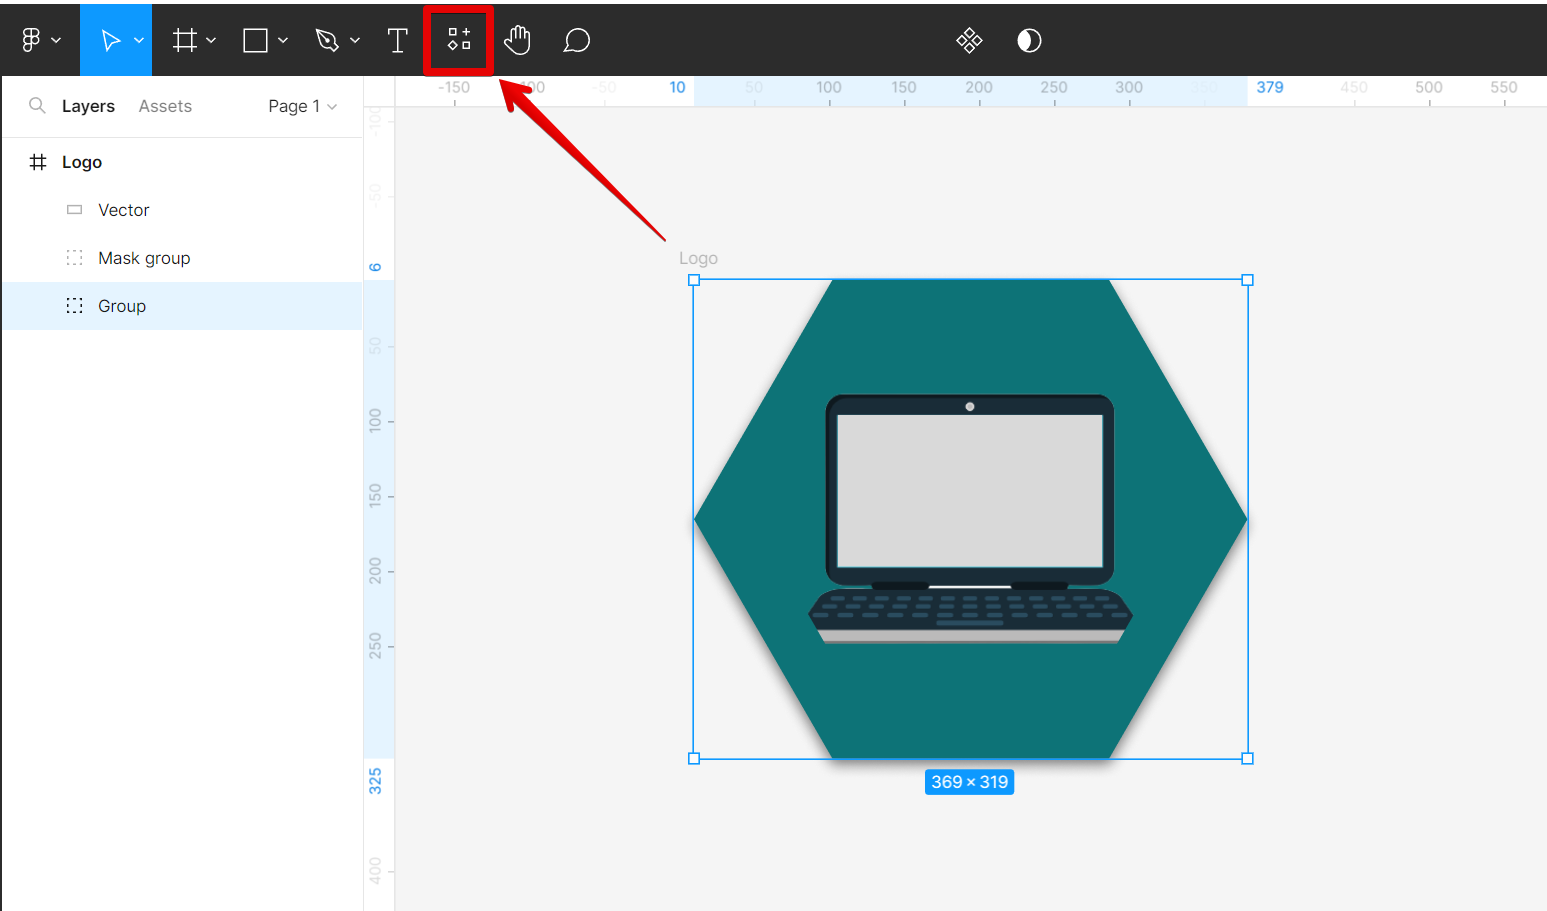
From there, go to the top menu and open the Resources window.

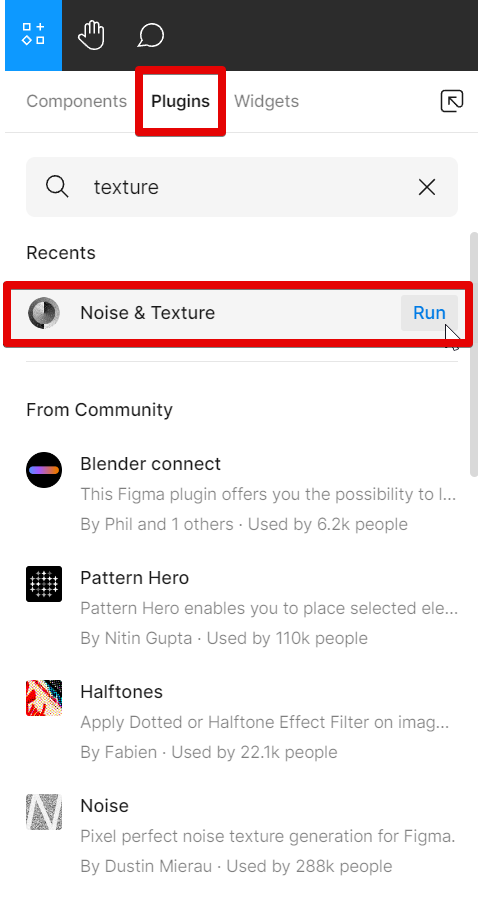
In the Resources window, select the Plugins tab and search for a texture type of plugin. In this tutorial, we will use the “Noise & Texture” plugin to add texture to the background layer of our design. Click on the “Run” button beside it to run the plugin.

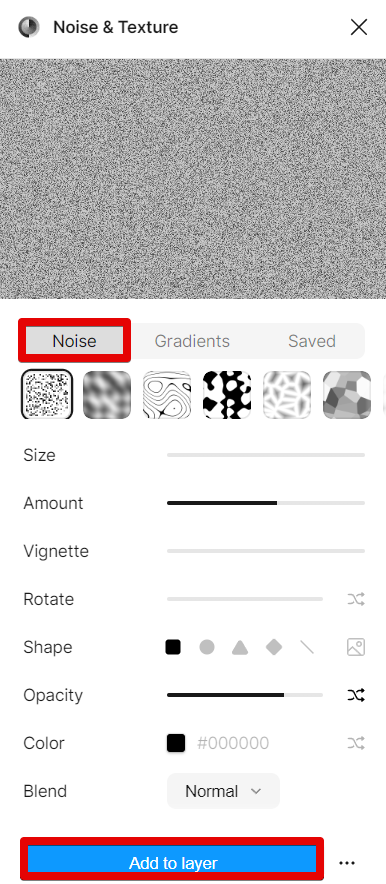
In the Noise and Texture plugin window, choose the ‘Noise‘ tab and adjust the settings of the texture to your preference. Once done, click on the “Add to layer” button at the bottom part of the window.

This will apply the texture to the entire layer. Once you’re happy with your background texture, you can save it as an image file or export it for use in other software.

PRO TIP: Adding a background texture in Figma can result in your design becoming unrecognizable. Be sure to add just enough amount of texture to properly manage the overall feel of the design.
8 Related Question Answers Found
Adding a texture background in Figma is a quick and easy way to add some visual interest to your design. There are a few different ways to do this, but the easiest way is to use the “Fill” tool. To add a texture background using the “Fill” tool, first select the object you want to add the texture to.
In Figma, you can add texture to your vector objects in a number of ways. You can use the fill tool to add a solid color, or you can use the gradient tool to add a color gradient. You can also add bitmap images to your vector objects, which can be tiled or stretched to fit the object.
When it comes to digital design, one of the most versatile tools you can use is Figma. Not only is it great for designing websites and apps, but you can also use it to create high-quality illustrations and graphics. And, one of the best things about Figma is that it’s relatively easy to use.
Adding grainy texture to your Figma designs is a great way to add depth and realism to your work. There are a few different ways to do this, and each has its own advantages and disadvantages. One way to add a grainy texture to your Figma designs is to use the Noise plugin.
When it comes to creating graphics for the web, there are a few programs that come to mind. Photoshop is probably the most popular, but Figma is quickly becoming a favorite among web designers. One of the reasons Figma is so popular is because it’s easy to use and it has a lot of great features.
Adding a layer in Figma is a simple process that can be completed in just a few steps. Frame Layer
Create a Frame Layer by clicking the Frame Tool in the Toolbar and using your mouse to drag and create the desired size of your frame. Group Layer
Select the layers you want to group and right-click with your mouse then choose Group selection.
Adding curves to your Figma design is easy! With the pen tool, you can simply click and drag to create curved lines. To add a curve to an existing line, first select the line with the selection tool, then click on the “Edit points” icon in the top toolbar.
Adding a background pattern to your Figma design is a great way to add some visual interest, and can really make your design pop. There are a few different ways to do this, and we’ll walk you through the process step by step. To start, open up your design in Figma.
