Yes, you can blur the edges of a photo in Canva. To do so, follow the steps below:
1. Open Canva and sign in or create an account.
2. Click on the “Create a design” button.

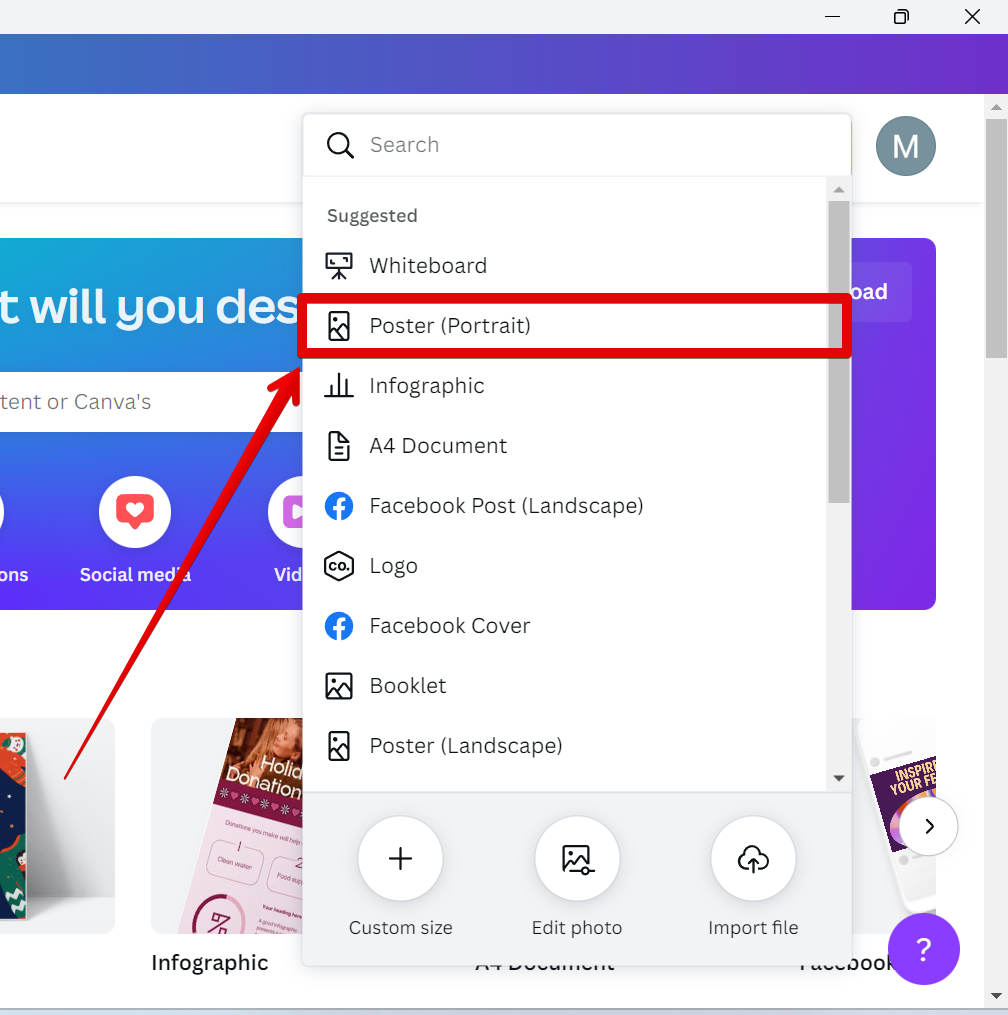
3. Select your preferred template from the list. For this example, we will use the “Poster” template.
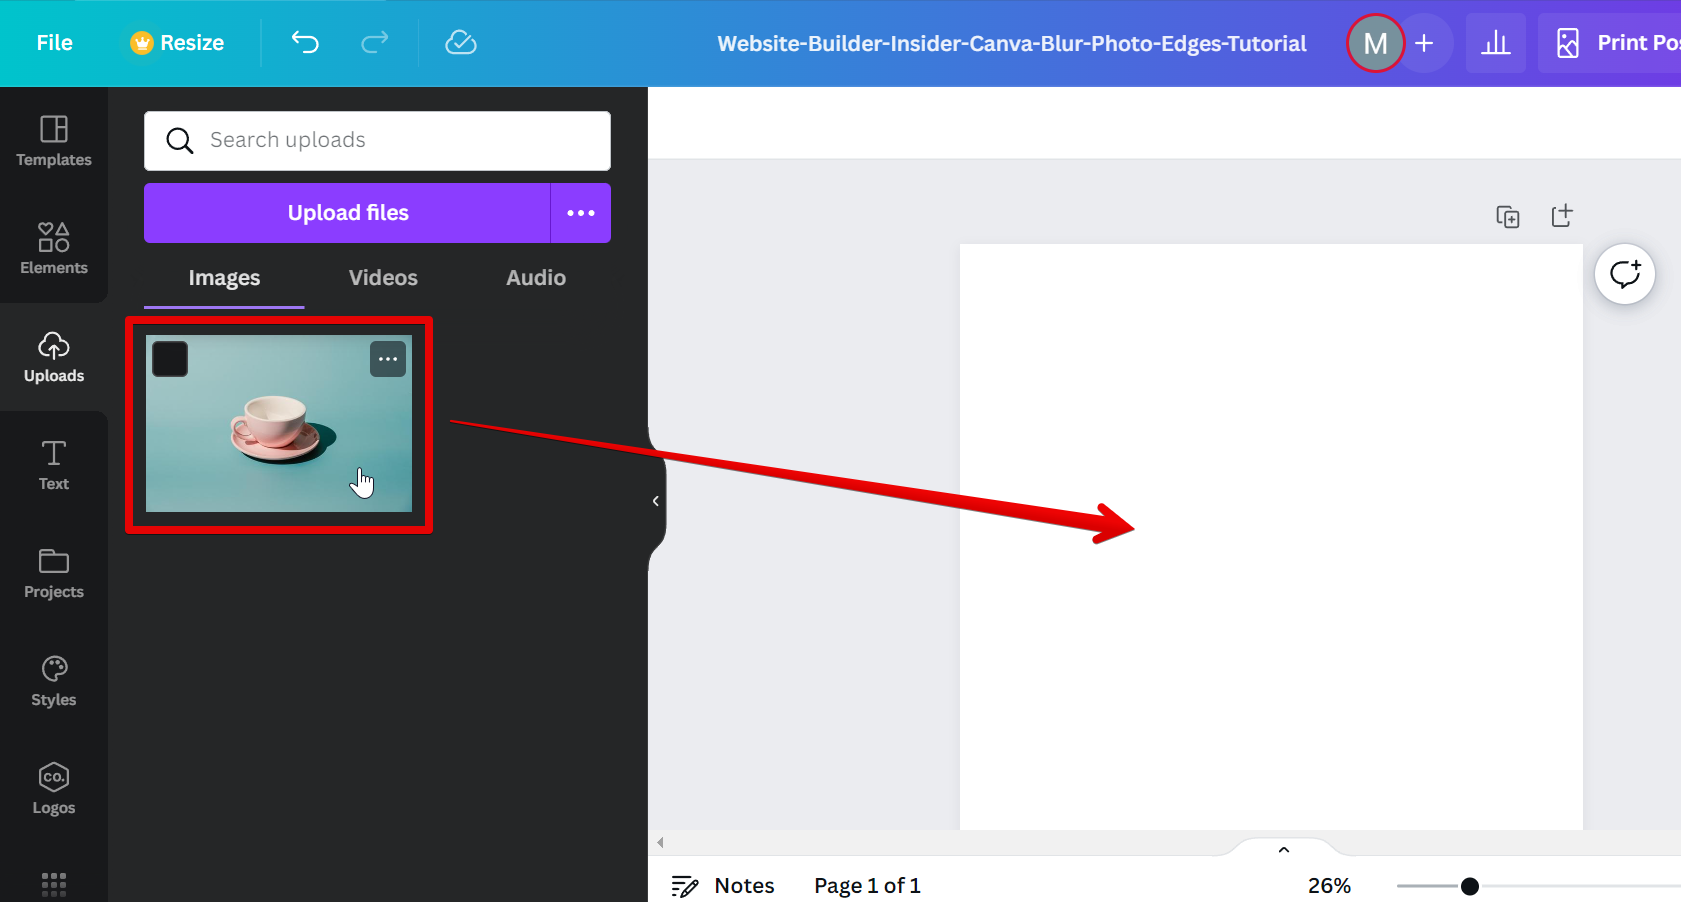
4. Drag and drop your photo into the template.
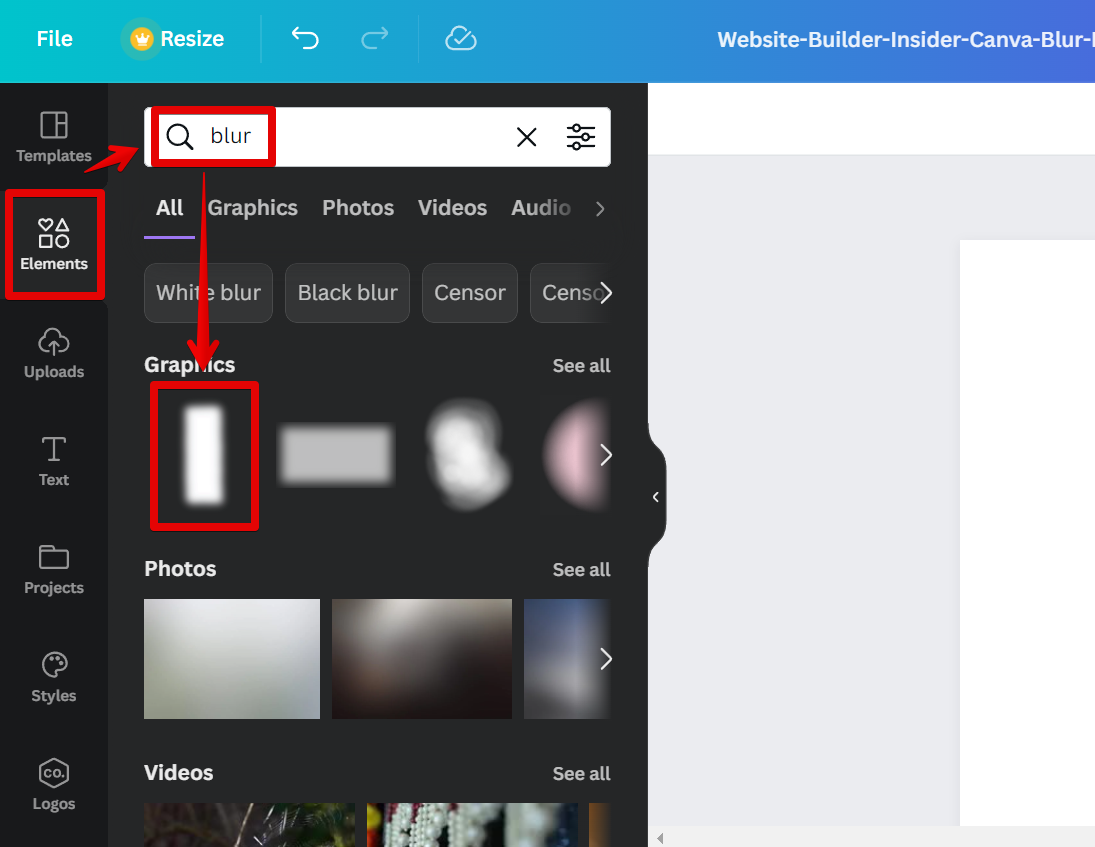
5. Click on the “Elements” tab in the left toolbar. Search for “blur” and press “Enter” on your keyboard. From there, select your preferred type of blur from the results.
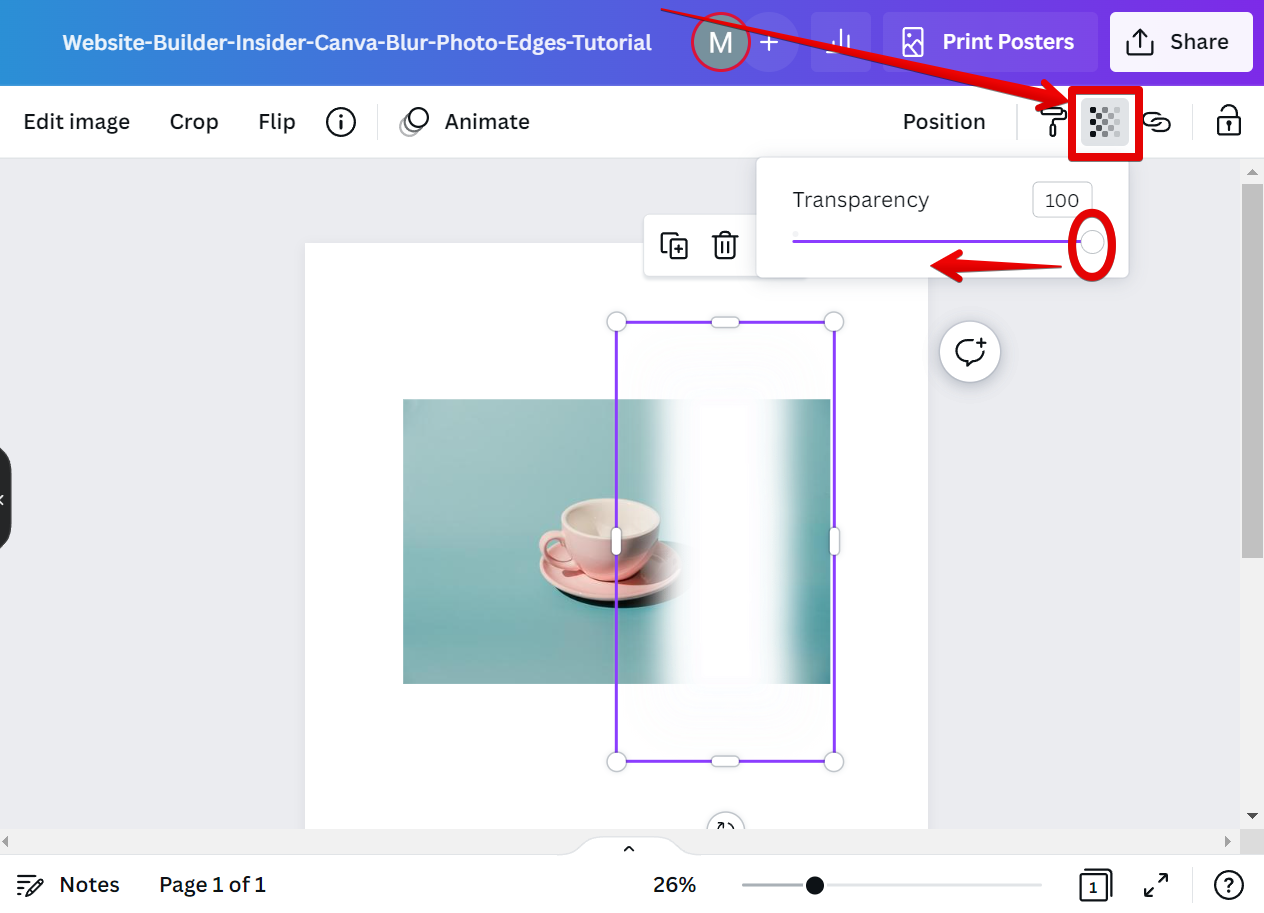
6. Adjust the intensity of the effect using the slider in the “Transparency” option at the top-right corner.
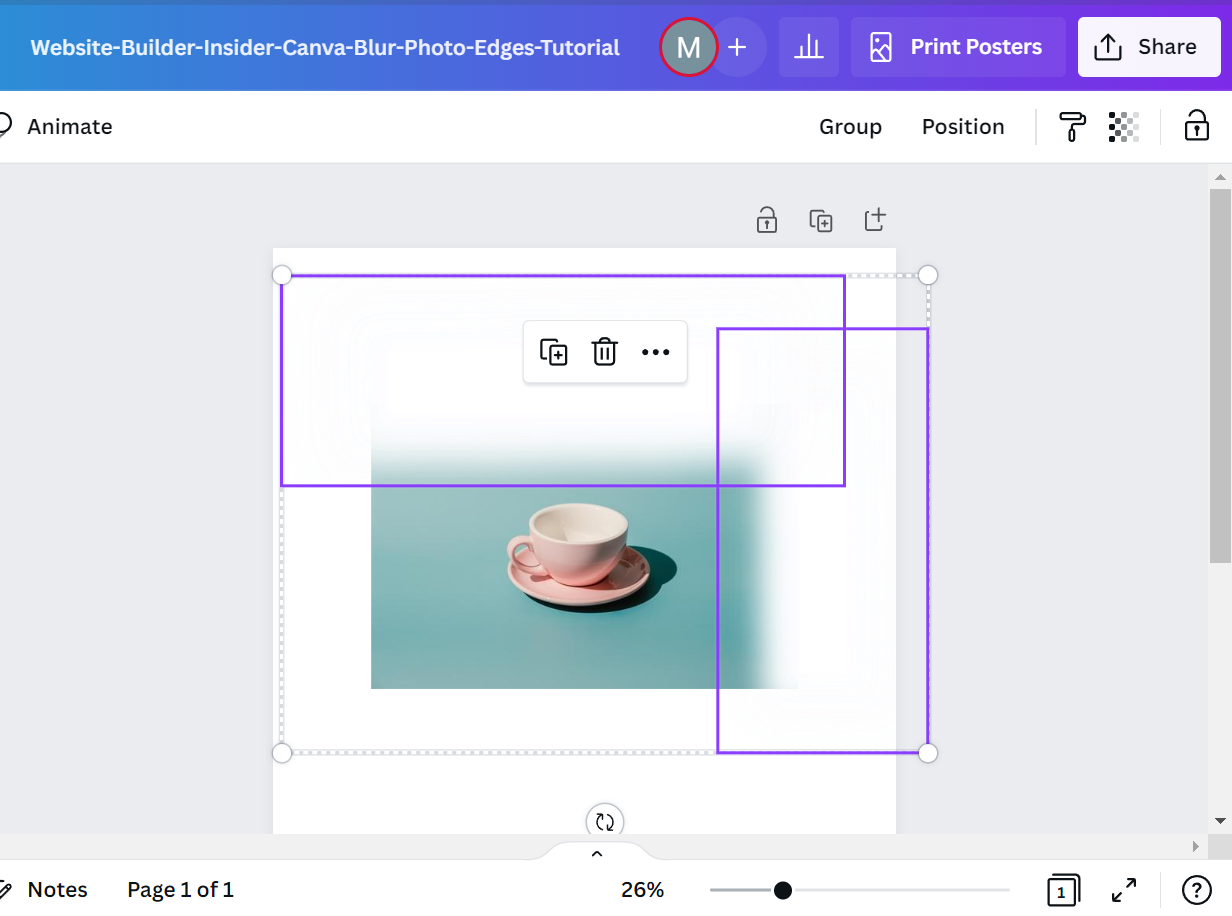
7. Place the blur effect around the edges of your photo.
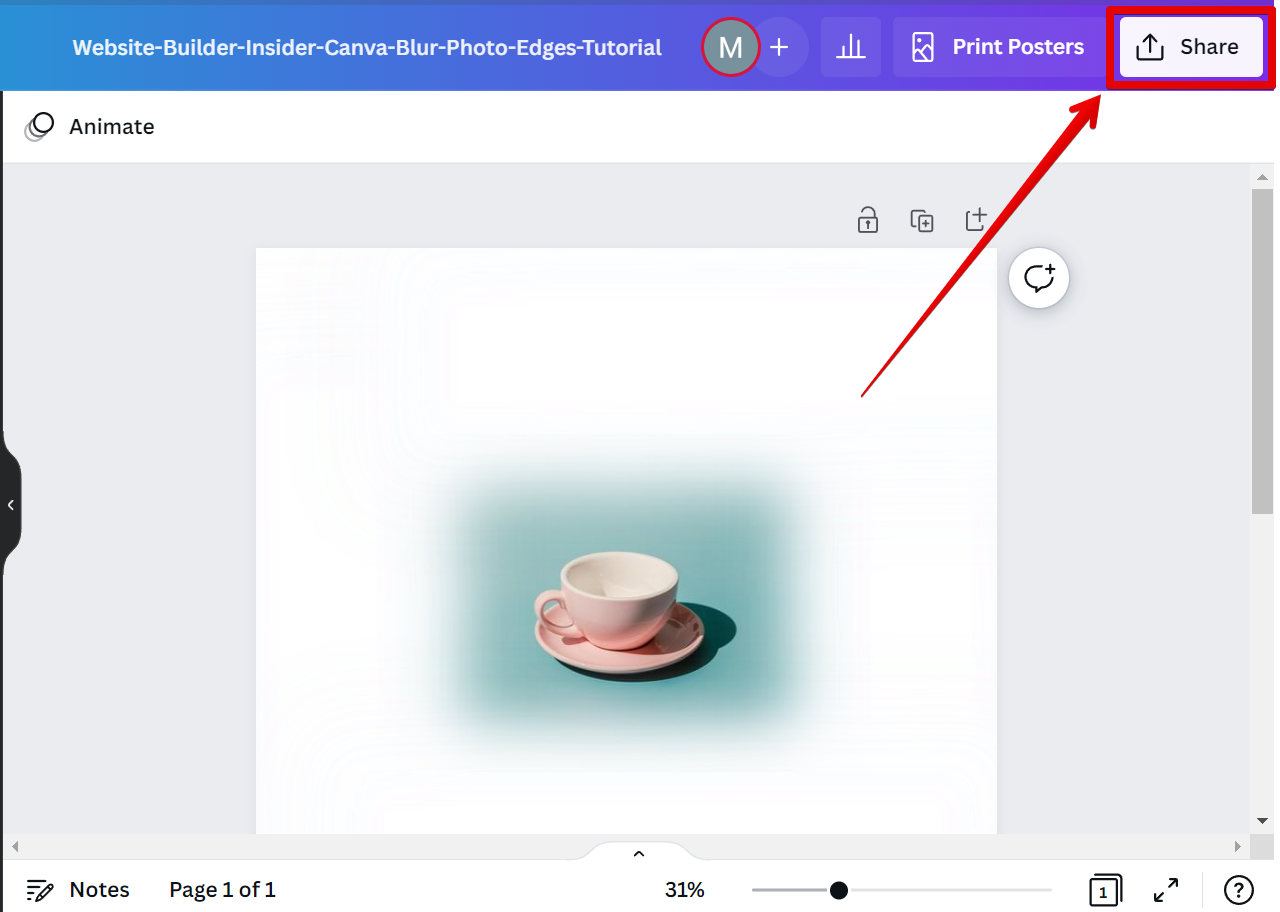
8. Now you have blurred the edges of your photo! Once done, click on the “Share” button to save your changes and download a copy.
PRO TIP: If you are considering using Canva to blur the edges of a photo, be aware that there is no guarantee that your photo will remain private. Canva does not offer any privacy settings for photos, so anyone who has the link to your photo can view it. If you want to keep your photos private, consider using another photo editing tool.
This effect can be useful for creating a more professional look for your photos, or for creating a dreamy or ethereal effect. It’s up to you how you use it!
Can You Blur the Edges of a Photo in Canva?
Yes, you can blur the edges of a photo in Canva. To do so, simply click on the “Elements” tab in the editor and then select your preferred blur type from the available resources in Canva! From there, place the blur around the edges of your photo. You can choose how much blur you want to apply to your image. Once done, click on the “Share” button to save your changes.
9 Related Question Answers Found
If you’re looking to add a little bit of mystery to your photos, or simply want to focus on one area of the image, blurring part of a photo is a great way to do it. Canva makes it easy to blur your photos with our simple, easy-to-use Blur tool. To start, open up your photo in Canva and select the Blur tool from the left-hand toolbar.
There are a few different ways that you can blur an image in Canva. One way is to use the Blur Tool. With the Blur Tool, you can select how much blur you want to apply to an image.
Do you ever look at a photo and wish you could blur out certain elements? Maybe there’s a person in the background that you don’t want people to see, or maybe there’s a sign that’s just too distracting. Whatever the case may be, blurring out objects in Canva is easy!
There are two different ways that you can blur a shape in Canva:
1. To blur a shape in Canva, you must convert the shape into an image. You can do this inside Canva by just selecting a shape and downloading the shape as a PNG file with a transparent background.
Can You Fade Edges of Photos in Canva? Yes, you can fade the edges of photos in Canva by using gradient elements. Simply open your image in Canva’s editor, then select “Elements” from the left menu.
There are a few different ways that you can blur out part of a picture on Canva. The first way is to use the Blur tool. To do this, click on the Blur tool in the left toolbar.
Whether you’re creating a marketing campaign or designing a website, you’ll likely need to use photos with transparent backgrounds. Canva is a great tool for creating designs with transparent backgrounds, but what if you need to remove the background from an existing photo? In this article, we’ll show you how to remove the background from a photo in Canva using the Background Eraser tool.
Yes, you can grayscale an image in Canva. To do so, simply click on the image to select it, then click on the “Edit” button in the top toolbar. In the pop-up menu that appears, select “Adjustments,” then “Grayscale.” Your image will now be converted to black and white.
There are a few ways to blur a shape on Canva. One way is to use the eraser tool. Select the eraser tool from the toolbar and then hover over the edge of the shape you want to blur.