In design, we often use “pixels” and never think twice about it. But what about when we’re dealing with screen sizes that are not in pixels?
“Inches” is a common unit of measurement for screens, whether we’re talking about monitors, laptops, or phones.
Can we use inches in Figma?
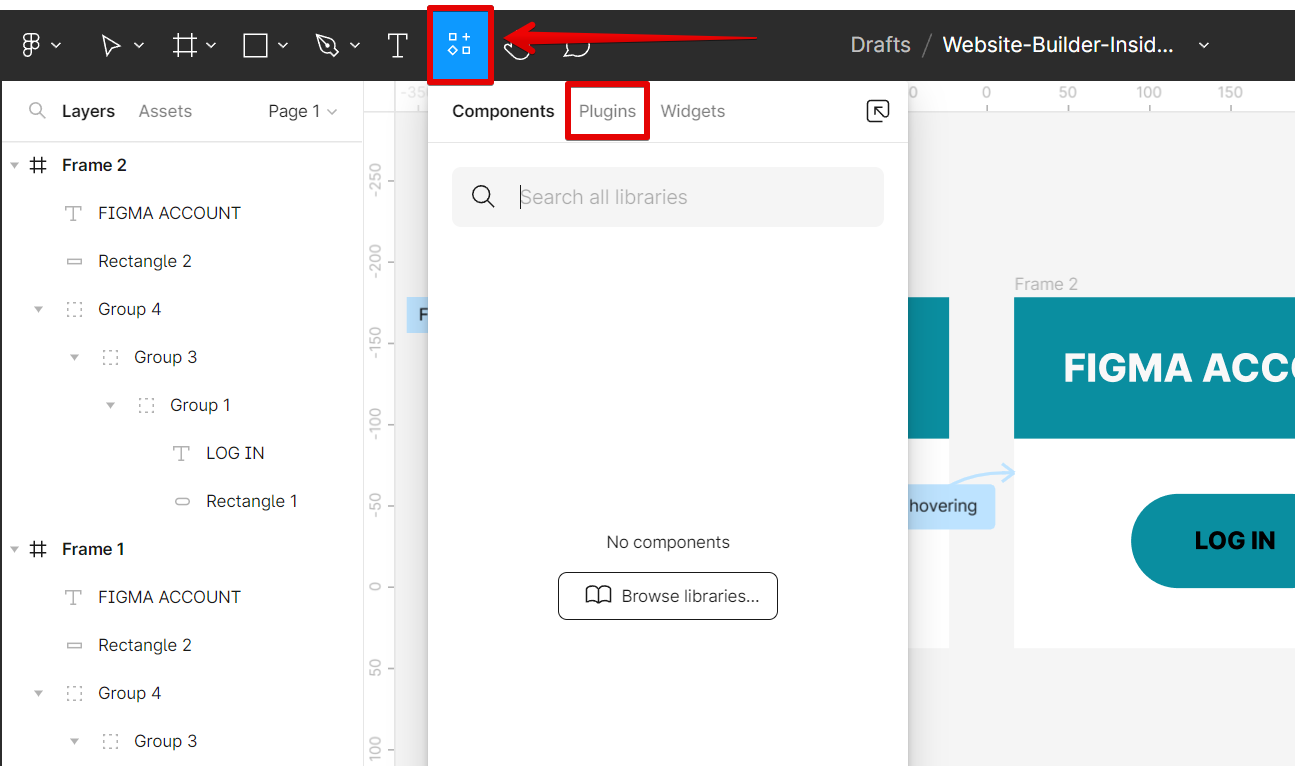
The answer is yes! You can use inches in Figma by going to the “Resources” section in the top menu bar and selecting the “Plugins” tab.
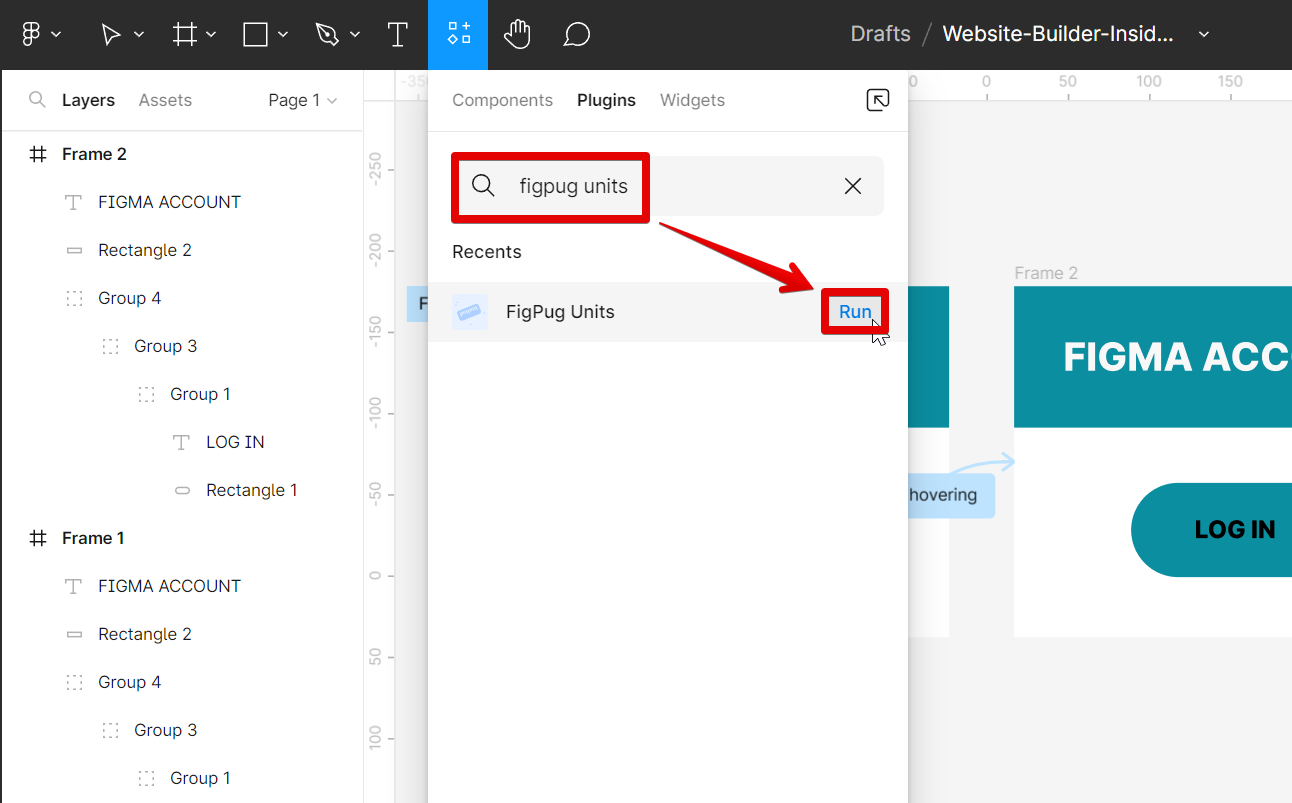
From there, search for “figpug units” and click on the “Run” button beside the FigPug Units plugin.
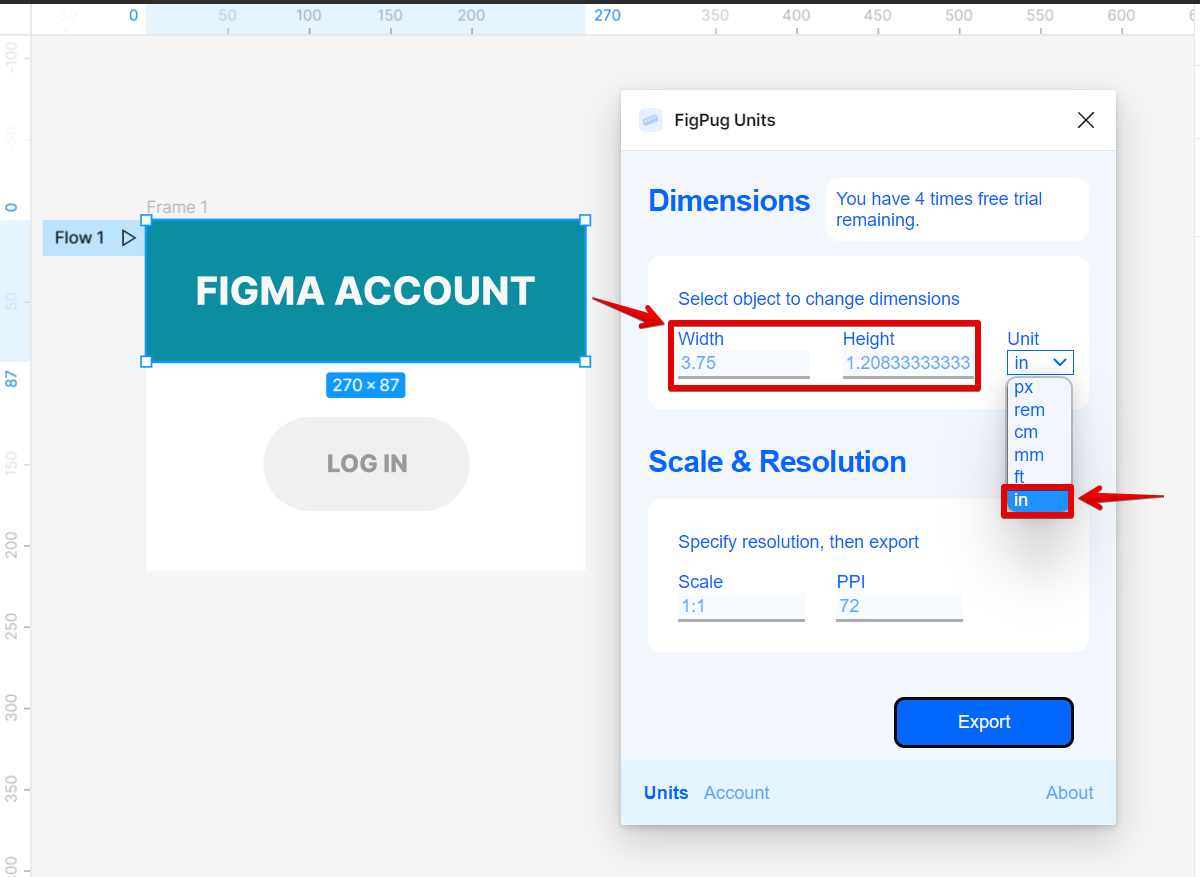
Once the FigPug Units plugin is running, click on the element that you would like to measure and select from the drop-down menu of measurement units the “in” option. Your element’s width and height measurements will then be shown in inches.
PRO TIP: If you use inches in Figma, your design will not be pixel-perfect.
This can be helpful when you’re working with devices that have different screen sizes. For example, if you’re designing a website that will be viewed on both a phone and a desktop, you can easily switch between the two units to see how your design will look on each screen. You can also use inches when you’re working with elements that have a specific size in inches, such as images or icons.
Conclusion:
Yes, you can use inches in Figma by running the FigPug Units plugin. Just select the element that you want to measure and FigPug Units will show you its dimensions in inches.
10 Related Question Answers Found
There’s no denying that Figma is a powerful design tool. But can it really replace Photoshop or Sketch when it comes to more advanced design tasks? Let’s take a closer look at what Figma has to offer and see if it’s up to the challenge.
When it comes to creating a logo, one of the first things you need to consider is the size. How big or small should your logo be? This can be a tricky question to answer, as there are a few factors to take into account.
When you are working on a design project in Figma, there are times when you need to change the export size of your design. Maybe you need to create a different version of your design for a different screen size, or you want to export your design to a higher resolution. Whatever the reason, Figma makes it easy to change the export size of your design.
Starting with Figma 0.9, we’ve made a lot of progress in our size handling. There are still some quirks, but overall it’s much more reliable and consistent. In this article, we’ll go over the different ways you can adjust the size of your models in Figma.
1.
When it comes to sizing in Figma, there are a few things you need to know. First, there are three ways to change the size of an object: by resizing the frame, by changing the width or height values in the Inspector, or by using the Scale tool. Second, when you resize an object, the size values in the Inspector will change to reflect the new size.
Figma is a vector graphics editor and design tool, developed by Figma, Inc. It is available for macOS, Windows, and Linux. Figma is used by designers at companies like Google, Facebook, Netflix, Airbnb, Uber, and more.
As a web developer, you may find yourself wondering how to make your Figma UI smaller. Fortunately, there are a few simple steps you can take to reduce the size of your Figma UI. First, consider using a smaller font size for your Figma UI.
As a design tool, Figma is unrivaled. It’s vector-based, web-based, and has an infinite canvas. But one thing it doesn’t have is the ability to scale by percentage.
There are a few different ways that you can change the screen size in Figma. The first way is to go to the top left corner of the screen and click on the drop-down menu. From there, you can select the size that you want.
Differentiating between product variants can be difficult, especially when those variants are different sizes. That’s where Figma comes in. With Figma, you can create variants that are different sizes without having to create separate files for each size.