There are a few ways to add glyphs to a font in Canva. One way is to upload a font style with glyphs from your files.
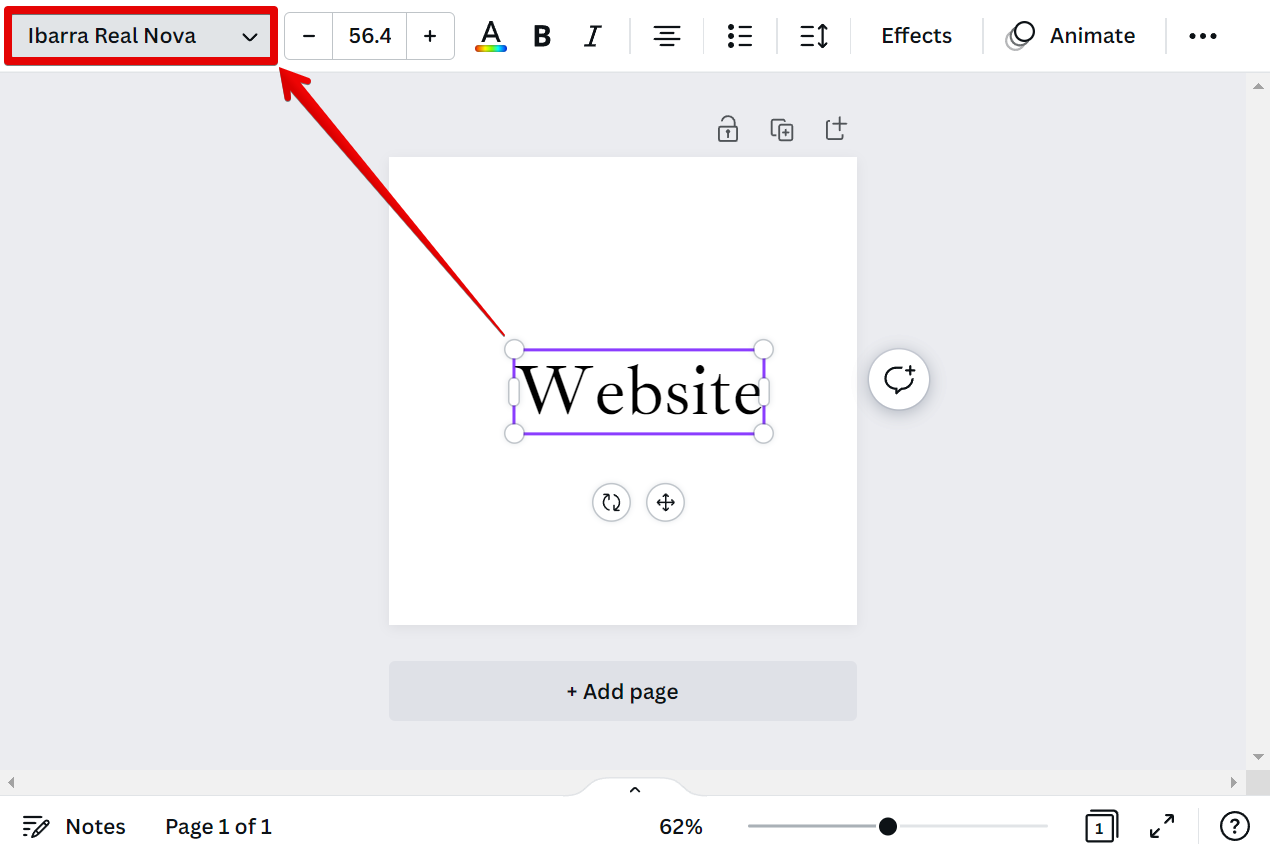
To do this, simply select the text you want to add a glyph to, then select the font style option in the top menu bar.
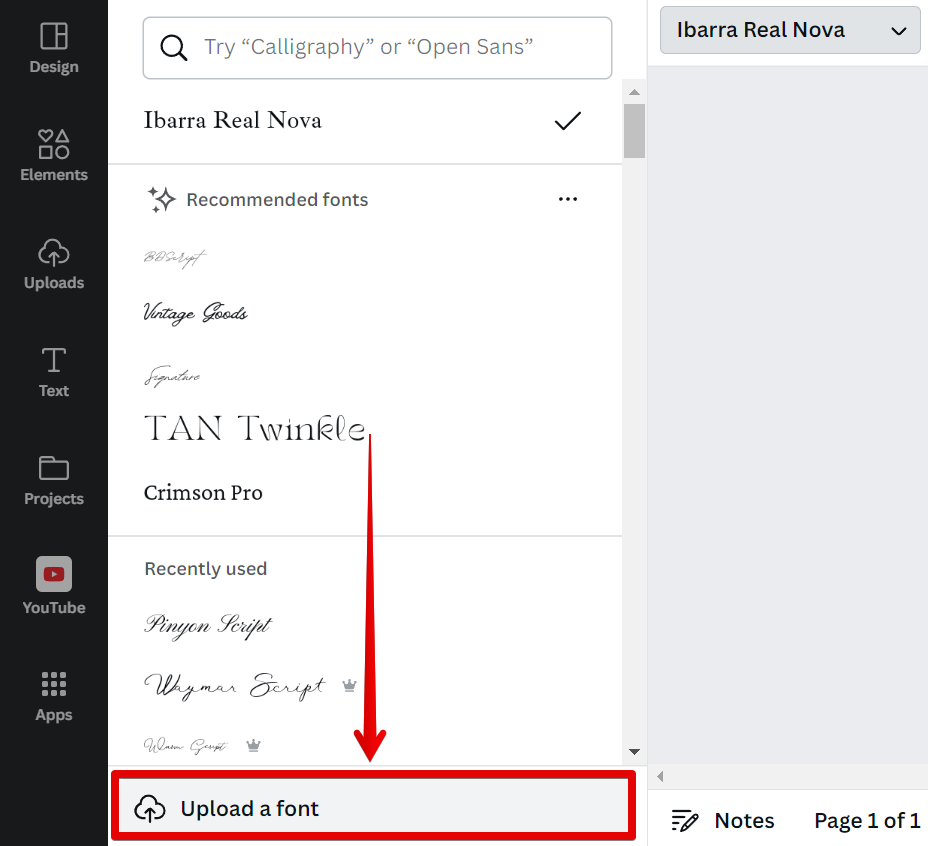
This will open up the font style menu. In this menu window, click on the “Upload a font” button.
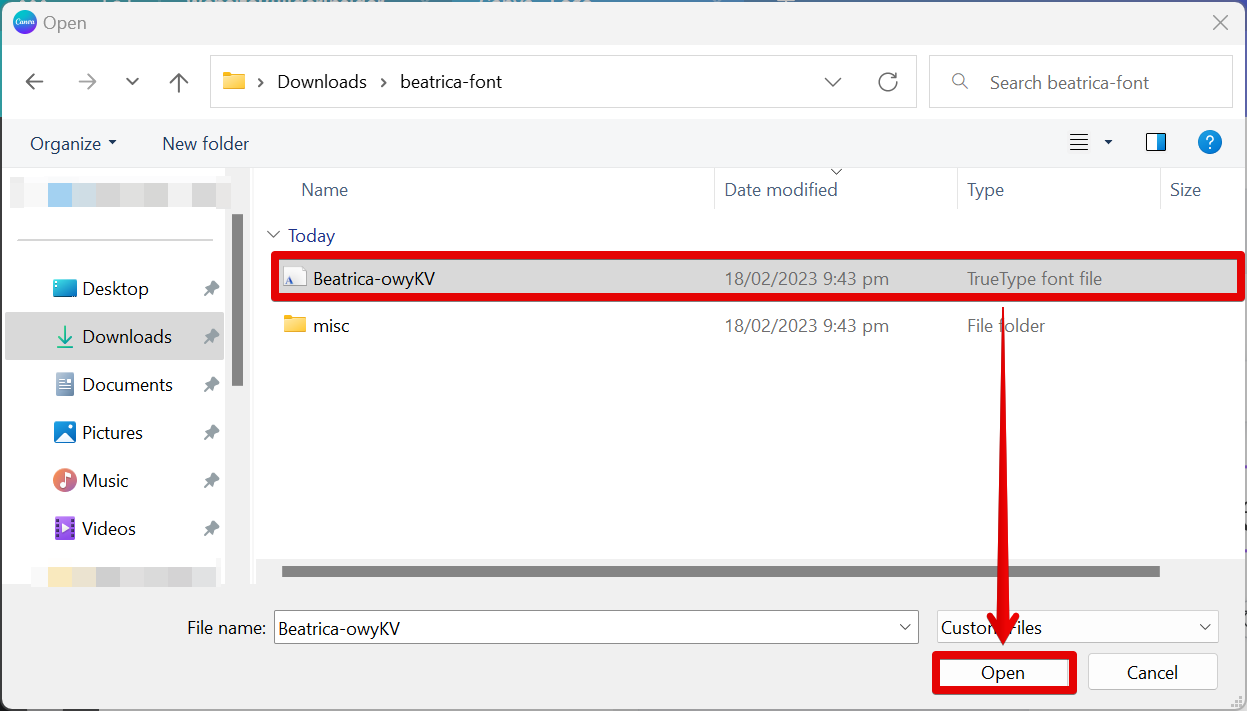
In the File Manager window that will appear, select the font style file with the glyphs that you would like to add to your fonts.
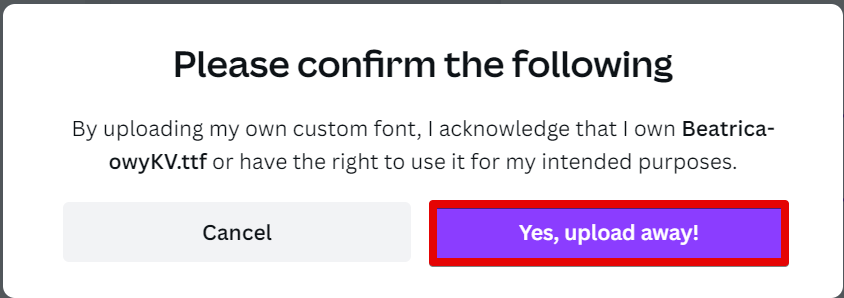
You will then be asked to confirm the upload of your new font. Click on the “Yes, upload away!” button to confirm.
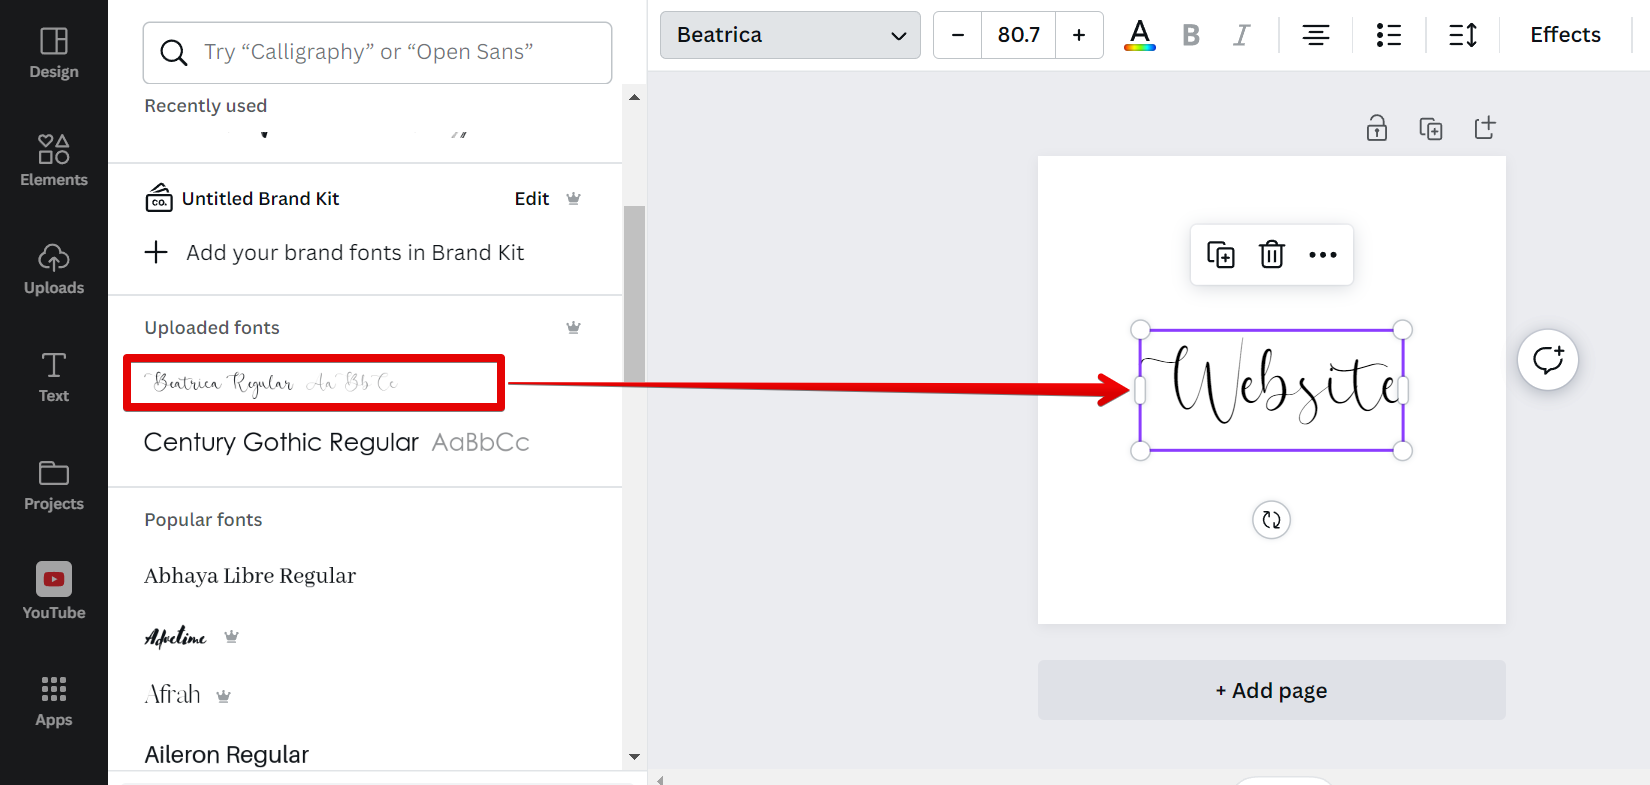
Once your font is uploaded, select it in the “Uploaded fonts” section. The font with glyphs will then be automatically applied to your text!
PRO TIP: If you are not familiar with Canva or font design, we recommend that you do not attempt to add glyphs to a font. This process can be complex and time-consuming and may result in errors that can be difficult to fix.
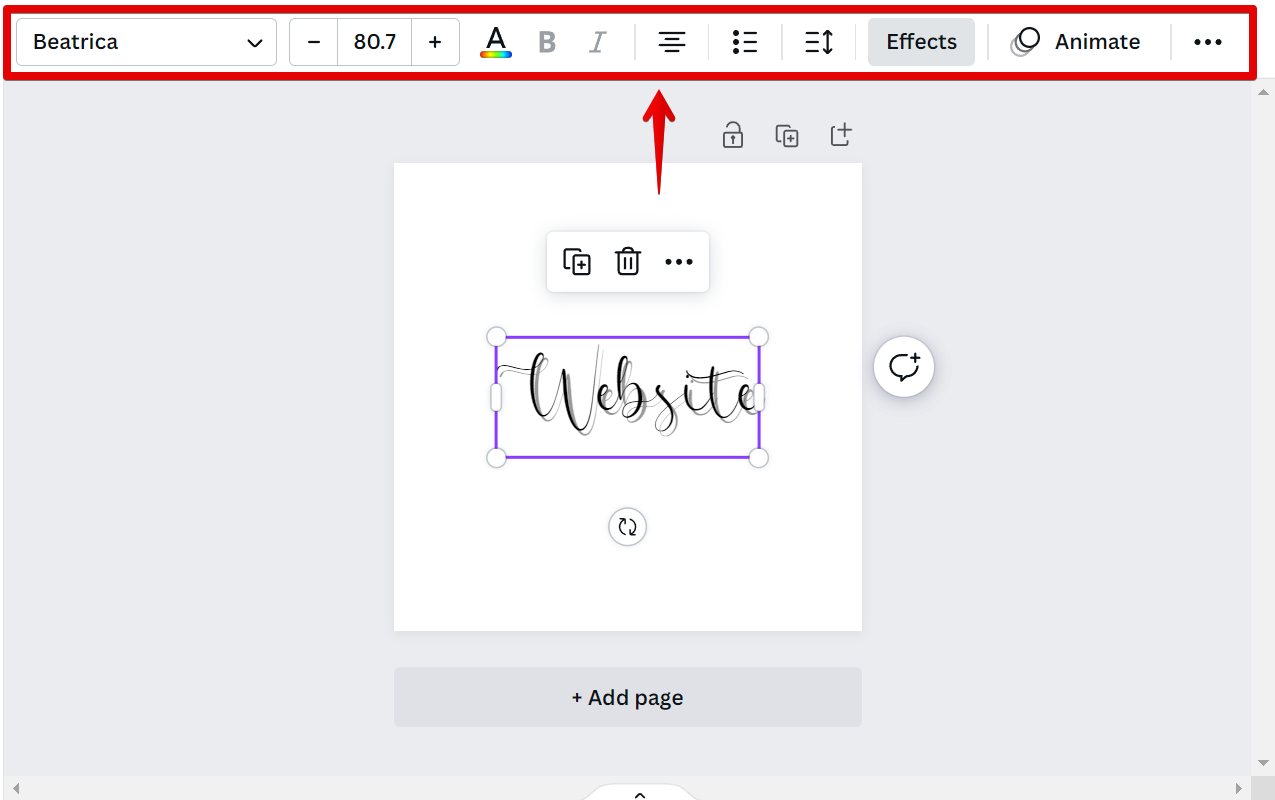
Once you have added a glyph to your font in Canva, you can style it using the menu at the top. To do this, simply select the text you want to style, and then select the options you want from the ‘Text’ toolbar at the top. For example, you can bold or italicize your text, change its color or size, or even add effects.
9 Related Question Answers Found
There are a few ways to get glyph fonts in Canva. The first way is to use the “Text” tool and click on the “Add Text” button. Then, click on the “T” icon in the top left corner of the text box.
Glyphs are little symbols that can be used to add visual interest to your designs. You can find them in the icons section of the Canva editor. To add a glyph, simply click on the icon and drag it onto your design.
If you want to get really creative with your design work in Canva, you may want to access some of the more unique features that are hidden away in the Glyphs tab. Glyphs are special characters that you can use to add visual interest to your work, and accessing them is simple once you know where to look. To access the Glyphs tab in Canva, simply click on the Text tool in the left-hand sidebar and then click on the Glyphs icon at the top of the interface.
There are a few different ways that you can add moving elements to your Canva design. You can use animated GIFs, or you can use HTML5 animations. To add an animated GIF to your design, first create a new image element.
Adding a Swashe font to Canva is simple and easy! First, open up Canva and create a new design. Then, click on the “Text” tab on the left-hand side of the screen.
Adding icons to Canva is a great way to add some visual interest to your designs. You can use icons to represent different concepts or ideas, or simply to add some decoration. Canva has a wide selection of icons available, and you can even upload your own.
There are a few different ways that you can add fonts to Canva. One way is to use the text tool and then click on the “Add Fonts” button. This will open up a window where you can browse through all of the fonts that are available to use.
It’s easy to add a logo to a photo in Canva. Here’s how:
1. Open Canva and sign in or create an account.
2.
You can add graphics to your Canva design in a few different ways:
1. Upload your own images
The first way you can add graphics to your Canva design is by uploading your own images. This is a great option if you have specific images in mind that you want to use, or if you want to use images that you’ve already created.