Have you ever wanted to change a number in a photo but didn’t know how? Photoshop makes it easy to change numbers in photos. Here’s how:
1. Open the photo you want to edit in Photoshop.

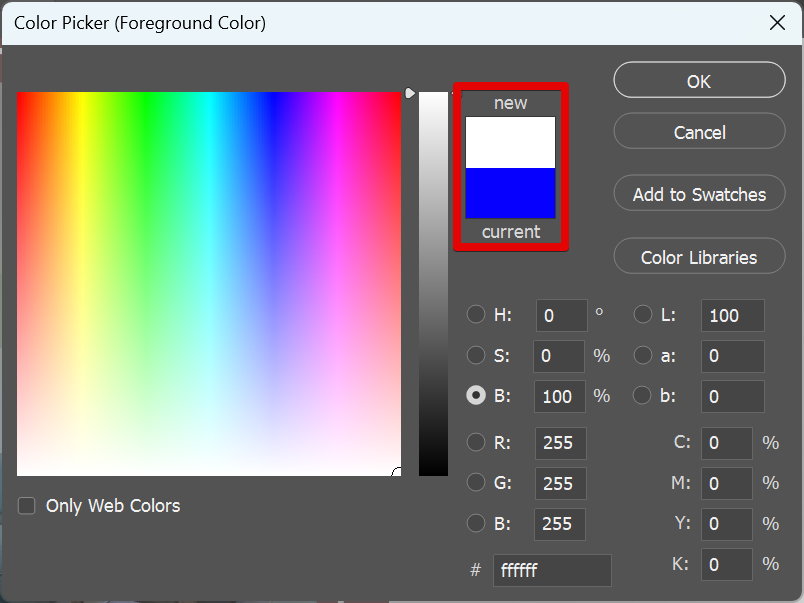
2. Match the foreground color with the number’s background color. You can do this by opening the Color Picker.

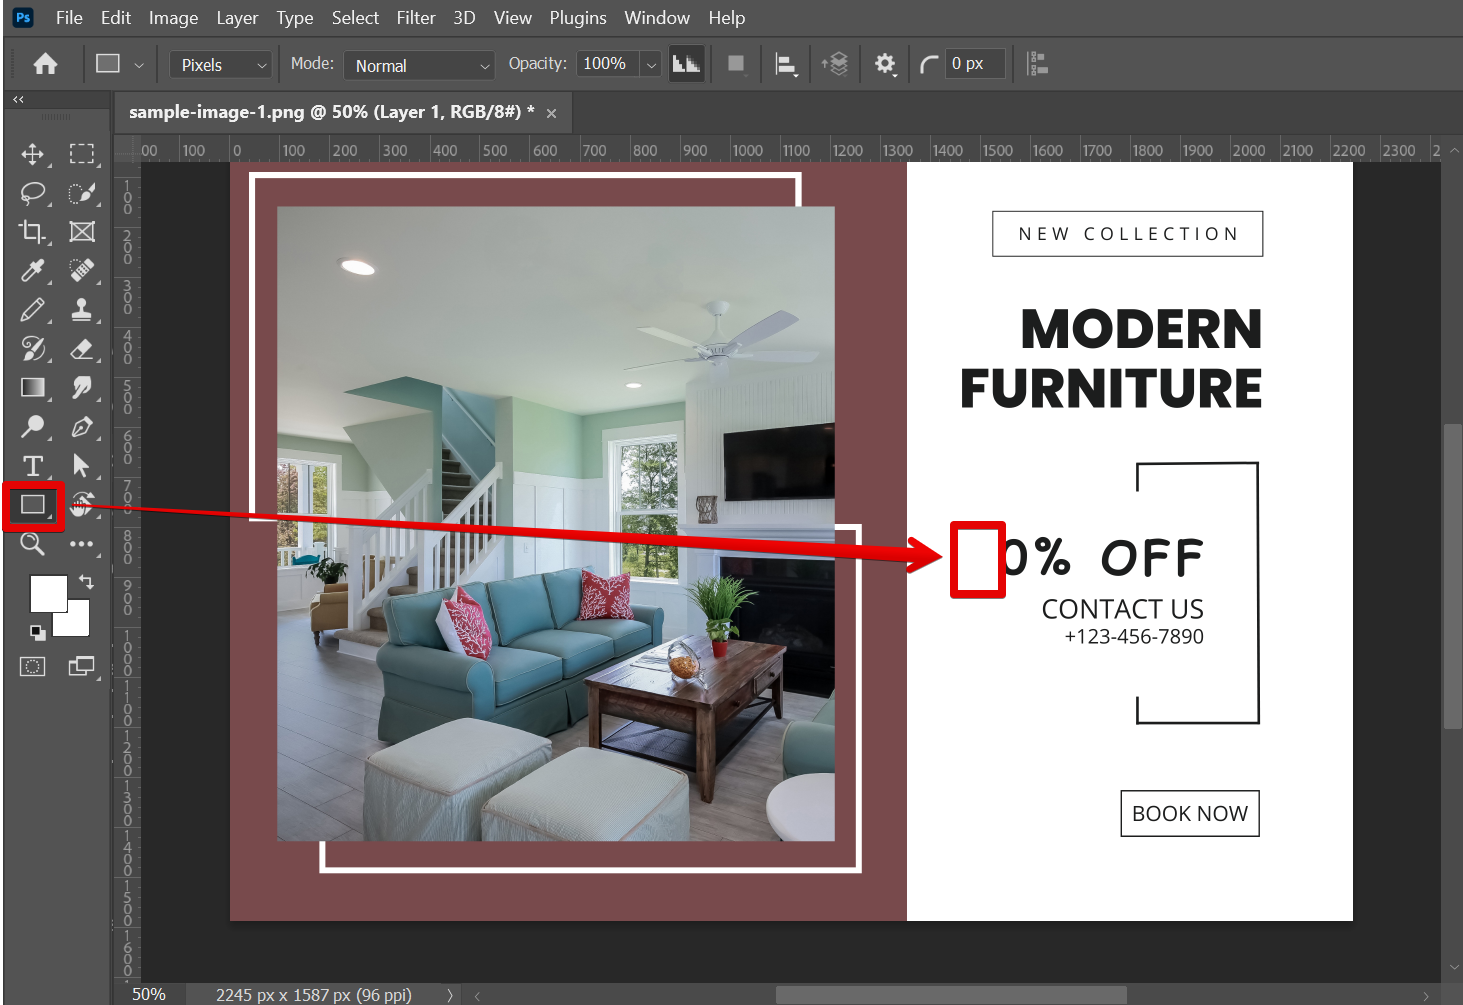
3. Cover the number in the photo you want to replace. You can do this by drawing a rectangle above it using the Rectangle Tool. The resulting rectangle will then have a fill color that is the same as the background color of the text.
NOTE: You will not be able to achieve the expected result in this step if you skipped step number 2, so be sure to follow all the steps.

4. Type in the new number. You can do this by selecting the Text Tool from the left toolbar.

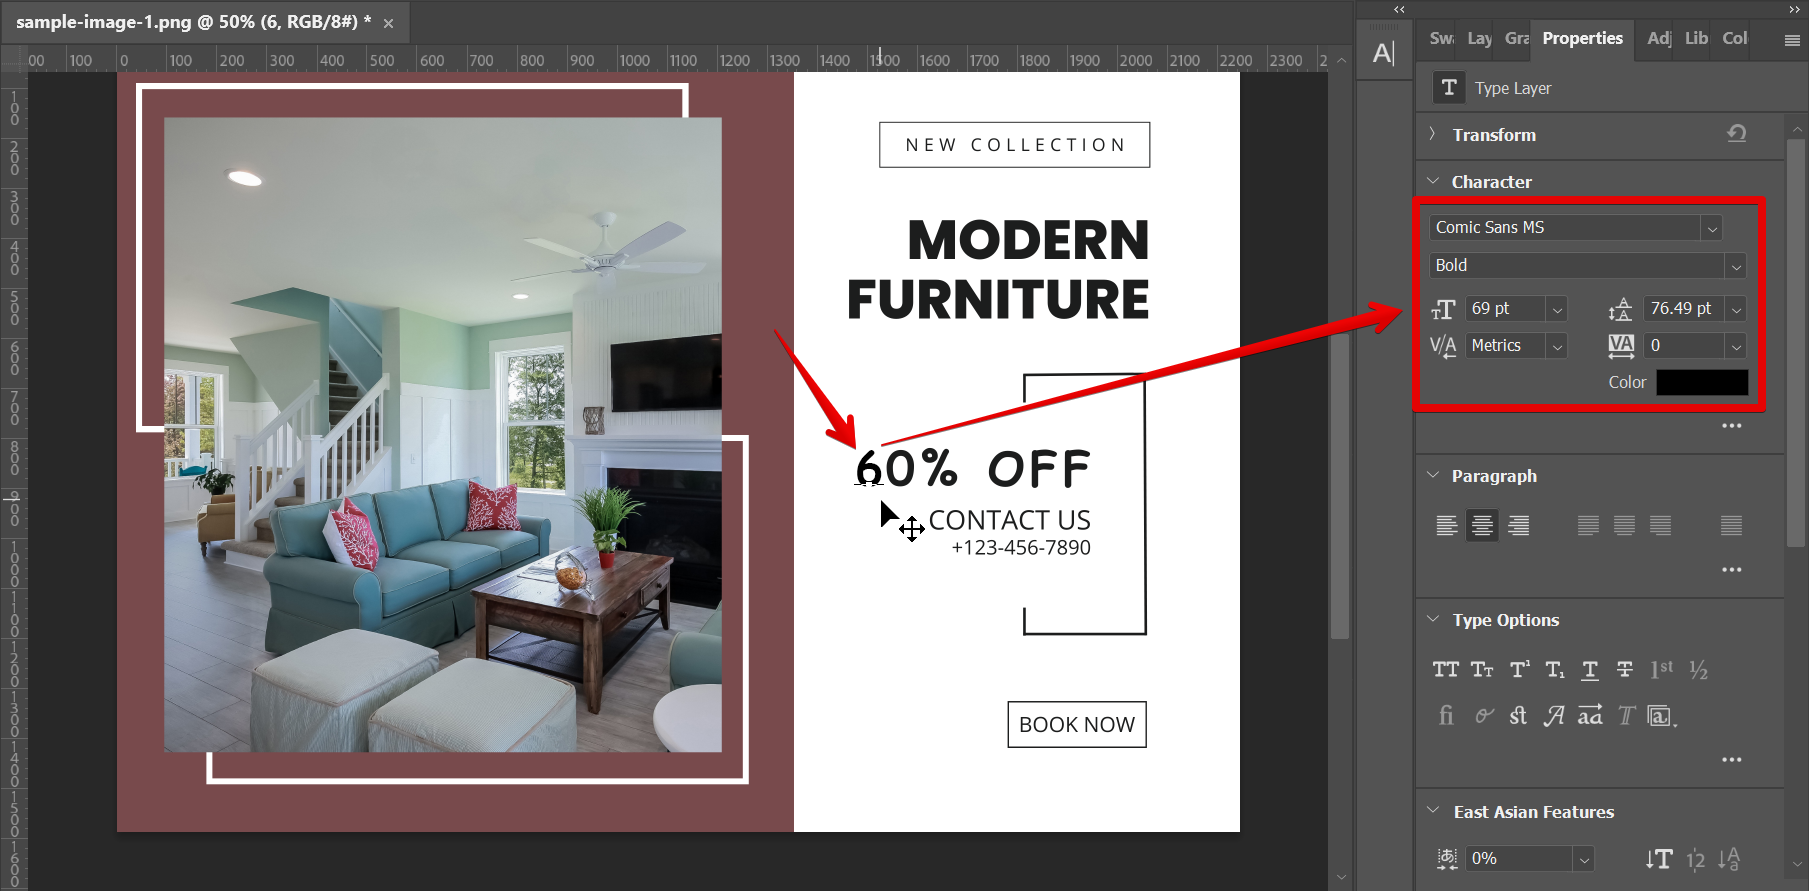
5. Match the new number’s appearance with the replaced number. Use the Move Tool to place the new number above the covered number and then go to the Character settings under the Properties tab to change the font’s size, color, and style, accordingly. Once done, just click on the check icon at the top menu to confirm your changes.

6. And that’s it! The number in your photo is now replaced perfectly!

That’s all there is to it! Changing numbers in Photoshop is easy and can be done in just a few simple steps.
PRO TIP: If you are not familiar with Photoshop, or do not have experience working with the tools in Photoshop, this article may not be for you. Changing numbers in Photoshop can be tricky, and if you are not careful, you could end up ruining your image. It is recommended to ask for assistance from a professional graphic designer to avoid mistakes.
Conclusion:
To change numbers in Photoshop, first, open the photo you want to edit. From there, cover the number that you want to replace with a rectangle using the rectangle tool, however, make sure that the color of the rectangle matches the number’s background color. Then, select the “Text” tool from the toolbar on the left, then type in the new number. Make sure to match the properties of the text that you will be replacing such as font size, color, and style. Once done, click on the check icon at the top to confirm the change.
10 Related Question Answers Found
If you’re working with text in Photoshop, there may be times when you want to change the color of the text. Thankfully, this is a relatively easy process. Here’s a step-by-step guide on how to do it.
There are a couple different ways that you can change colors in Photoshop. One way is to use the color picker tool. To do this, first make sure that the color picker tool is selected in the toolbox.
Whether you’re a beginner or a seasoned pro, there are a few basic things you need to know about how to change colors in Photoshop. Here are some tips to help you get started:
1. The first thing you need to do is open up your image in Photoshop.
Photoshop is a widely used photo-editing software that offers a number of features and options for users. One of the things that you can do in Photoshop is change the text direction. This can be useful if you want to create a mirror image effect or create text that runs vertically instead of horizontally.
There are a couple of different ways that you can change the page size in Photoshop. You can either change the canvas size or the image size. To change the canvas size, go to Image > Canvas Size.
In Photoshop, you can change the text in a number of ways. You can use the Text tool to type new text, or you can use the Type tool to edit existing text. To change the text using the Text tool, simply click on the area where you want to add text and start typing.
There are many ways to change hair color in Photoshop, but some methods are easier than others. One easy way to change hair color is to use the Hue/Saturation tool. With this tool, you can quickly and easily change the color of your hair.
When it comes to digital photography, color management is important to get right. There are a lot of factors that can influence how your colors will appear onscreen and in print, from the lighting conditions when you take the photo, to the way your camera processes color data, to the color profile of your monitor. And if you’re doing any kind of color-critical work, such as graphic design or professional photography, then you need to be aware of how to change the default color profile in Photoshop.
Have you ever run into the problem of having an image that is the wrong size for your document? Or maybe you have an image that is too small and you want to make it bigger. Whatever the case may be, changing the size of an image in Photoshop is a very simple process.
There are a few different ways to change the position of a picture in Photoshop. You can move the picture using the Move Tool, by changing the x and y coordinates in the options bar, or by using the arrow keys on your keyboard. The Move Tool is the easiest way to move a picture.

