In Figma, the rotation point is the anchor point around which an object rotates. By default, the rotation point is centered in the middle of an object.
However, you can change the rotation point to any location on the object. This can be useful for creating certain types of animations.
To change the rotation point in Figma:
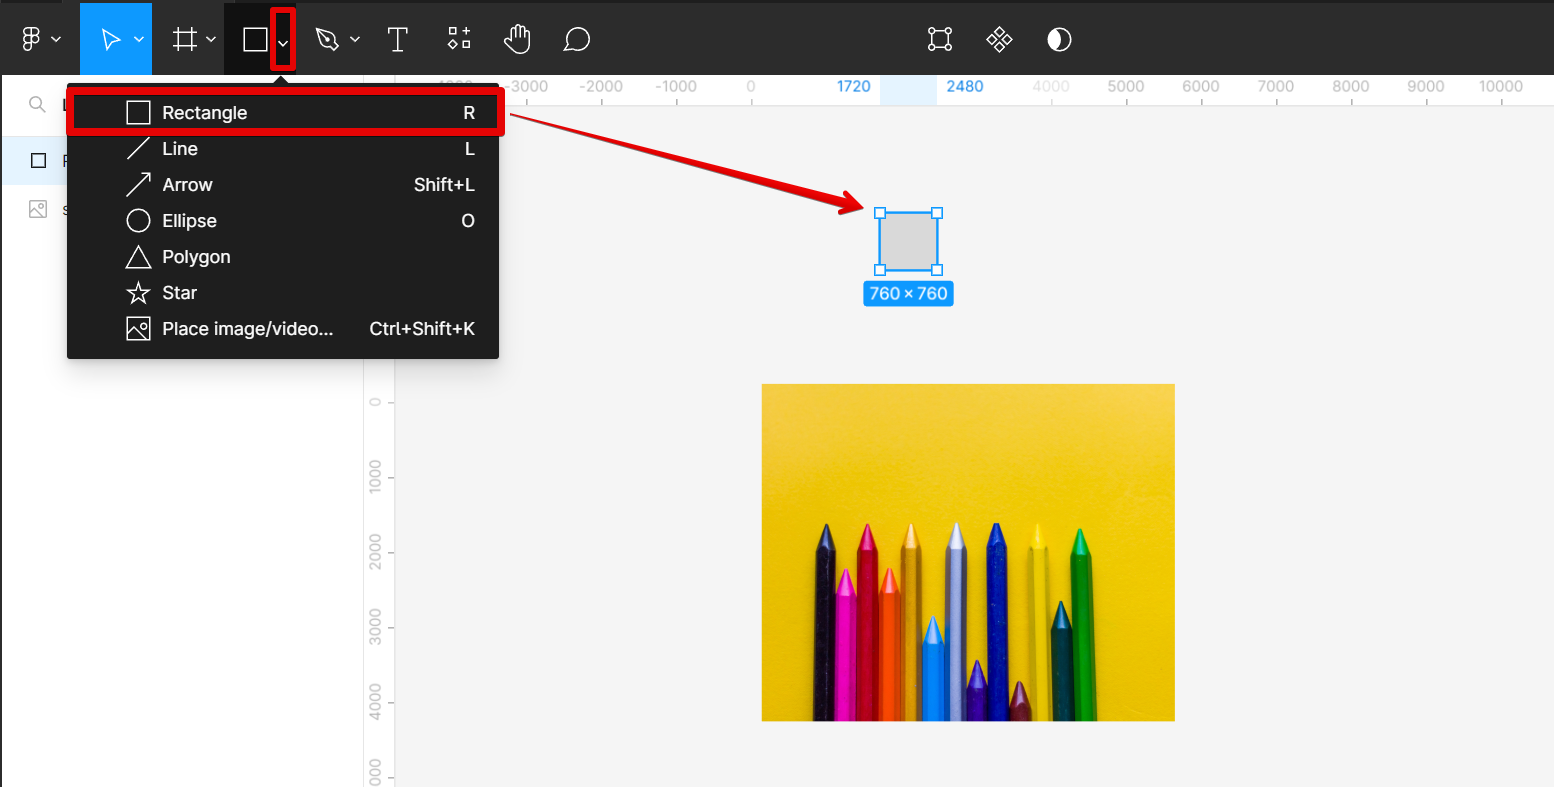
1. Create a shape object that will serve as the pivot point or rotation point of the object.
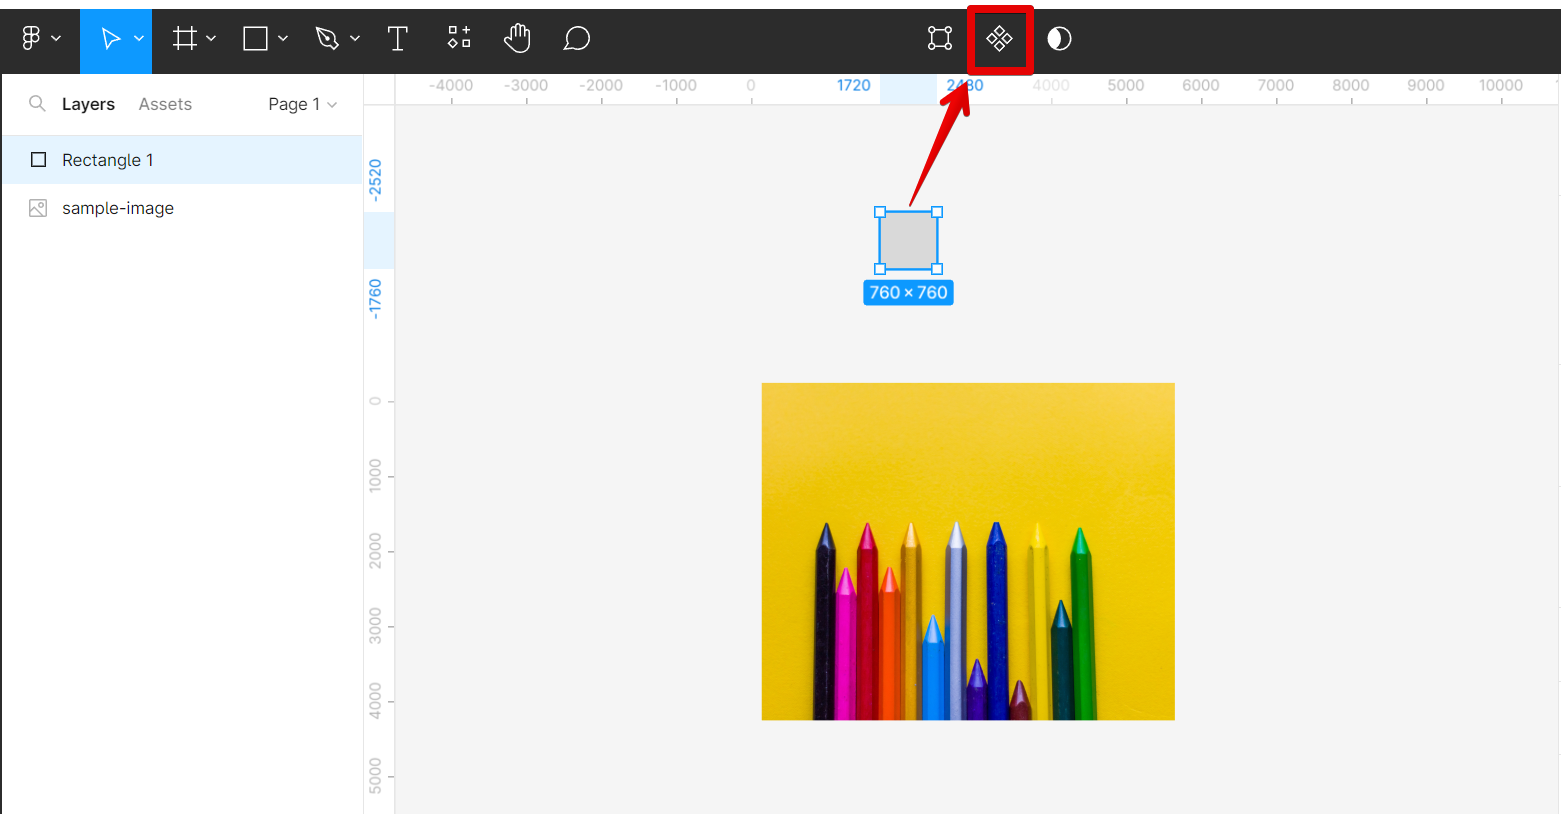
2. With the shape selected, go to the top menu and click on the “Create component” button.
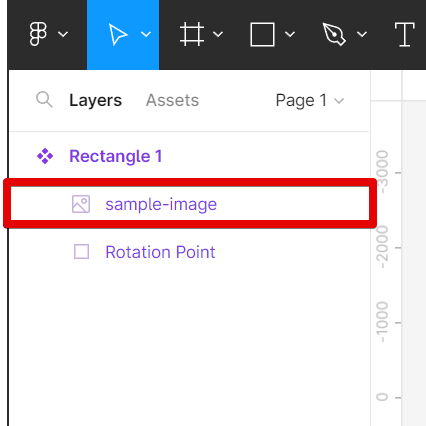
3. Go to the Layers section and drag the object that you want to rotate inside the component.
NOTE: You can change the name of the shape you added to “Rotation Point” or “Pivot Point” to be easily distinguishable.
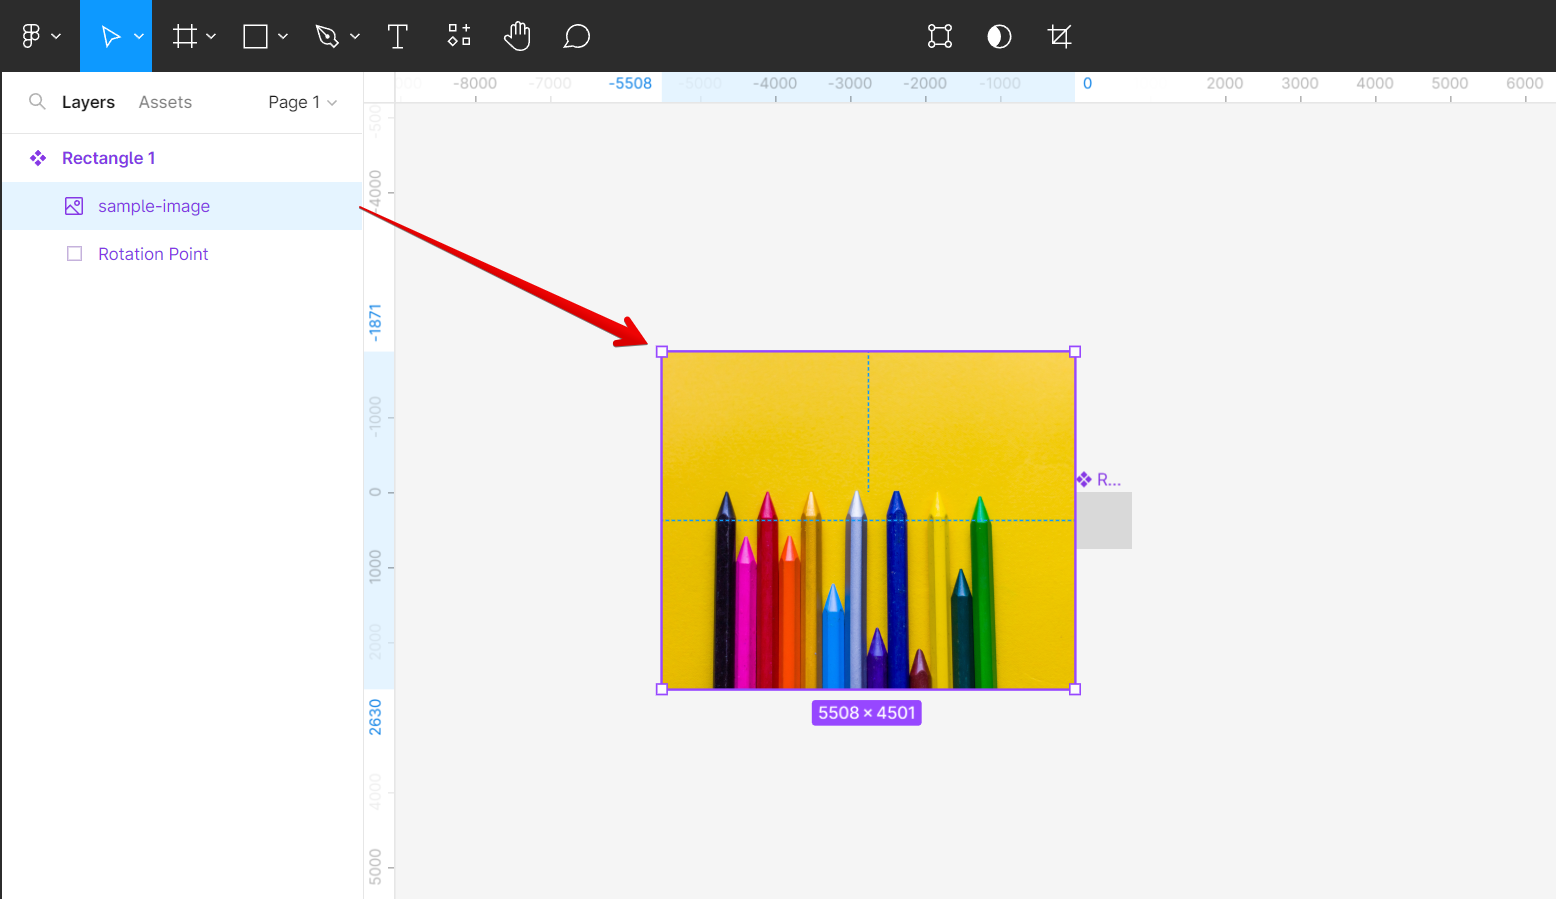
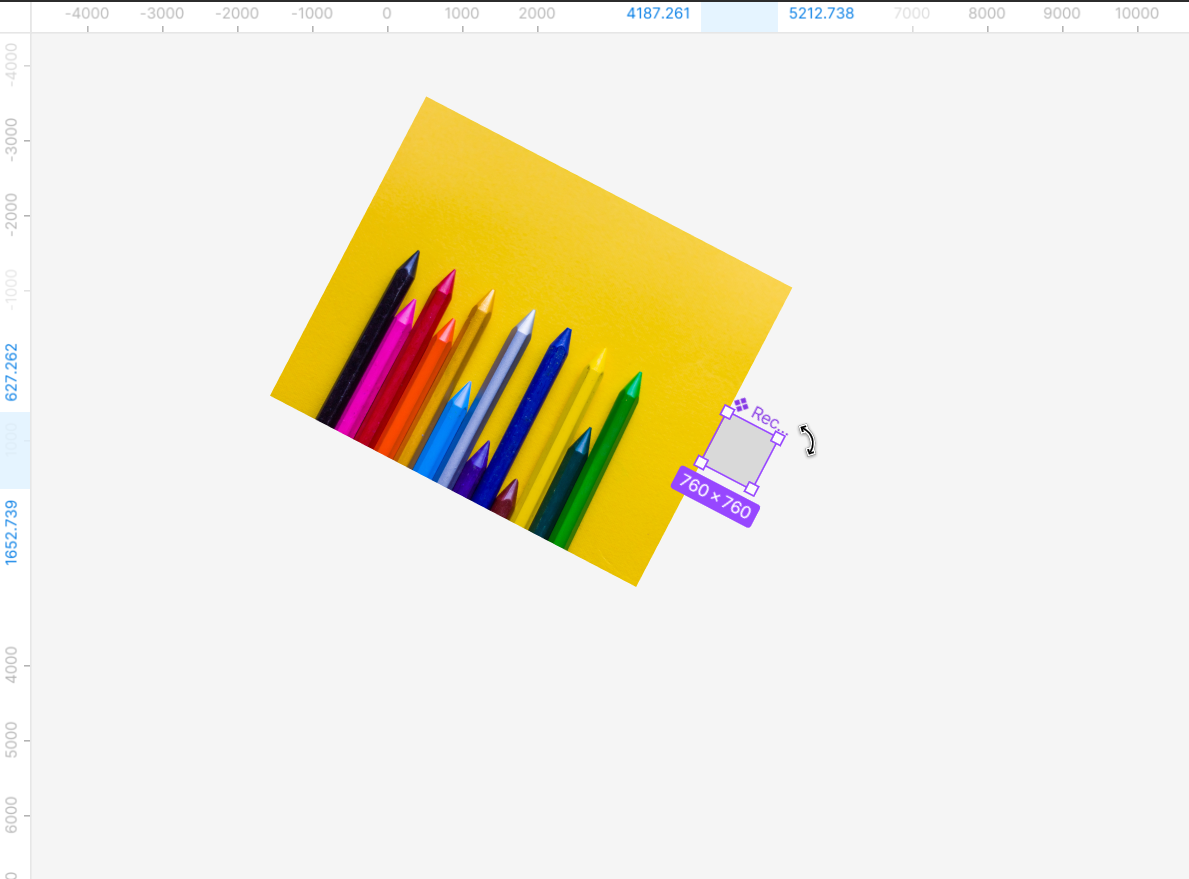
4. Click and drag the object and place its side to the desired location of the rotation point.
5. Rotate the object using the rotation point.
Conclusion:
The article explains how to change the default anchor or rotation point in Figma to any other custom location on an object. This could be useful for making certain types of animations where you want an object to rotate around a specific point.
PRO TIP: If you are not careful when changing the rotation point in Figma, you may end up with your object rotated in an unintended way. Make sure to check your object’s rotation after changing the rotation point to make sure it is rotated the way you want it to be.
6 Related Question Answers Found
Figma is a vector graphics editor and prototyping tool – the first interface design tool with real-time collaboration. How do I rotate in Figma? To rotate an object in Figma, select the object and then use the Rotate control in the top toolbar.
Figma is a user interface design tool that helps users create and manage user interfaces. It is a popular choice for software design and development projects. In order to change a component in Figma, users must first identify the component they wish to change.
Figma is a great design tool that allows you to change the size, color, and font of your text, as well as the frame around it. You can also add images, links, and other elements to your text to make it more informative and engaging. However, if you want to change the frame around your text, you’ll need to use the Figma interface.
There are many ways to change properties in Figma. The most common way is to use the Properties panel on the right-hand side of the screen. To do this, first select the object you want to change.
If you’re anything like me, then you’re probably always looking for new ways to improve your design process. Whether that means trying out new software or learning new techniques, there’s always room for improvement. One area that I’ve been wanting to improve lately is my perspective in Figma.
If you want to change the shape of an object in Figma, there are a few different ways to do it. You can use the control points to move the edges of the shape, or use the transform controls to scale, rotate, or skew the object. To change the shape of an object using the control points:
1.