There is one simple way to convert a JPEG to a 3D image in Photoshop. That is to work in the 3D Workspace.
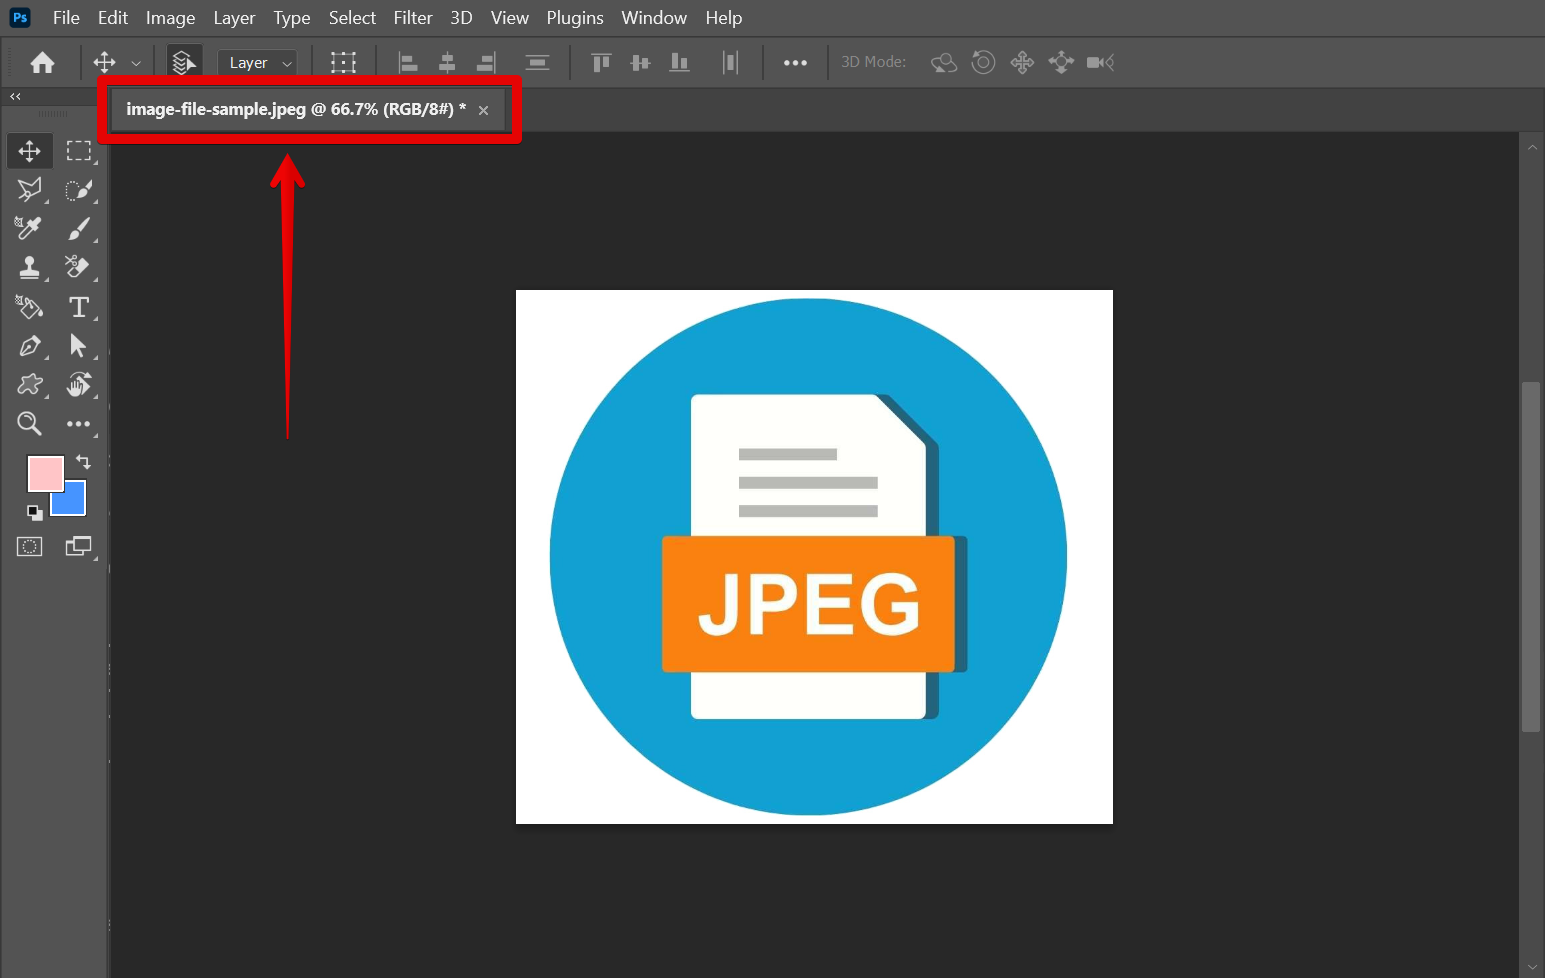
To use this tool, first, open the JPEG image in Photoshop.
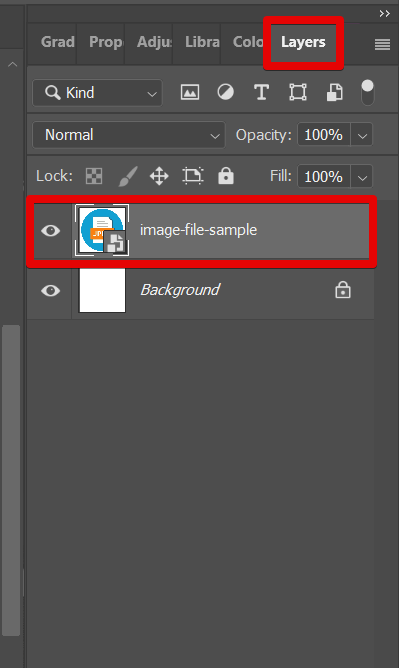
Then, select the JPEG image layer that you want to convert to a 3D object.
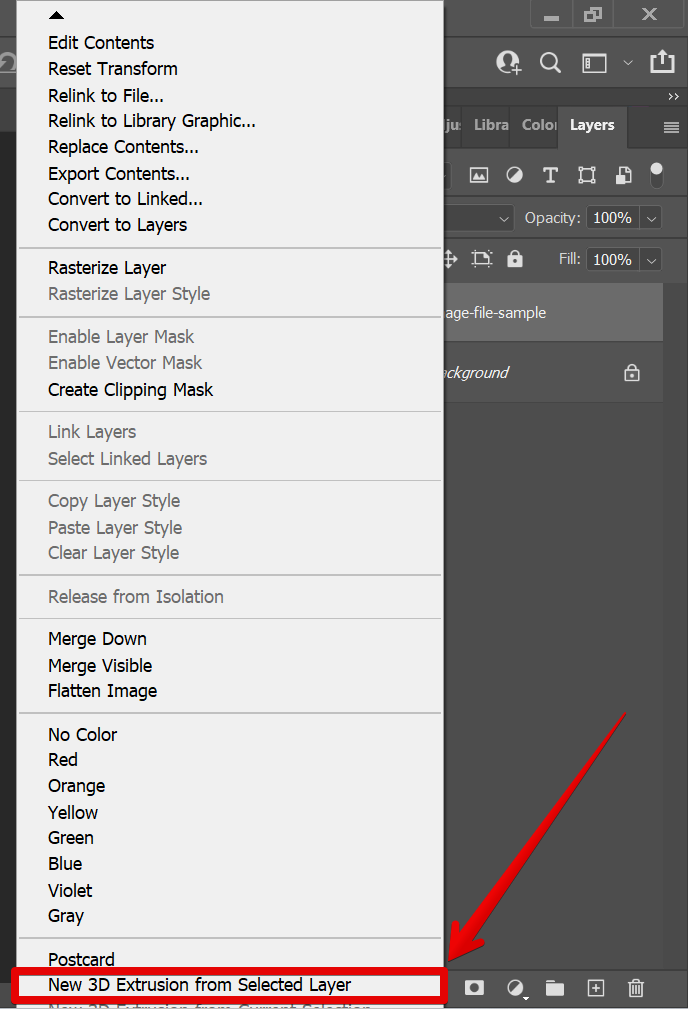
Right-click on the layer and select “New 3D Extrusion from Selected Layer” from the options.
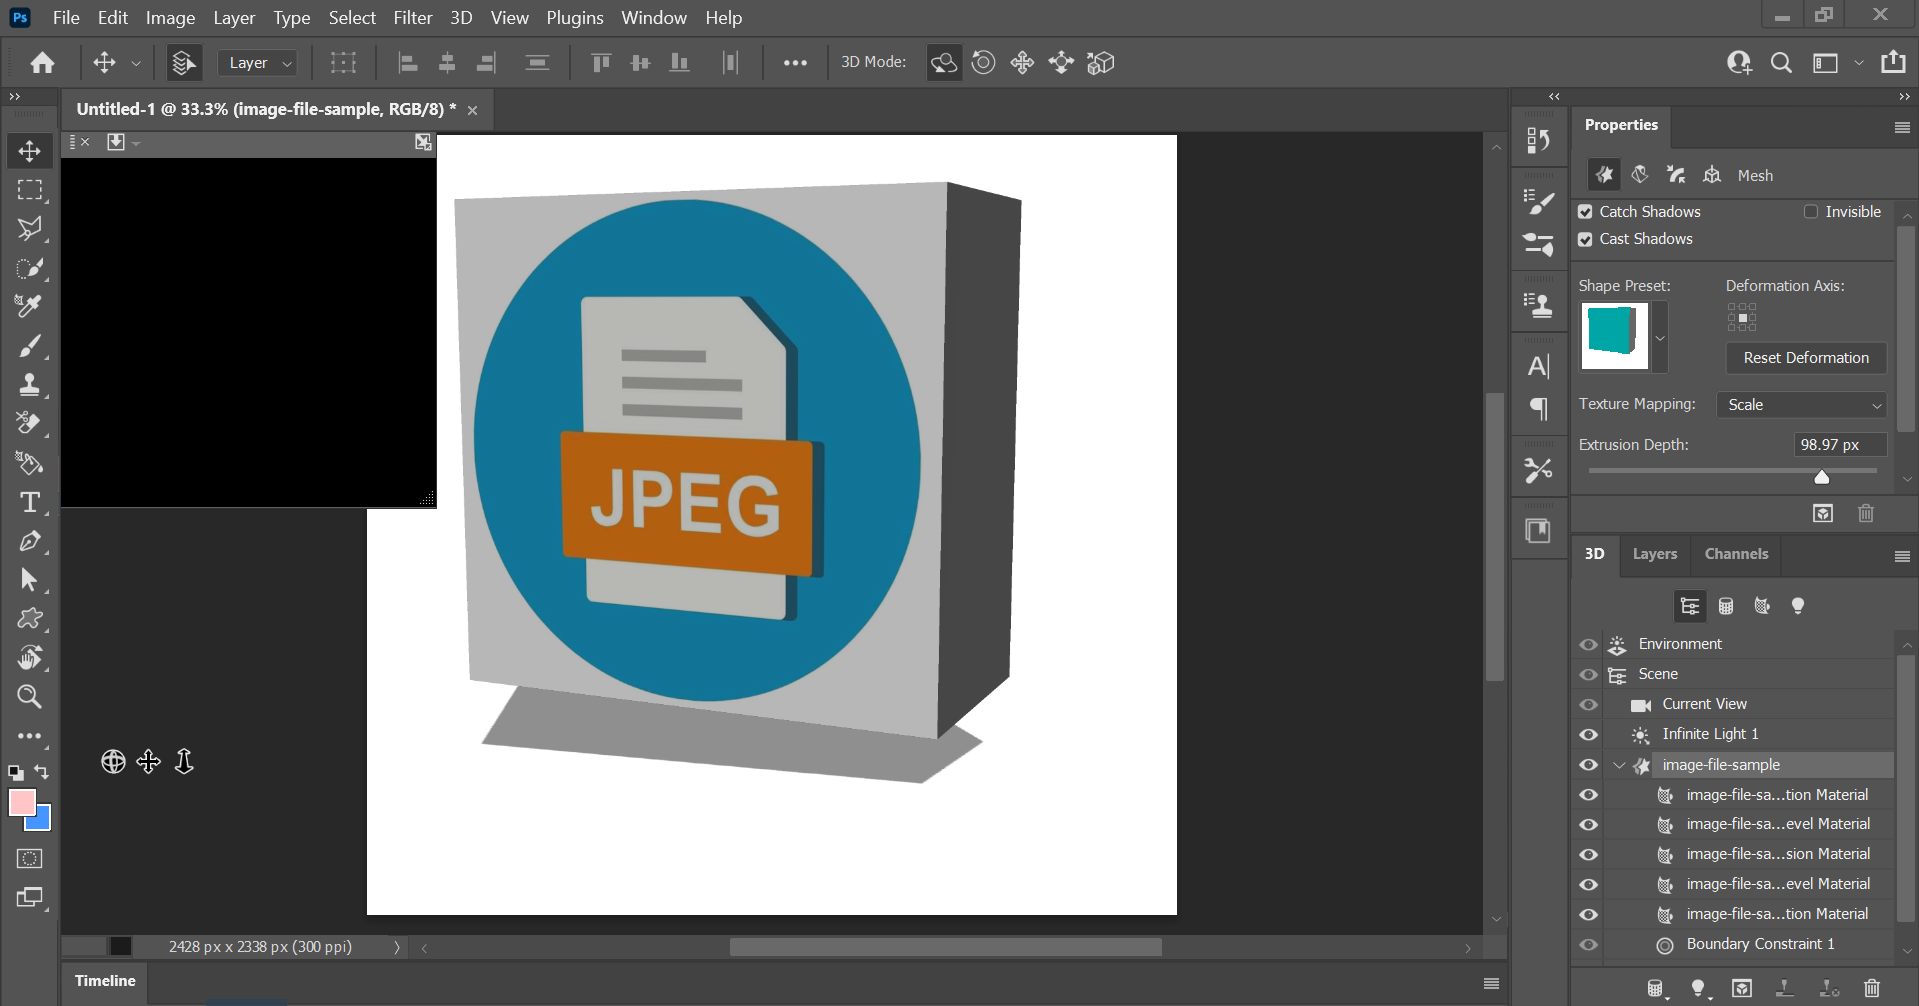
This will then bring you to the 3D Workspace in Photoshop where your JPEG image is converted into a 3D image.
PRO TIP: This article is about converting a JPEG to a 3D image in Photoshop. However, it is important to note that this process is not possible with all types of images and may not produce the desired results.
Conclusion:
The best way to convert a JPEG to a 3D image in Photoshop depends on what you plan to do with the final product. If you need it for some kind of design or presentation, then using the option “New 3D Extrusion from Selected Layer” to convert your JPEG image into a 3D image and enter the 3D Workspace in Photoshop is probably your best bet. However, if you just want to view the image in the 3D Workspace, opening the 3D Workspace (Window > Workspace > 3D) might be a better solution.
9 Related Question Answers Found
3D models can be imported into Photoshop in a number of ways, each with its own advantages and disadvantages. The most common method is to use the 3D import command in Photoshop’s File menu. This will bring up a dialog box asking you to select the file you want to import.
When it comes to creating three-dimensional images, Photoshop is a powerhouse of a program. Whether you’re looking to create a simple 3D effect or something more complex, Photoshop has the tools you need to get the job done. In this article, we’ll show you how to make an image look 3D in Photoshop.
Making an image 3D in Photoshop is not difficult, but there are a few steps that you will need to take to achieve the desired results. The first step is to create a 3D object in Photoshop. You can do this by creating a basic 3D object in Photoshop and then adding additional layers to it to create the desired effect.
There are a few different ways that you can make a 3D filter in Photoshop. You can use the 3D filter that is built into the program, or you can use a third-party plugin. If you want to use the built-in 3D filter, then you need to first select the layer that you want to apply the filter to.
There are a few ways that you can make a 3D shape in Photoshop. One way is to use the pen tool to draw a path around the shape that you want to make 3D. Once you have the path drawn, you can use the extrude option in the 3D menu to give your shape some depth.
In Photoshop, there are a number of ways to create 3D models. One way is to use the 3D tools in the toolbar. With these tools, you can create basic geometric shapes and then manipulate them to create more complex 3D models.
Adding 3D text to your photos can be a fun and easy way to add an extra layer of detail to your images. There are a number of different methods you can use to create 3D text in Photoshop, and each has its own benefits and drawbacks. One popular method is to use a 3D text plugin, like 3D Studio Max or Maya.
Photoshop is a very versatile program that can be used to create all sorts of effects. One of the most popular effects is the 3D effect. This can be achieved in a number of ways, but the most common method is to use the layer styles.
Photoshop is a widely used program for crafting 2D images, but did you know that it can also be used to create 3D models? That’s right – with the help of some plugins, you can turn Photoshop into a powerful 3D modeling tool. While it may not be as feature-rich as some dedicated 3D modeling programs, it’s still capable of creating high-quality 3D models.