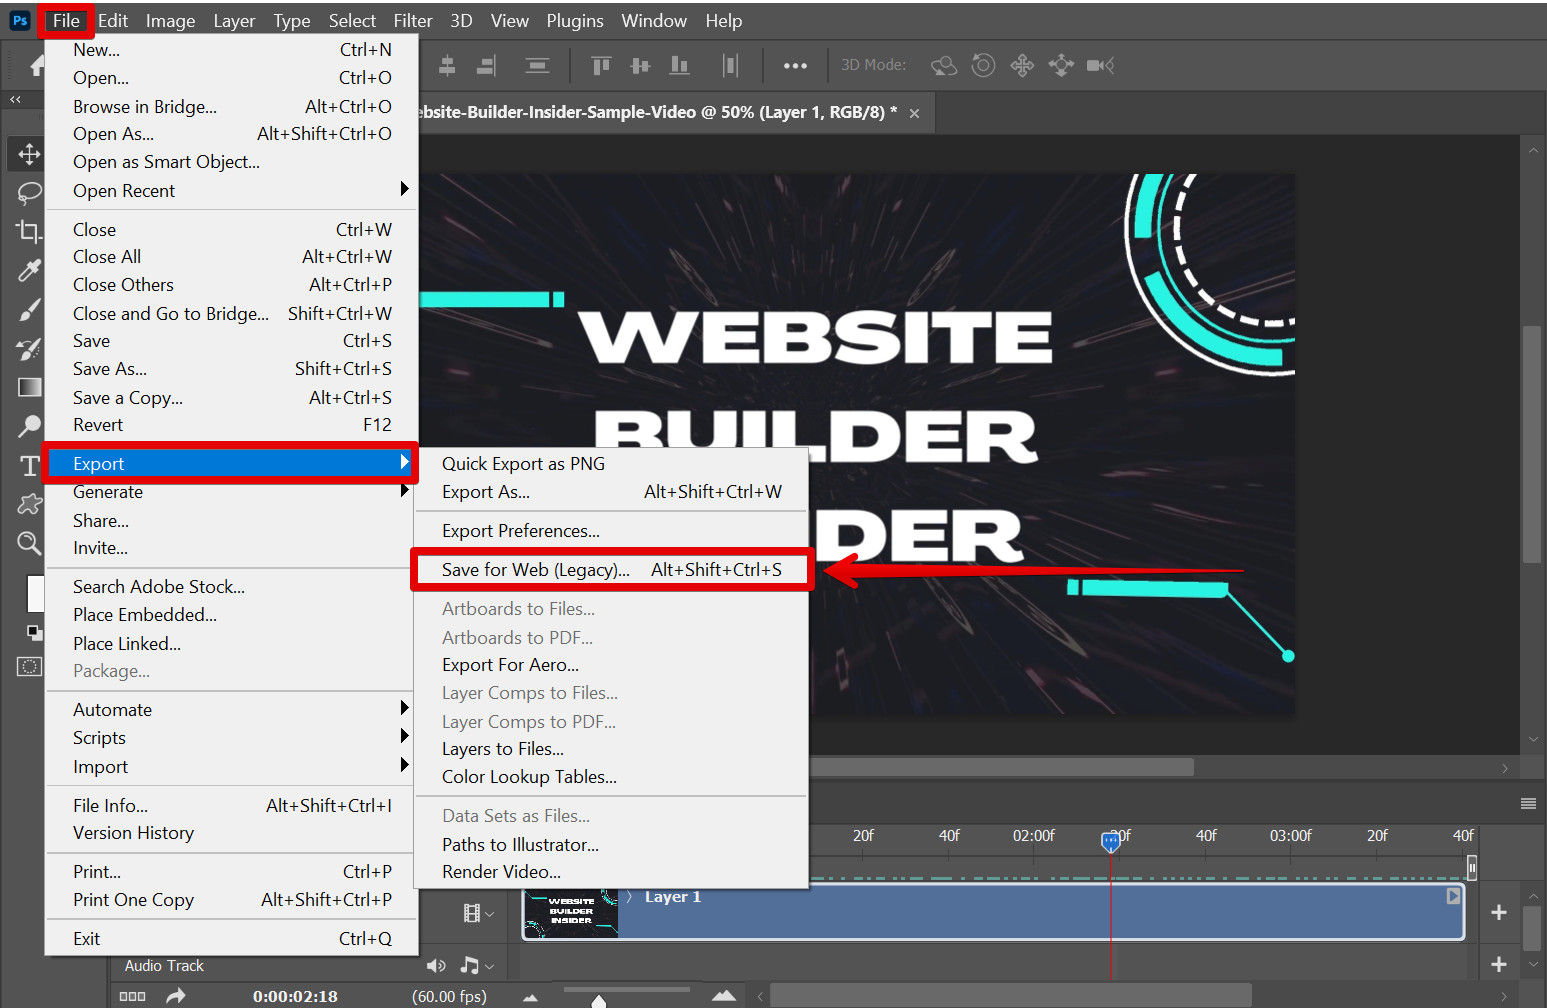
There are a number of ways to convert an MP4 to a GIF in Photoshop, but the most common and straightforward way is to use the ‘Save for Web‘ function. This can be found in the File menu, under ‘Export‘.
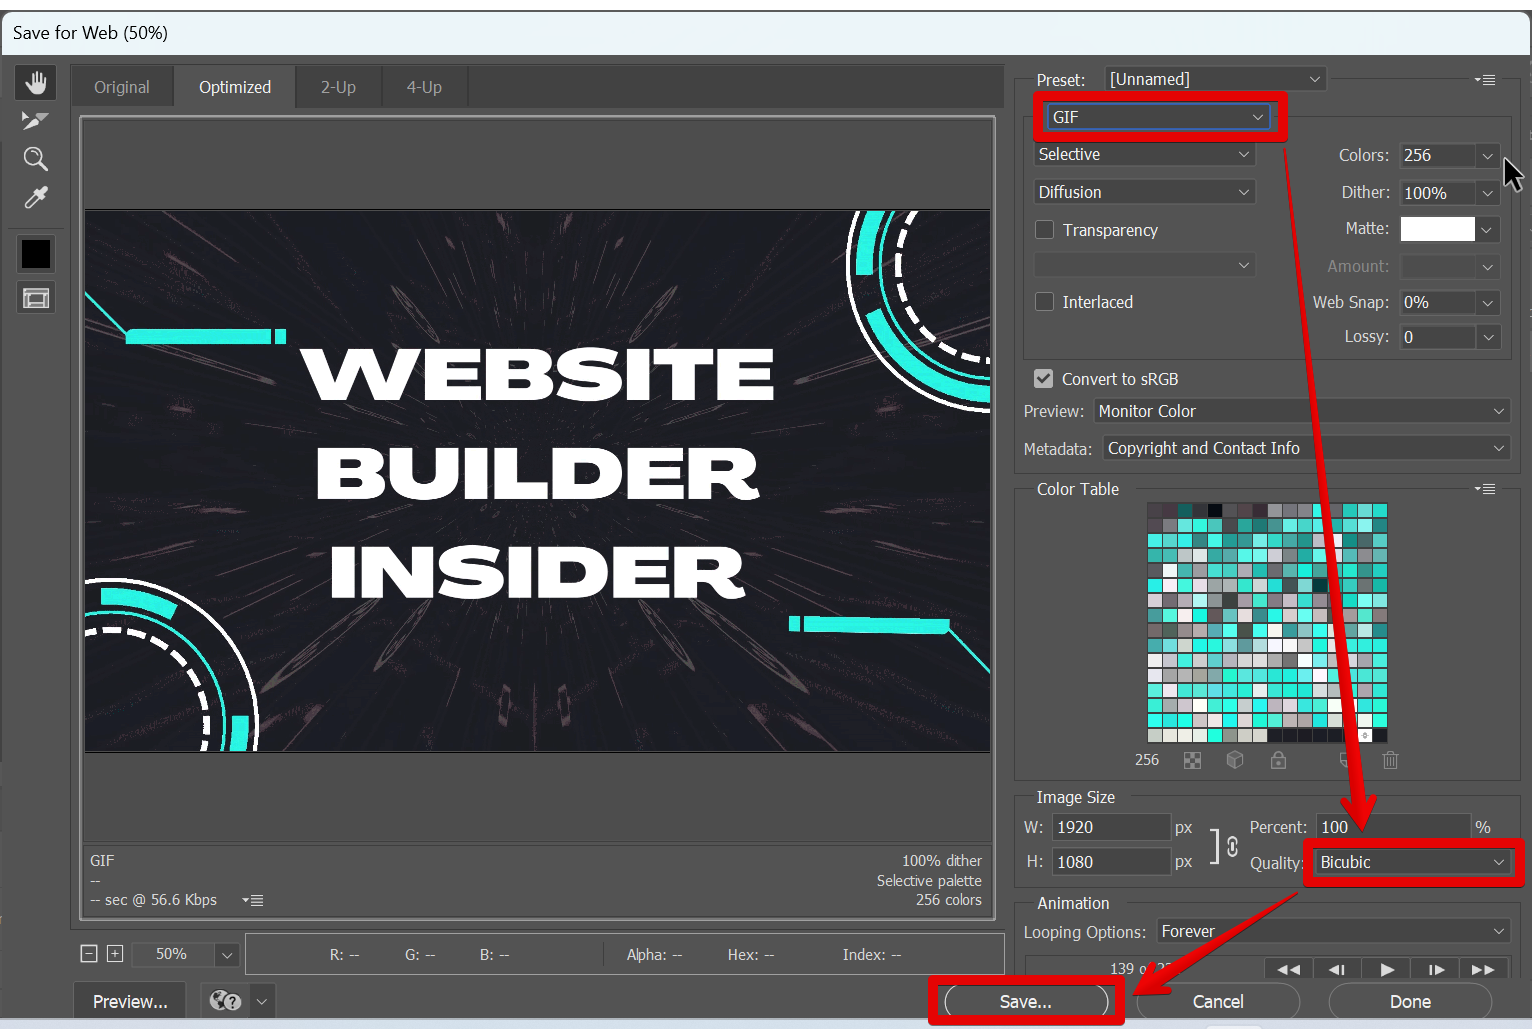
When you select ‘Save for Web’, you will be presented with a number of options for file format, quality, and size. For this conversion, you will want to select the GIF format from the drop-down menu, and set the quality to ‘Bicubic‘. Once you have done this, simply click ‘Save’.
NOTE: If you ever encounter problems such as insufficient memory which hinders you from saving the file, simply decrease the ‘Image Size’ before proceeding.
PRO TIP: This article provides a step-by-step guide on how to convert an MP4 to a GIF in Photoshop. However, please be aware that converting an MP4 to a GIF may result in some quality loss.
From there, select a location for the file and choose ‘Images Only‘ in the Format section.
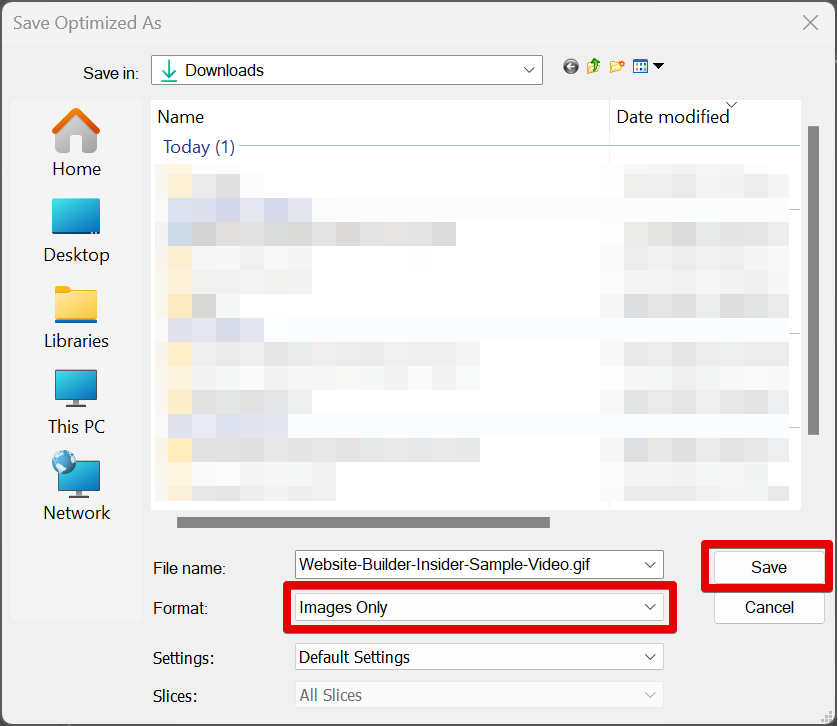
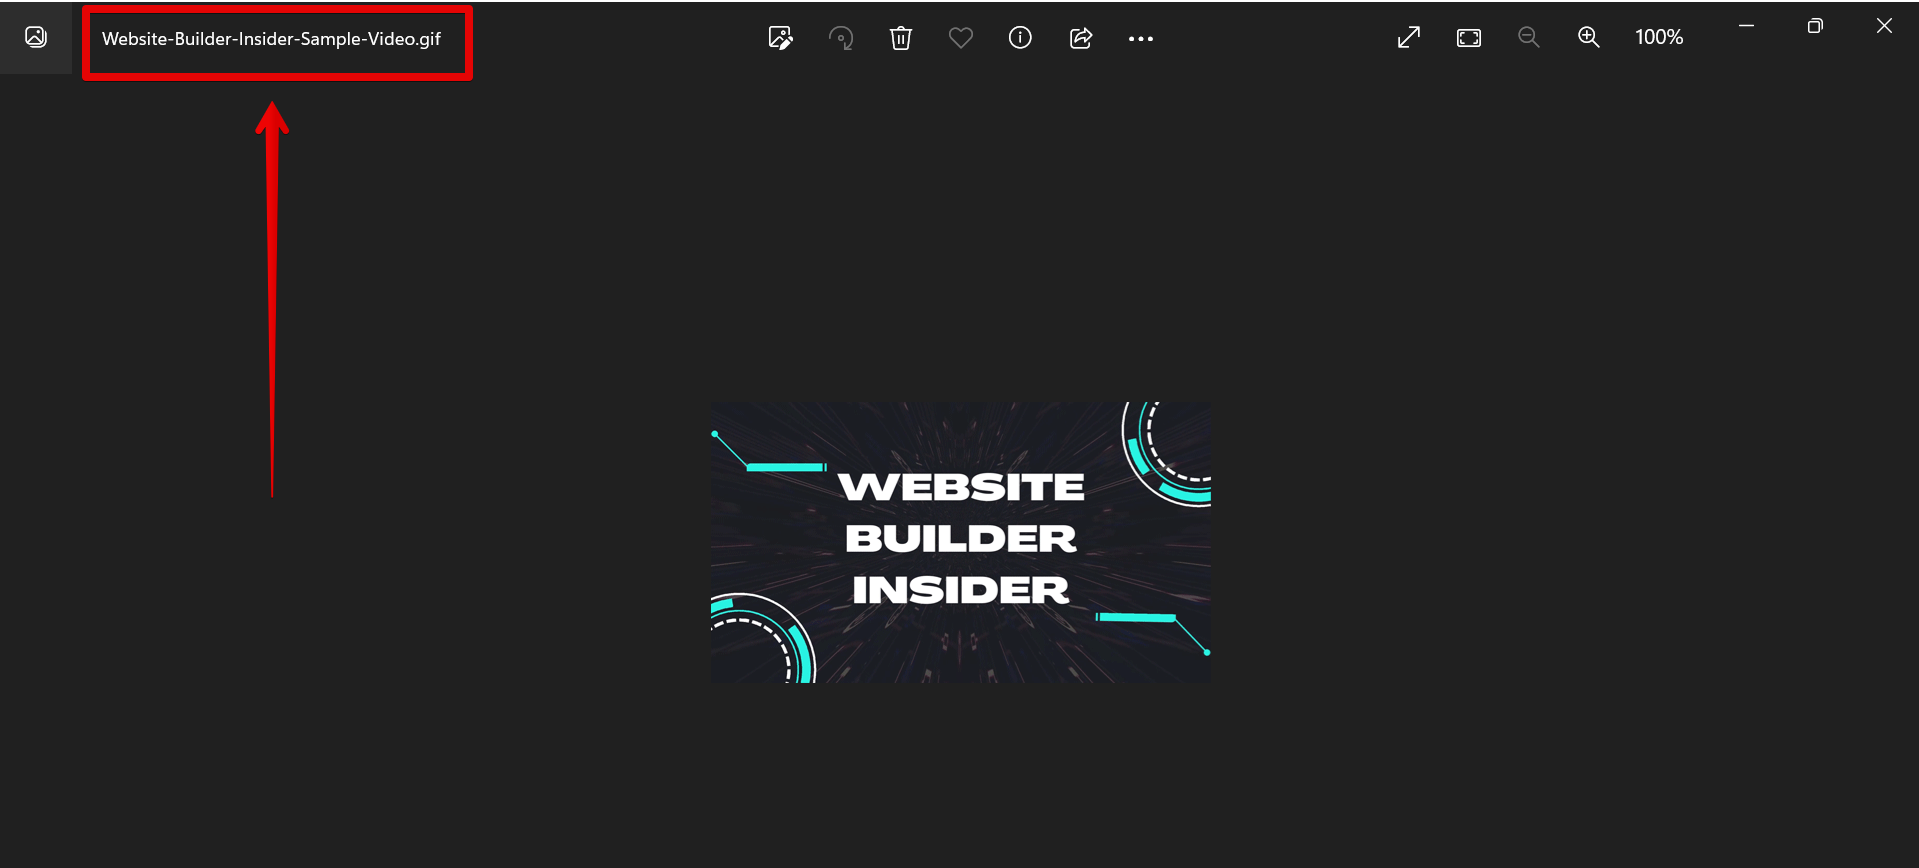
Photoshop will then take care of the rest, creating a GIF file from your MP4 video.
Conclusion:
Overall, converting an MP4 to a GIF in Photoshop is a fairly simple process. Just make sure to use the ‘Save for Web’ function, select the GIF format, and set the quality to ‘Bicubic’. After that, just click ‘Save’ and choose a location for the new file.
10 Related Question Answers Found
There are a few different ways to convert a JPEG to a GIF in Photoshop. One way is to go to File > Save As and then select the file type as GIF from the drop-down menu. Another way is to export the file as a GIF by going to File > Export and then selecting GIF from the drop-down menu next to Save As Type.
There are many reasons why someone might want to convert a MOV file to a GIF. Maybe you have a video that you want to share on social media, but the file size is too large. Or, maybe you want to create an animated GIF from a short video clip.
GIFs are a great way to quickly share a moment with friends, family, and online followers. Most people know how to create GIFs in Photoshop, but there are a few tricks to know that can speed up the process. To create a GIF in Photoshop, first open the desired video file.
GIFs have become a popular way to share short animations and videos online, and there are a number of ways to create them. In Photoshop, you can create GIFs from images, video clips, or even live video using the Timeline panel. To create a GIF in Photoshop, you first need to open the file that you want to use.
There are many ways to make a GIF on Photoshop. The most common way is to create a frame animation. To create a frame animation, first open the animation window by going to Window > Animation.
GIFs have become a popular way to communicate online, and you may find yourself wanting to use one in a Photoshop project. You can import a GIF into Photoshop by following these steps:
1. Open Photoshop and create a new file. 2.
GIFs are a great way to add some levity and personality to your website or blog, and they’re easy to make with Photoshop. Here’s how:
1. Open the image you want to turn into a GIF in Photoshop.
GIF files are a great way to share short animations or videos online, but you may be wondering if it’s possible to edit them with Photoshop. The answer is yes! Here’s a quick guide on how to do it.
Do you have a GIF that you want to edit in Photoshop? Maybe you want to add or remove a frame, or change the color of the image. Whatever the reason, editing a GIF in Photoshop is easy to do.
Making a GIF in Photoshop is not difficult, but it can be time consuming. There are a few tools and techniques that you will need to know in order to create a GIF in Photoshop. First, you will need to select the image that you want to convert into a GIF.