Designing SVG icons in Figma is a breeze. With just a few clicks, you can export your icons in a variety of formats, including PNG, JPG, and SVG. Here’s how:
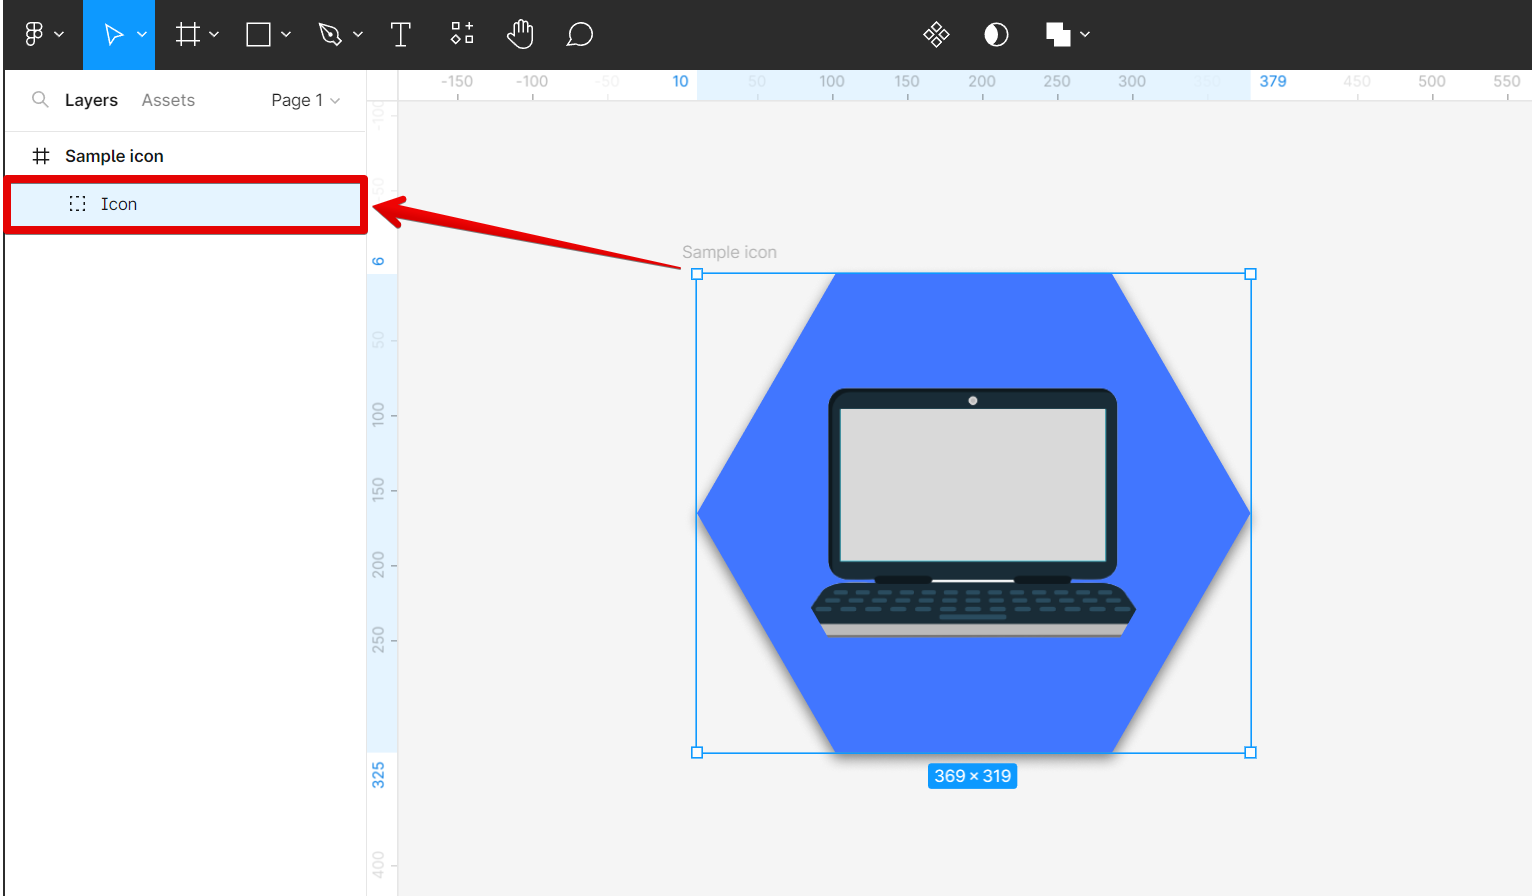
First, open the icon you want to export in Figma and select its layer.
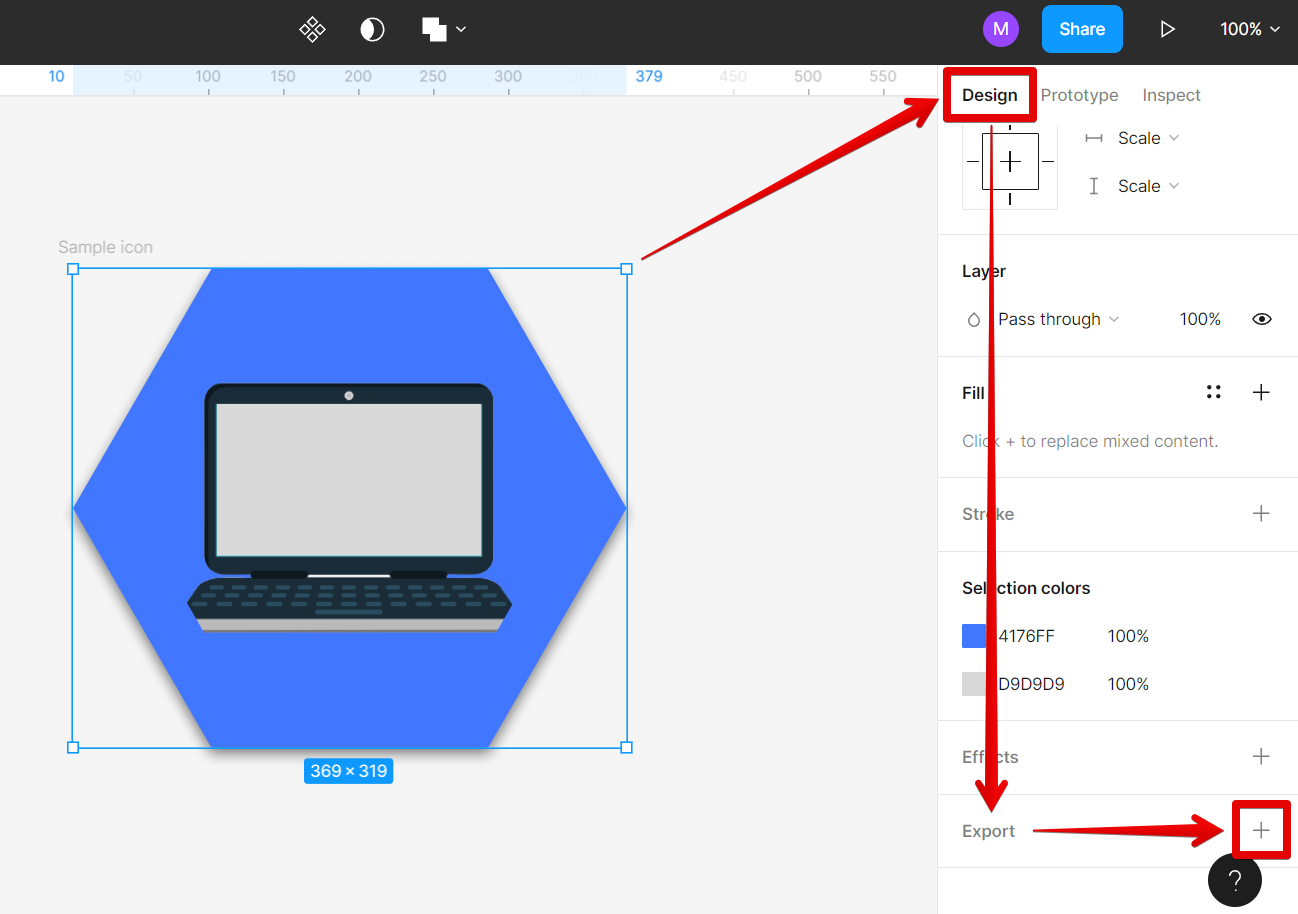
Then, go to the Design tab and scroll down to the Export section. Click on the “+” to open the Export menu.
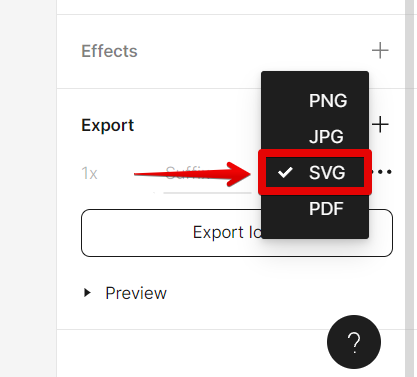
In the Export window that appears, select the “SVG” option from the “Format” drop-down menu.
NOTE: Once you choose the SVG file type, the Export menu option to resize your design will be disabled with ‘1x’ being the default.
PRO TIP: When exporting SVG icons from Figma, there are a few things to keep in mind. First, make sure that your icon is on a transparent background. If it is not, the icon will have a white background when exported. Second, make sure to export your icon to the correct size. If you are unsure of the correct size, you can check the Export menu dropdown menu in Figma for guidance. Finally, make sure that your icon is saved as an .svg file type before exporting. If it is not, it will not be exported as an SVG file and you will not be able to use it as an icon.
Once you’re happy with your settings, click on the “Export” button to save your icon as an SVG file.
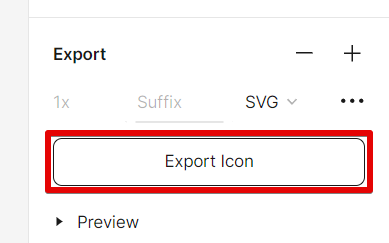
That’s it! You’ve now successfully exported an SVG icon from Figma.
8 Related Question Answers Found
It’s a common question we get here at Figma: can you export your designs as SVGs? The answer is yes! In this article, we’ll show you how to do it.
There are a few ways to achieve this, but we’ll outline the most straightforward method here. The first thing you need to do is open your design in Figma. Then, go to the top menu and select File > Export > Export As.. (or use the shortcut Shift + E).
As an vector-based graphics editor, Figma is a powerful tool for creating various types of graphics, including logos, illustrations, and user interfaces. While Figma supports various file formats for exporting graphics, the Scalable Vector Graphics (SVG) format is one of the most popular choices due to its small file size and support for multiple browsers and devices. There are two ways to export SVG files from Figma:
Method 1: Select the object or objects you want to export as SVG, then click File > Export > Export Selection.
When it comes to copy SVG code from Figma, there are a few things that you need to keep in mind. First and foremost, you need to make sure that you’re exporting your design as an SVG file. This can be done by going to File > Export > Export As..
An SVG file is a vector graphic file that can be imported into Figma using the File > Import > SVG menu option. The Figma SVG import dialog box will appear, providing you with the opportunity to select the SVG file to be imported and to specify the import options. When importing an SVG file into Figma, you will need to provide the following information:
The name of the SVG file.
When it comes to creating vector graphics, there are a few different software programs that you can use. However, Figma has become a popular choice for many designers due to its user-friendly interface and wide range of features. One of the great things about Figma is that it allows you to export your designs as SVGs.
If you want to use Figma icons in your project, you’ll need to download them. There are a few ways to do this:
1. Visit the Figma website and click the “Download Icons” button on the left side of the homepage.
2.
There are a few different ways that you can download icons on Figma. The first way is to go to the Figma website and click on the “Icons” tab. This will take you to a page where you can browse through all of the different icons that are available.

