When it comes to creating a gradient image in Figma, there are a few things you need to know. First, you need to create shapes using the shape tools available in Figma. However, if you want to use irregular shapes, you can use either the “Pen tool” or install a plugin.
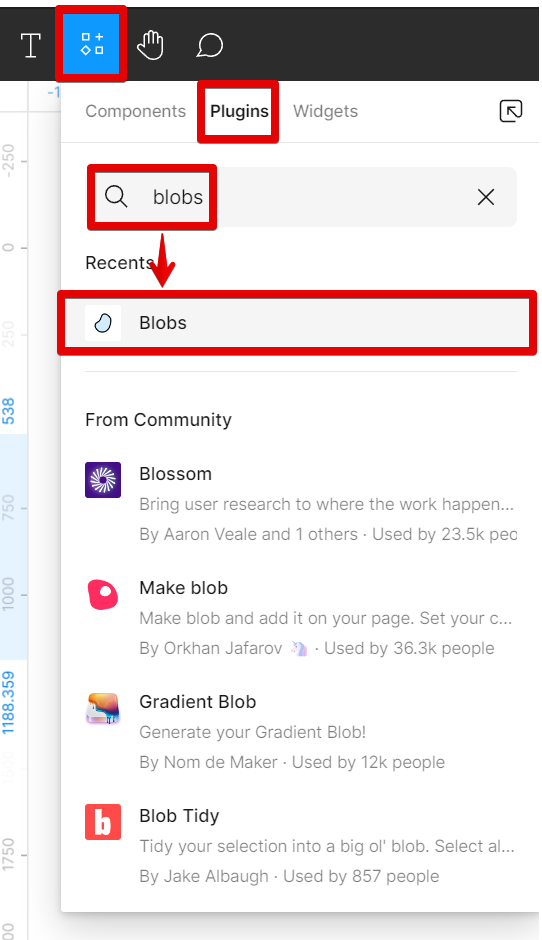
In this tutorial, we will be using the Blobs plugin to create our shapes. To do this, simply go to Resources > Plugins then search for the “Blobs” plugin and run it.
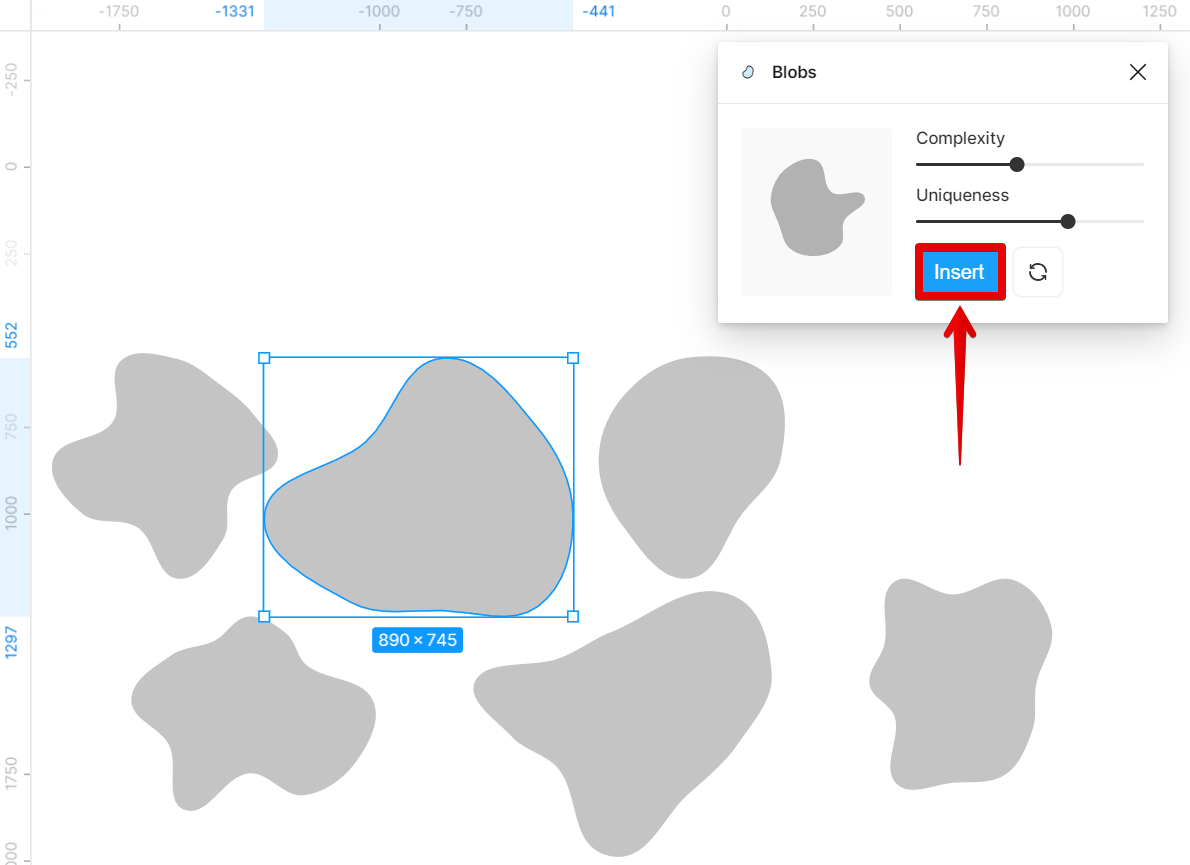
In the running Blobs plugin window, you can manipulate how much complexity and uniqueness you want your shape to have. Once you’re satisfied, simply click on the “Insert” button.
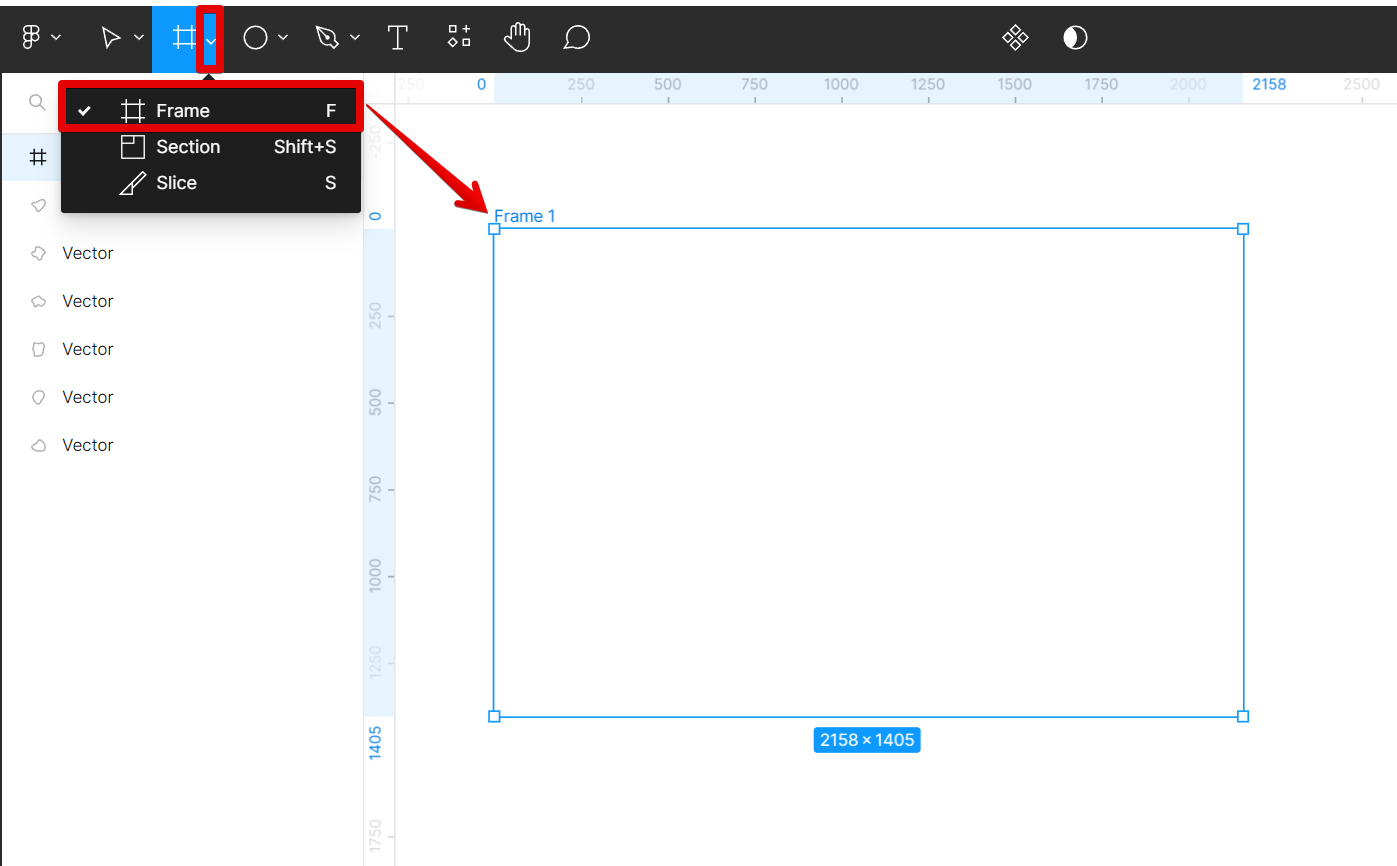
The next step is to create a frame. Just select the “Frame tool” in the top toolbar then click and drag on your canvas to create the new frame.
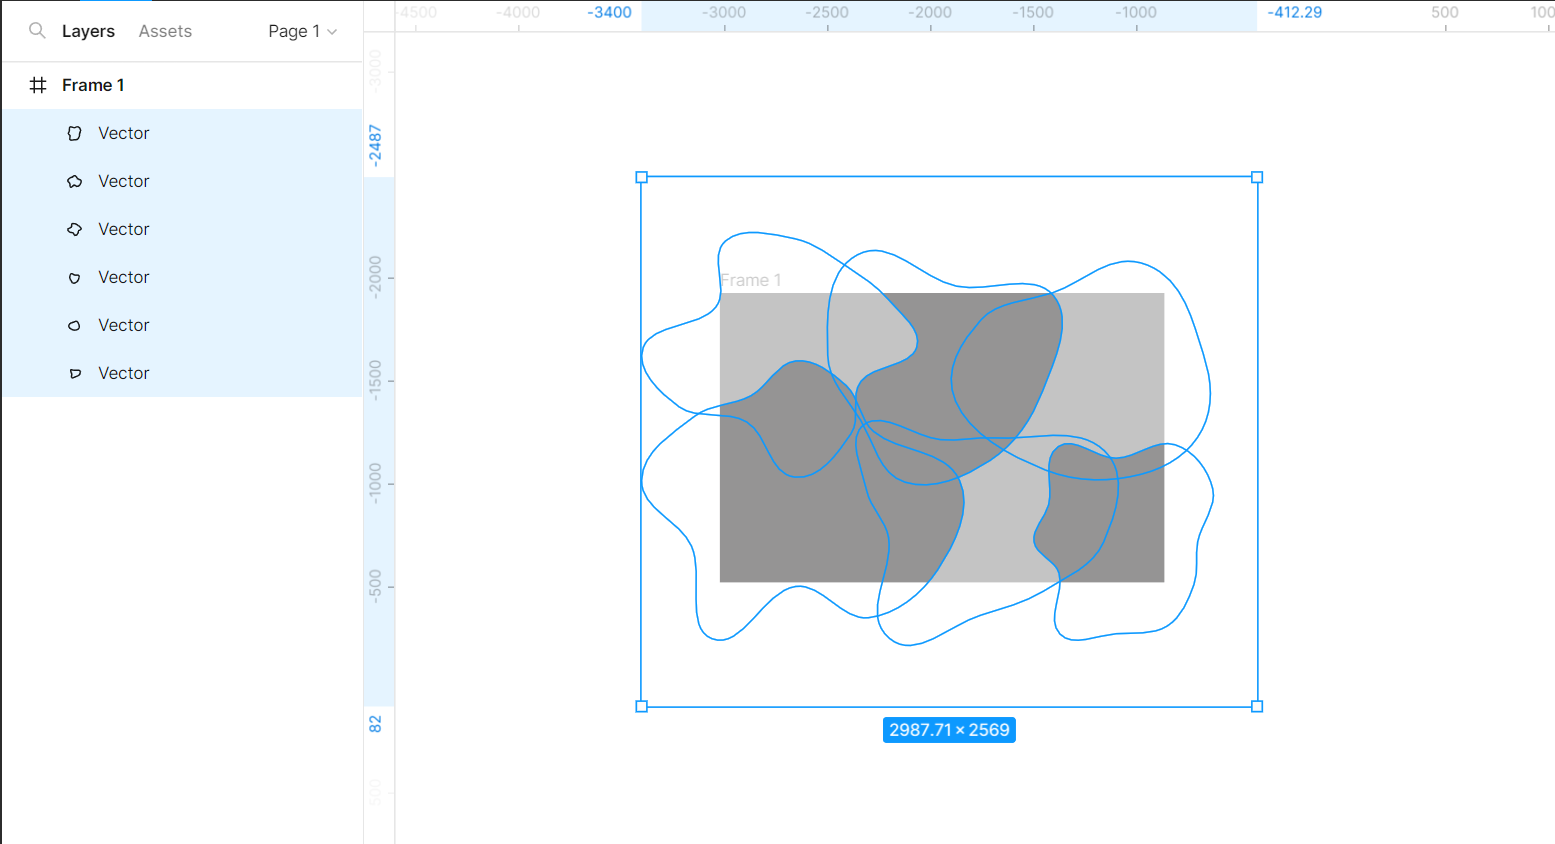
Now, place the shapes that you created earlier inside the frame and arrange them to your preference.
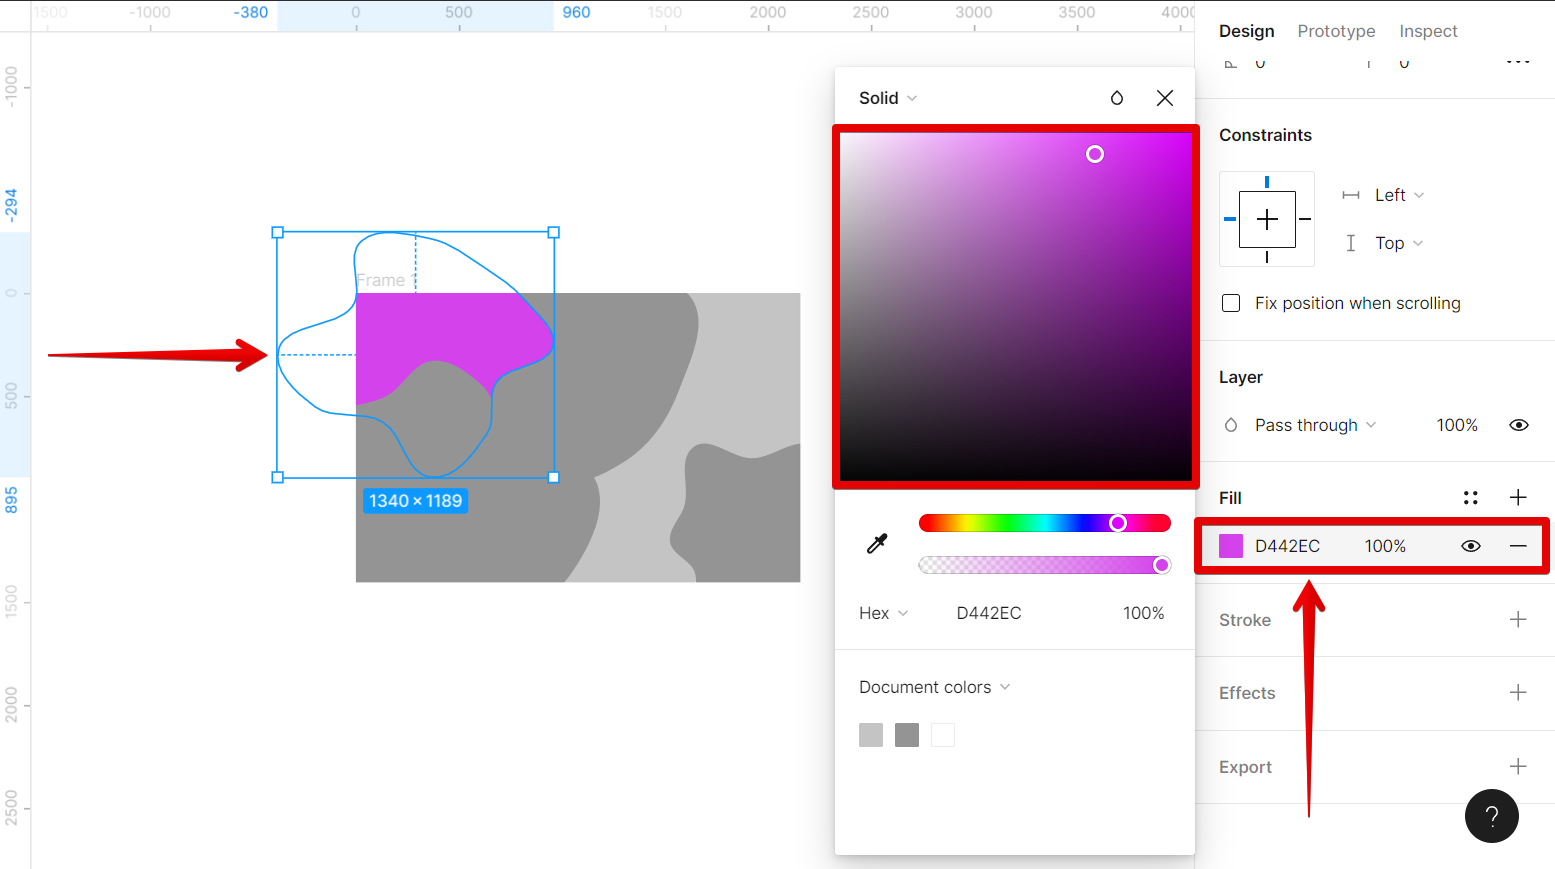
From there, go to the “Fill” section under the Design tab and select a color that you want to apply to your shapes.
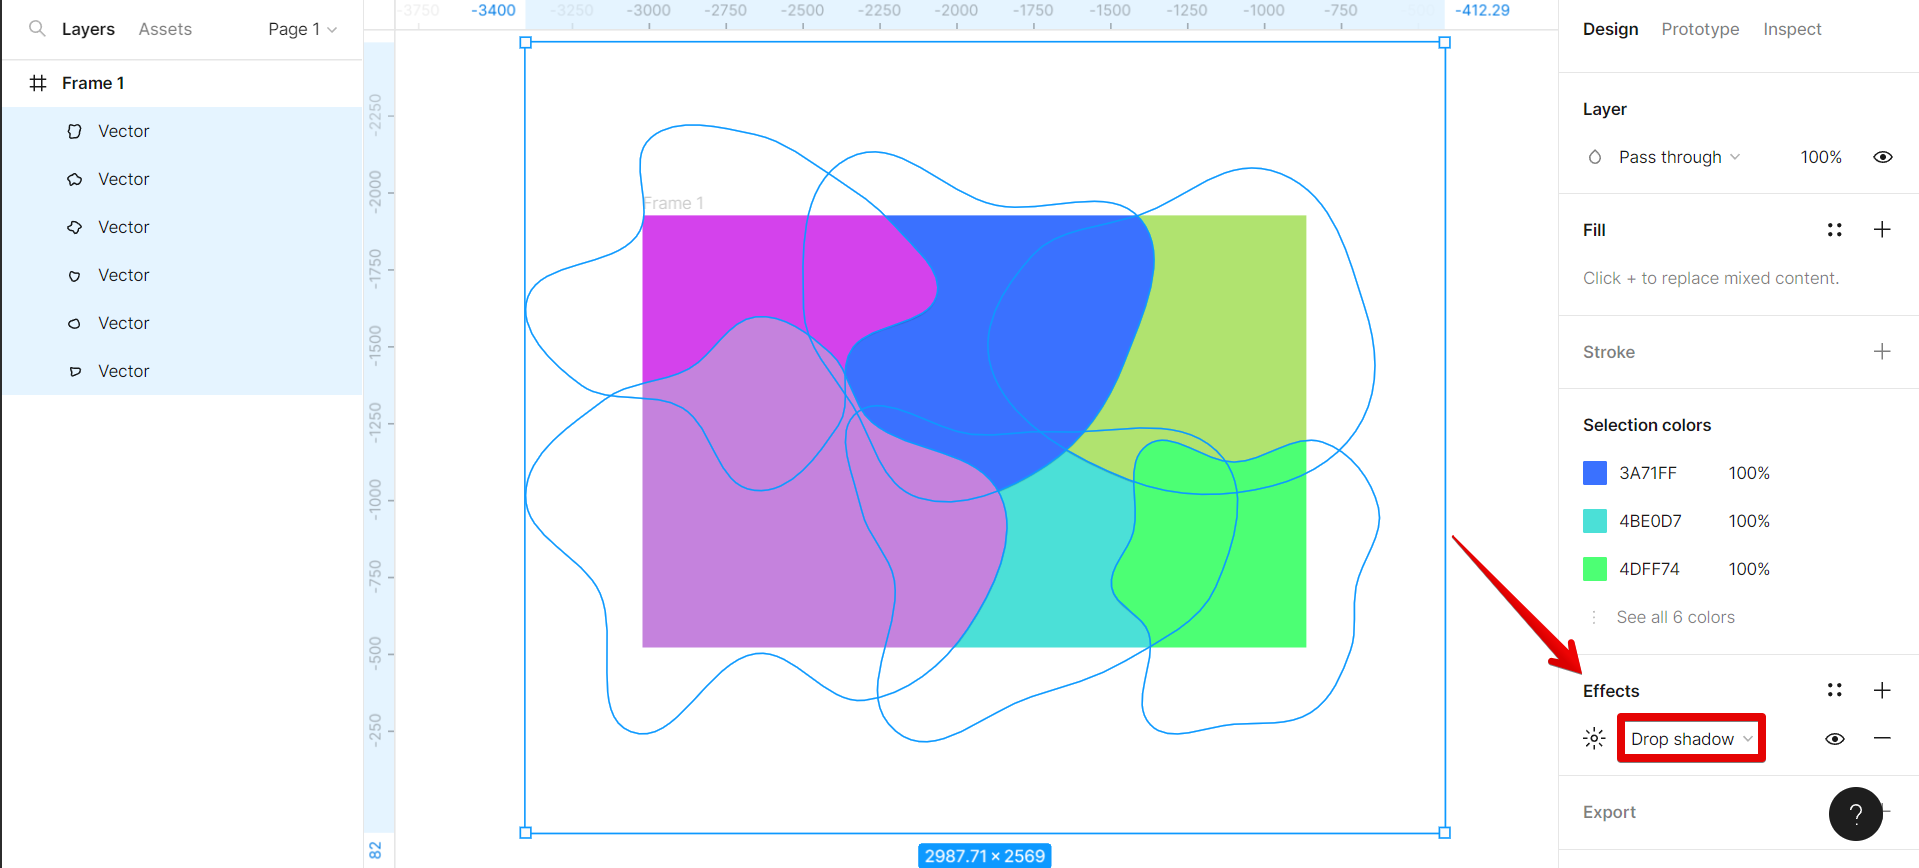
Once done, go to the “Effects” section and click on it to add an effect, and then open up the drop-down menu.
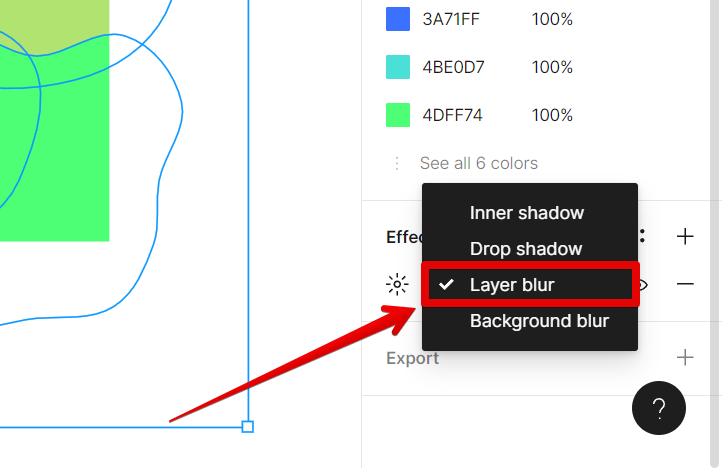
Select “Layer blur” from the drop-down options.
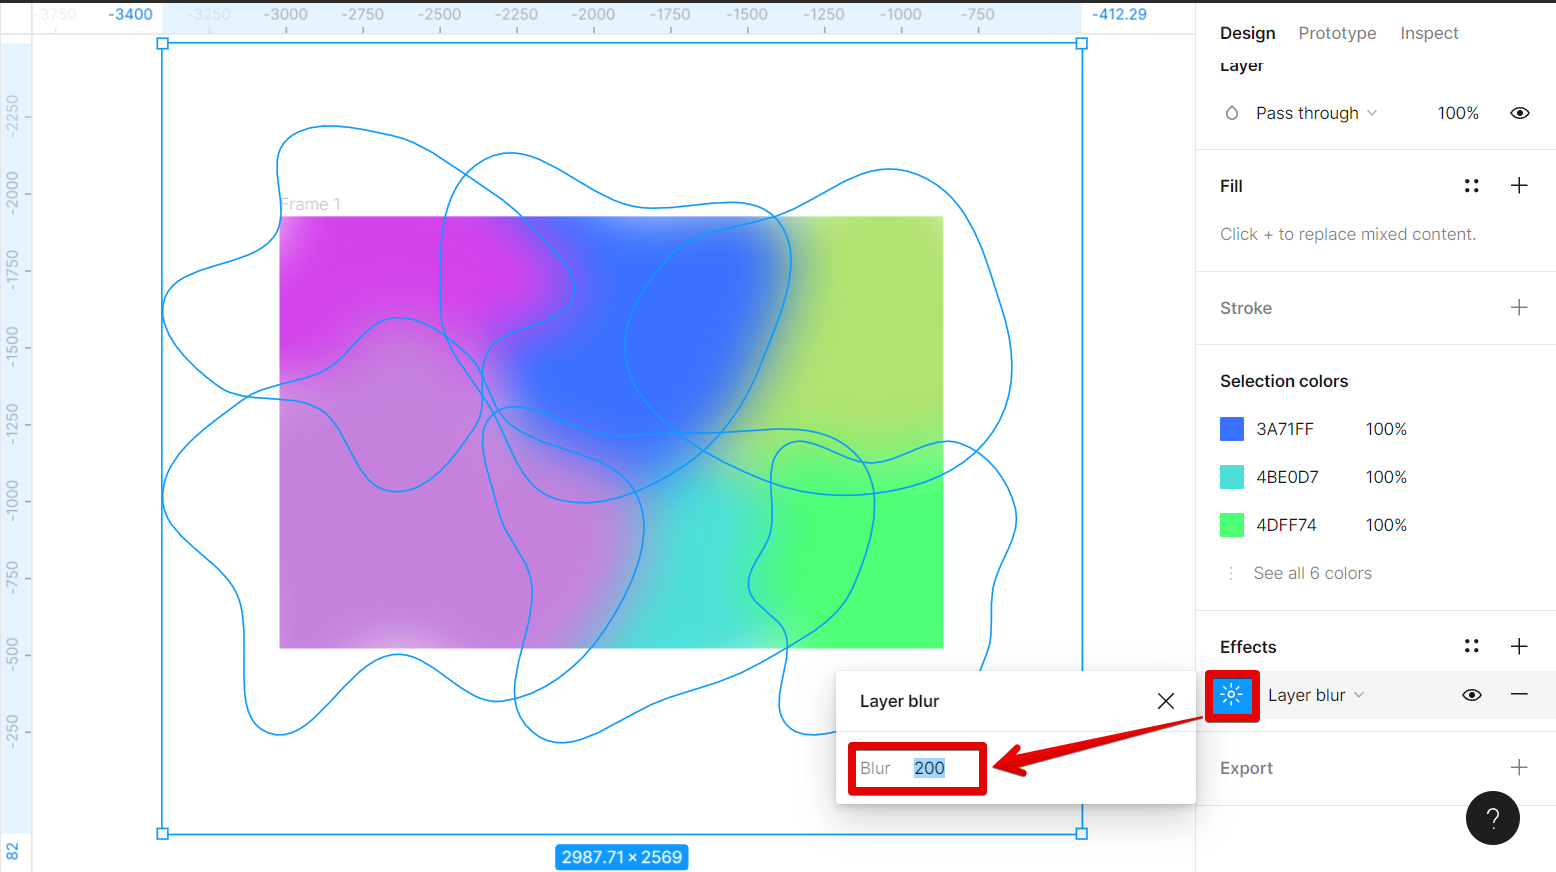
Then, select the icon beside “Layer blur” and adjust its blur settings.
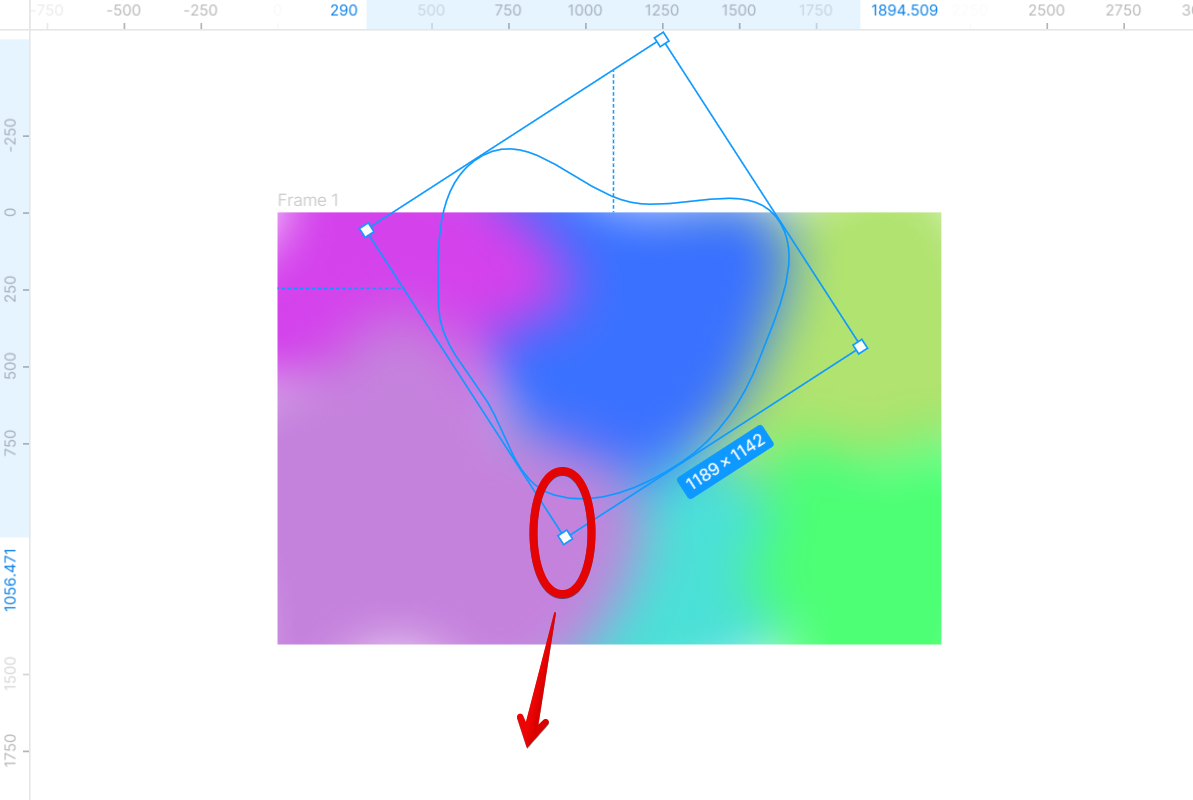
To finalize your gradient, you can still adjust the size of each shape by selecting it and dragging on the handles around it.
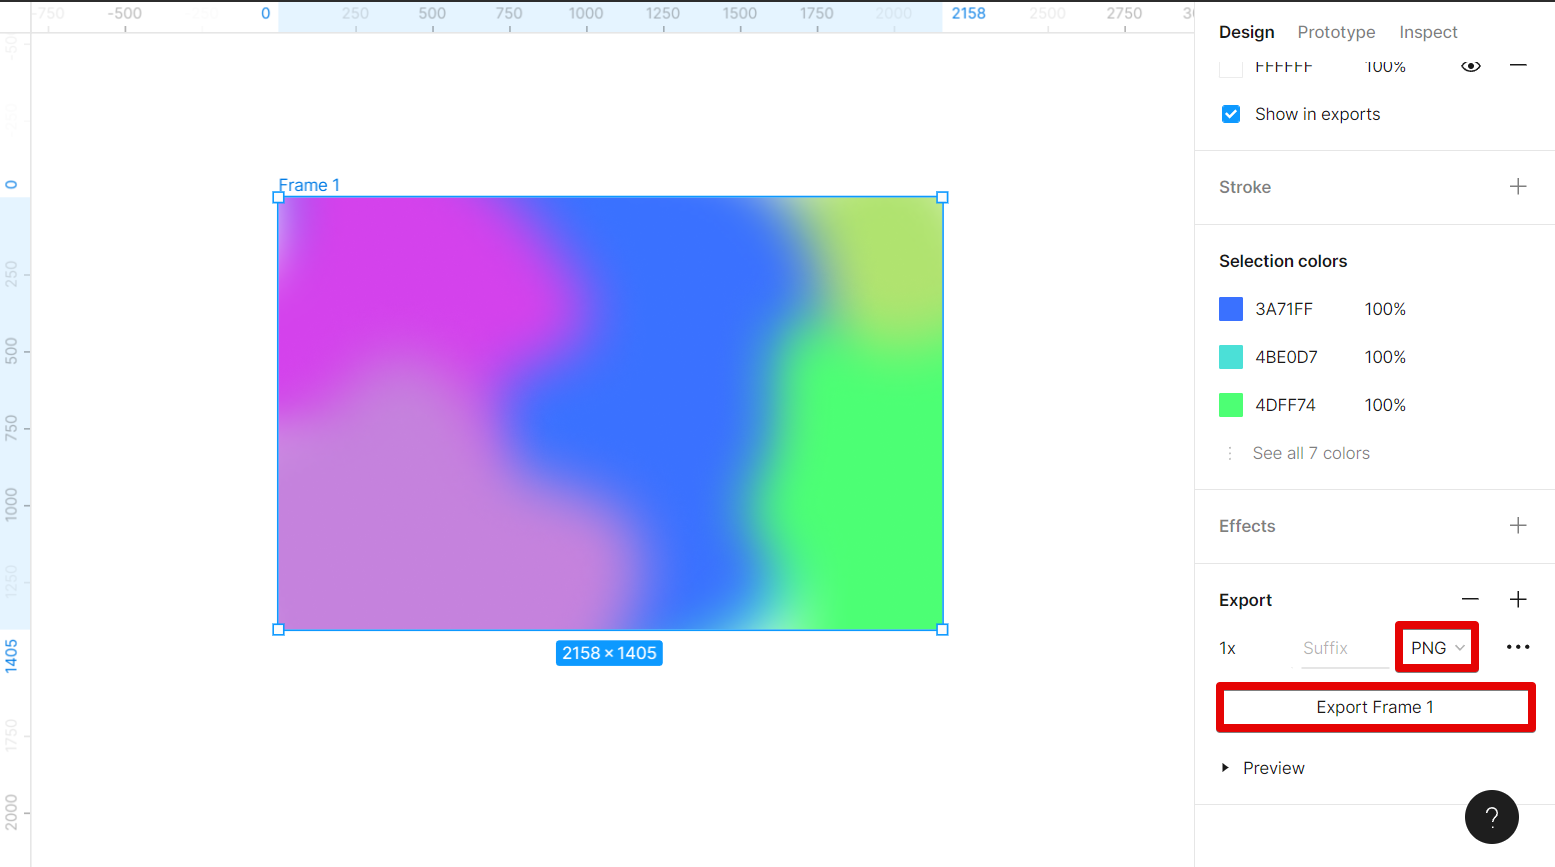
Once done, simply go to the “Export” section under the Design tab. Just click on it and select “PNG” as the file type then hit on the “Export” button. And you’re all set! Your gradient image will now be created!
Creating a gradient image in Figma is a simple process that anyone can do. By following the steps above, you’ll be able to create beautiful gradient images in no time.

