There are many ways to save a high-quality PNG in Photoshop. The best way to save a high-quality PNG is to use the “Save For Web” feature.
This feature allows you to select the PNG format and choose the compression level that you want. You can also select the “Interlaced” option, which will make the image load faster when viewed in a web browser.
PRO TIP: When you are working with images in Photoshop, you may want to save them in a format that will allow you to retain the quality of the image. One format that you can use is PNG. When you save an image as a PNG, it will retain the quality of the image, but it may also take up more space on your hard drive.
To save a high-quality PNG in Photoshop, follow these steps:
-
- Open the image that you want to save as a PNG in Photoshop.
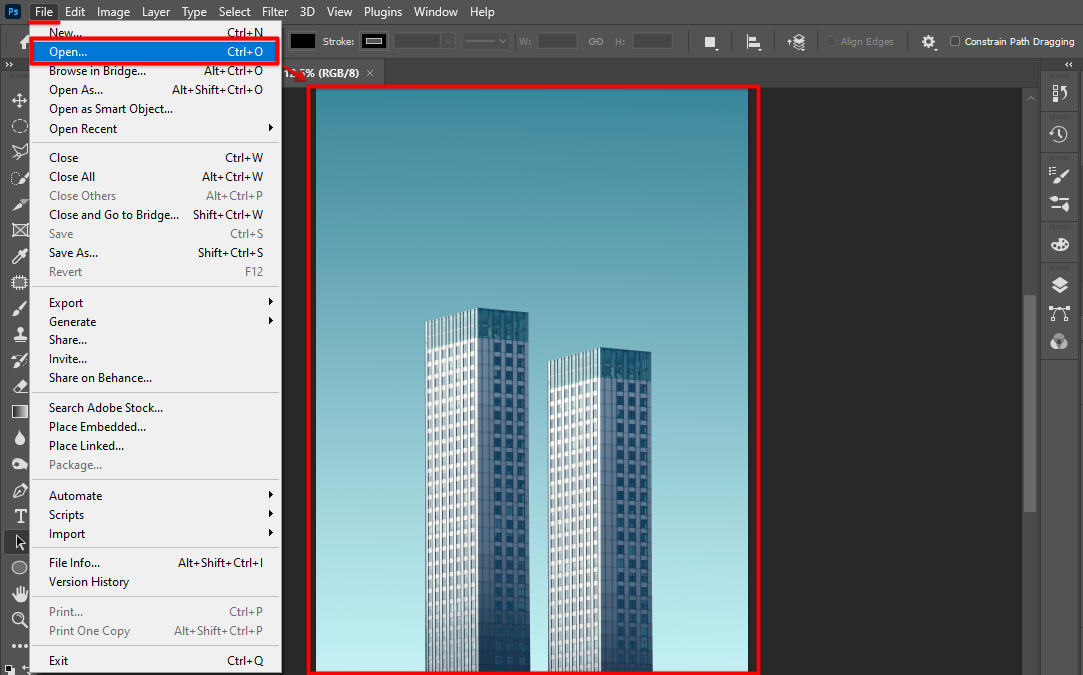
- Click on File > Export > Save for Web (legacy). This will open the “Save for Web” dialog box.

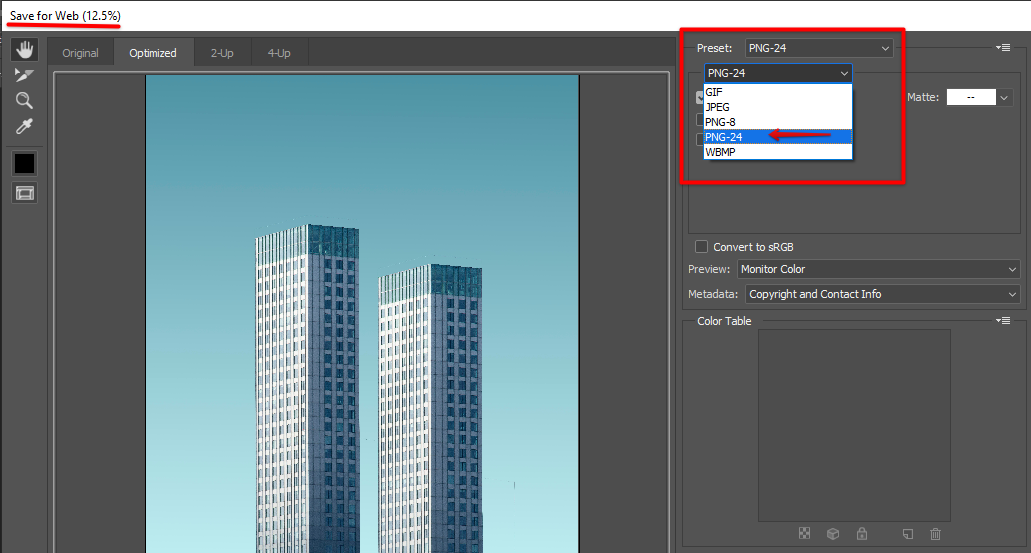
- In the “Save for Web” dialog box, select the PNG format from the drop-down menu.
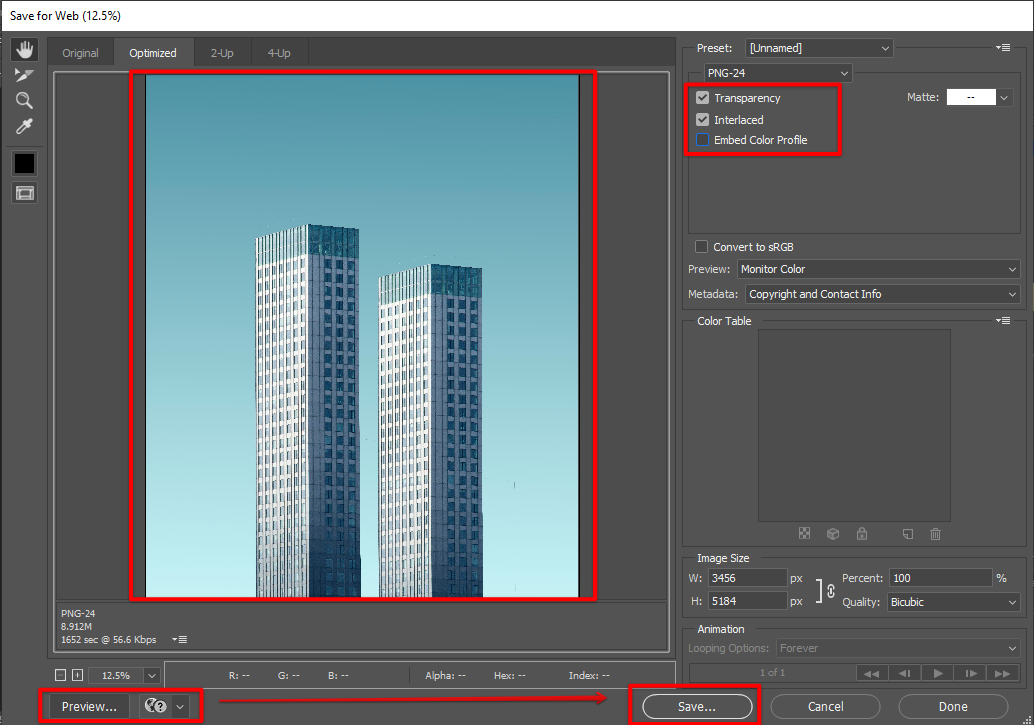
- Click on the Settings button and choose the High compression setting.
- If you want, you can also select the “Interlaced” option. This will make the image load faster when viewed in a web browser. Don’t forget to “Preview” your image before clicking “Save.”
9 Related Question Answers Found
There are a few different ways to make a PNG file in Photoshop. The first way is to use the “Save As” function. Go to File > Save As, and then select “PNG” from the file format drop-down menu.
There are a few different ways to make a PNG file in Photoshop. The first way is to use the “Save As” function. When you are done editing your image, go to “File” and then click “Save As.” A new window will pop up and you can select “PNG” from the list of file formats.
There are a few different ways to open a PNG file in Photoshop. One way is to simply go to File > Open and then select the PNG file that you want to open. Another way is to drag and drop the PNG file into the Photoshop window.
There are many ways to make a PNG in Photoshop. The most common way is to use the “Save As” function. Another way is to use the “Export” function.
To insert a PNG file into Photoshop, first open the file in Photoshop. Then, go to File > Export > Export As. In the window that opens, select PNG from the drop-down menu next to “Format”.
There are a few different ways to edit the text in a PNG file in Photoshop. One way is to use the “Horizontal Type tool”, which can be found in the “Tools” at the left menu. First, upload the PNG file that you want to edit in Photoshop.
When you’re working with images for the web, one of the most important factors is file size. Images that are too large can take too long to load, which can lead to a poor user experience. On the other hand, images that are too small can appear pixelated or blurry.
If you have a PNG file that you need to unlock in Photoshop, there are a few steps that you need to follow. First, open the file in Photoshop. Next, go to the “Layer” menu and select “New Layer.” A new layer will be created.
Yes, you can open PNG files in Photoshop. In fact, PNG is one of the supported file formats in Photoshop. You can open a PNG file in Photoshop by going to File > Open and then selecting the PNG file that you want to open.