In Photoshop, there is one straightforward way to turn a picture into a pattern. That is to use the “Define Pattern” command. With this method, you can specify the size of the pattern cells, and Photoshop will automatically tile the image for you. This method gives you more control over the final pattern, but it requires a little more work to set up. Here are the steps to get you started:
1. First, you need to open the image that you want to use for the pattern.
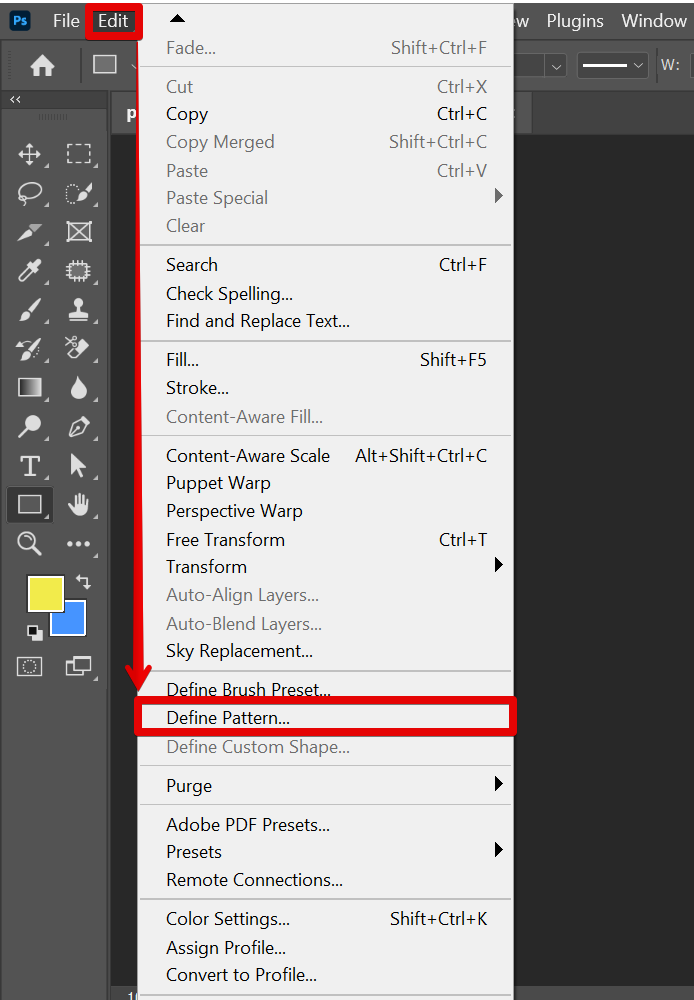
2. Then, go to Edit > Define Pattern.
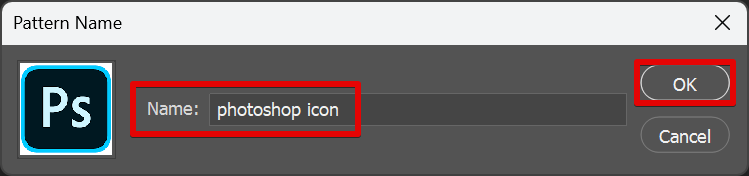
3. Photoshop will ask you to name the pattern and then it will be added to the “Patterns” palette.
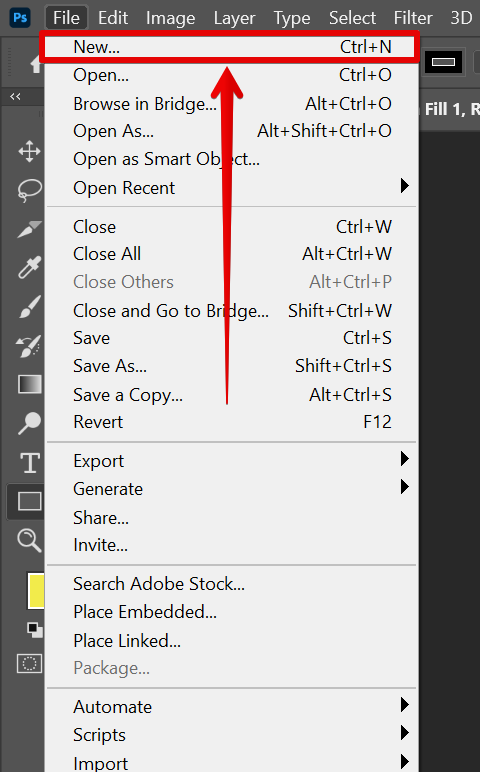
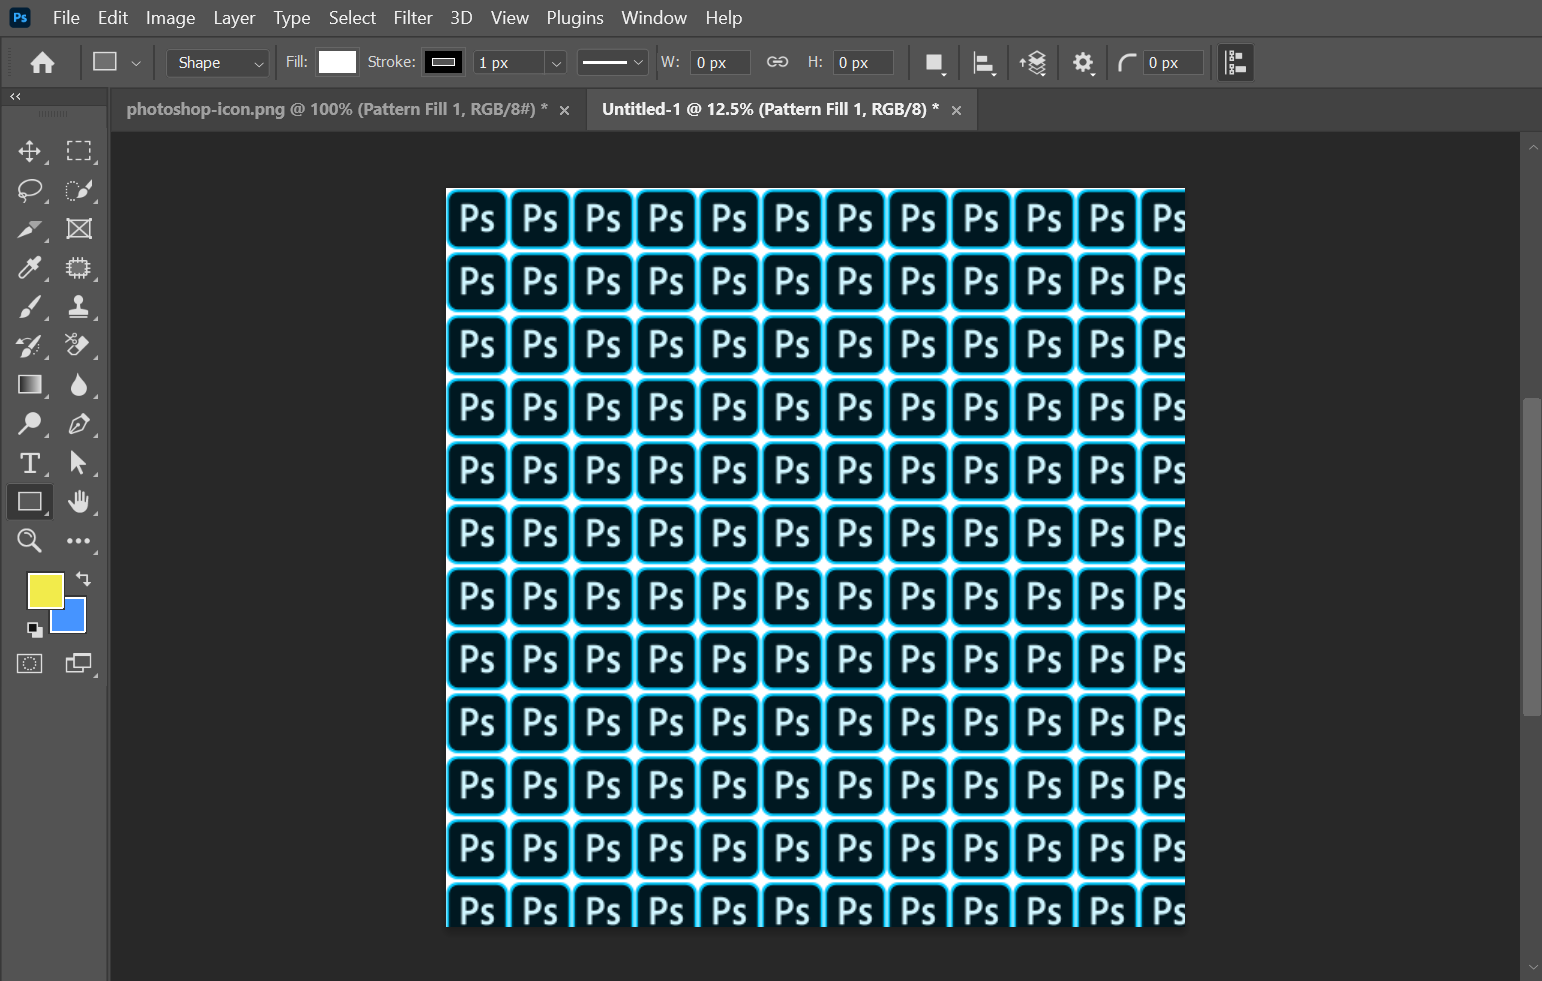
4. Once you have a pattern defined, you can use it just like any other fill layer. Just create a new layer or file (File > New) where you can apply your new pattern.
5. Then, go to Layer > New Fill Layer > Pattern.
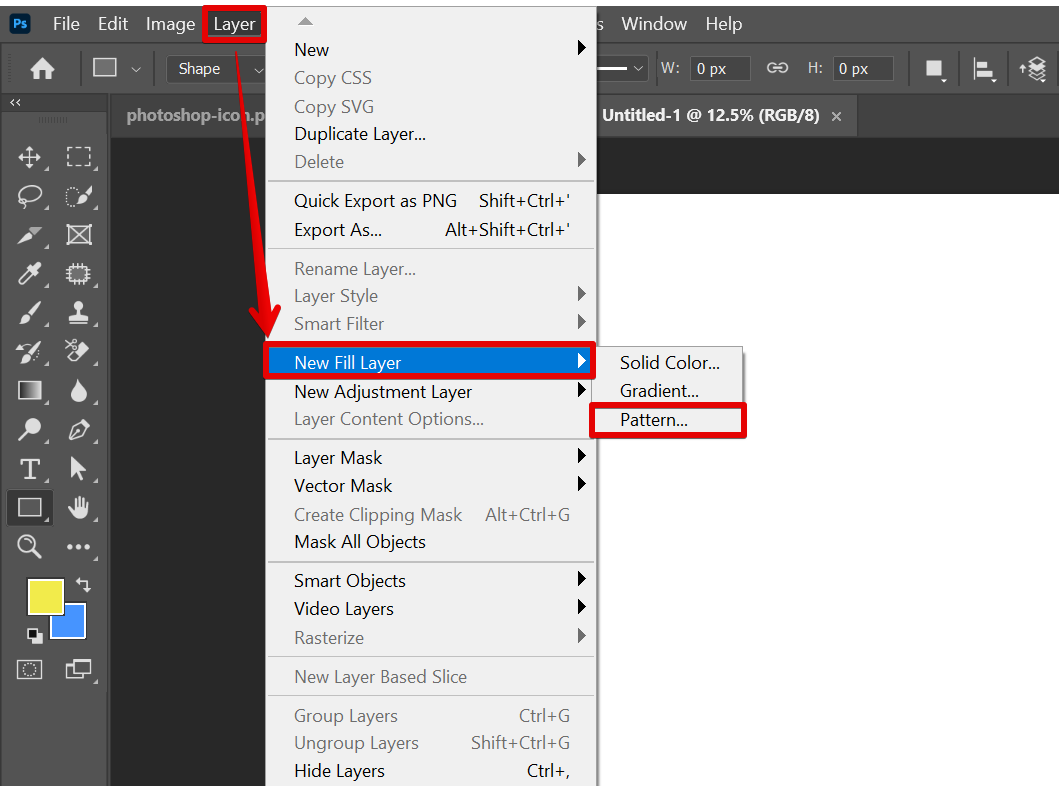
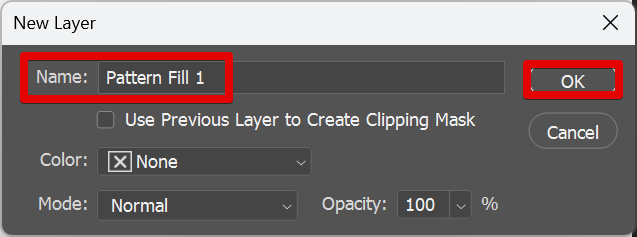
6. Name your new pattern fill and click on the “Ok” button.
7. From there, select the pattern you want to use from the “Pattern” drop-down list.
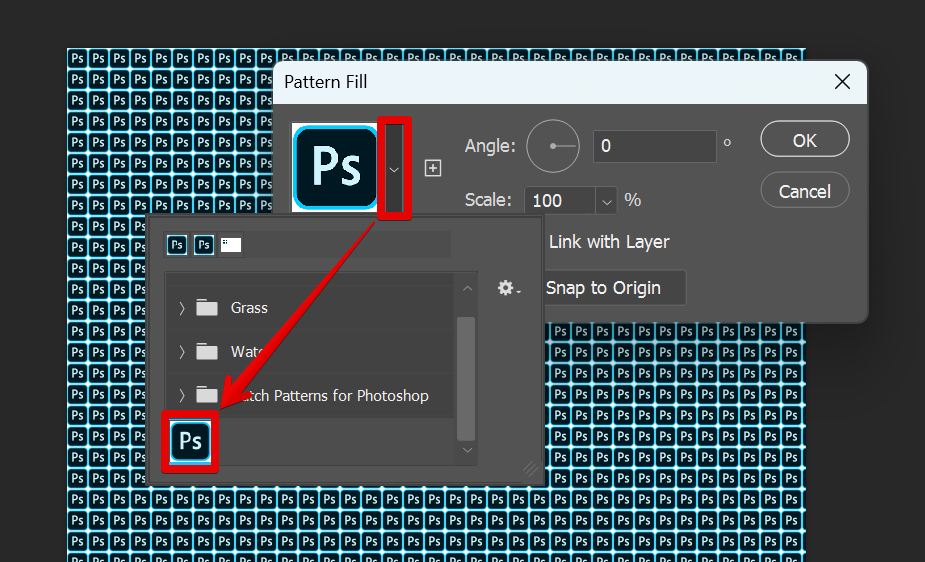
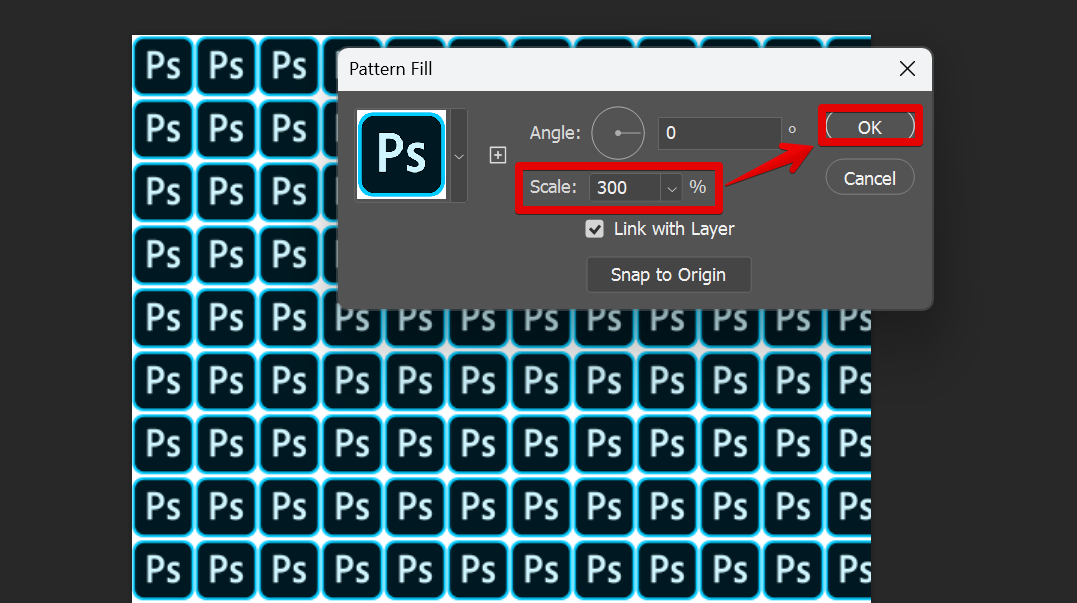
8. You can also adjust the scale of the pattern if necessary.
9. And that’s it! Apply this method the next time you require a pattern in your design project!
Conclusion:
So, there is one simple way that you can turn a picture into a pattern in Photoshop. The “Define Pattern” command is a quick and easy way that you can use to achieve this. If you want more control, or if you want to be able to use the same pattern in other programs, then you should use the “Define Pattern” command.