Using stop motion to give life to your still images is a lot of fun. These animations are not only fun to watch, but they also help you make content that readers will find fascinating and exciting.
Making a stop-motion film is a straightforward process that doesn’t call for any special expertise. They can be created in Photoshop and are simple to master. To make a stop-motion animation video, you need only take an image sequence in rapid succession and stitch them together in order to create a video.
And you’ll know how to do it in this guide.
Let’s start!
Why use Adobe Premiere Pro
Let’s say you’re already familiar with Adobe products like Photoshop and have a Creative Cloud subscription. If that is the case, Premiere Pro is ready for you to download right now.
You haven’t seen anything until you install this video editing software and see what you’ve been missing! Both the experience and the function work perfectly. With its limitless configuration options, your productivity will soar.
While not entirely free, the investment will be well worth it. If you subscribe to Adobe Creative Cloud, you gain access to a suite of applications rather than just one. All the Adobe Creative Cloud tools are yours to use.
However, the app does offer a free trial version. If you’re using Windows and want a replacement for Final Cut Pro, Premiere Pro is a great option.
Importing your images
Simply go to File > Open and pick the first image in your sequence. Any one of those pictures from the sequence should do the trick. When the drop-down menu appears, choose Image Sequence. Make sure you only pick one image to use. For Photoshop to recognize the sequence, the numbers within it must be in numerical order.

The project’s frame rate is something you’ll have to configure. At this point, Photoshop will compile the frames into a Video Layer. Add a Video Group to your current document.
How to turn an image sequence into a video in Photoshop
There are a few different ways that you can turn an image sequence into a video in Photoshop.
Using the timeline panel:
To do this, open your image sequence in Photoshop and select all of the images. Then, go to Window > Timeline.
In the Timeline panel, click on the Create Video Timeline button at the bottom.
This will create a video timeline for your images. You can then adjust the timing of each image by dragging it to the left or right.
To preview your video, click on the Play button in the Timeline panel.
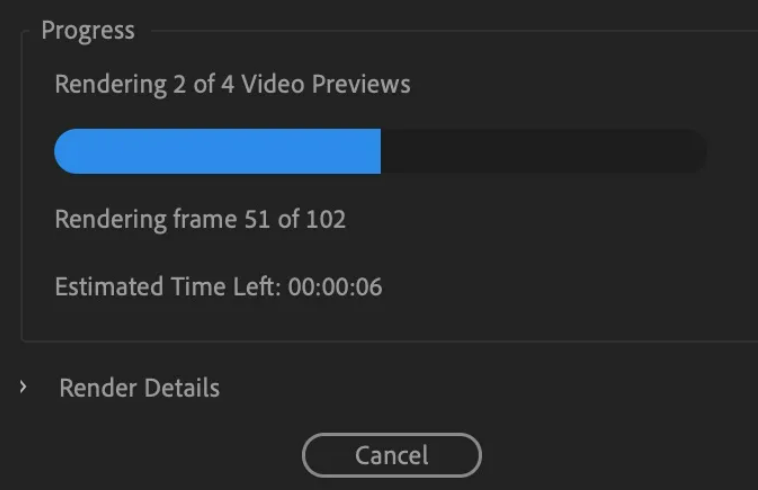
When you’re happy with your video, go to File > Export > Render Video. In the Render Video dialog box, choose a file format and destination for your video and click Render.
Using Export as:
Another way to turn an image sequence into a video is to use the Export As menu.
To do this, open your image sequence in Photoshop and select all of the images. Then go to File > Export > Export As. In the Export As dialog box, choose a file format and destination for your video and click Export.
Key takeaways
The key to making an animation in Photoshop is to take advantage of the built-in tools and filters that are already there.
First, let’s get some frames in your sequence. Import your images into Photoshop and resize them as required. To make your animation, you’ll need to select some images from your sequence and drag them into the Timeline panel.
You can organize your sequence by dragging individual images into their own timeline slots. Adobe Premiere Pro users will find it easier to organize the sequence in Premiere Pro instead. You can use the Render Video command to export your video as a GIF file if you want one.
If you’ll be animating for a long time, you can save your work as a movie file so you don’t have to keep exporting images from your sequence. You can use any format you want, such as those saved by Adobe Media Encoder or the free .gif standard.
If you’re working on a limited budget, you can just record your sequence and export it as a video using the same tools.