Adding grainy texture to your Figma designs is a great way to add depth and realism to your work. There are a few different ways to do this, and each has its own advantages and disadvantages.
One way to add a grainy texture to your Figma designs is to use the Noise plugin. This filter can be found in the Plugins available in Figma, and it allows you to add a variety of different noise textures to your design.

The advantage of using the noise filter is that it’s quick and easy to use, and it gives you a lot of control over the amount of graininess you add to your design. However, the disadvantage of using the noise filter is that it can make your design look a bit flat and lifeless.
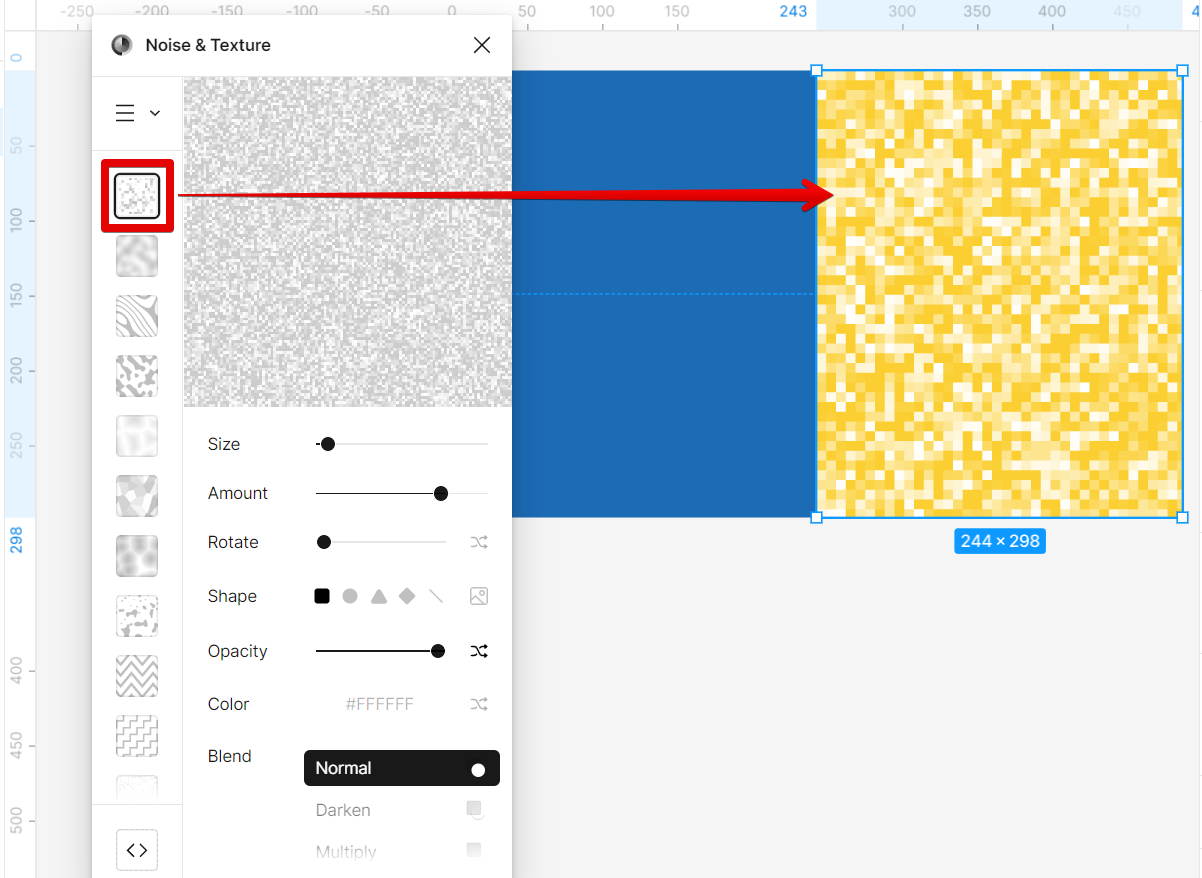
Another way to add a grainy texture to your Figma designs is to use the Noise and Texture plugin. You can find this in Figma’s Plugin Resources.

The advantage of using the Noise and Texture plugin is that it can give your design more options to choose from. However, the disadvantage of using this plugin is that it can be time-consuming to adjust, and it can be difficult to control the amount of graininess you add to your design.
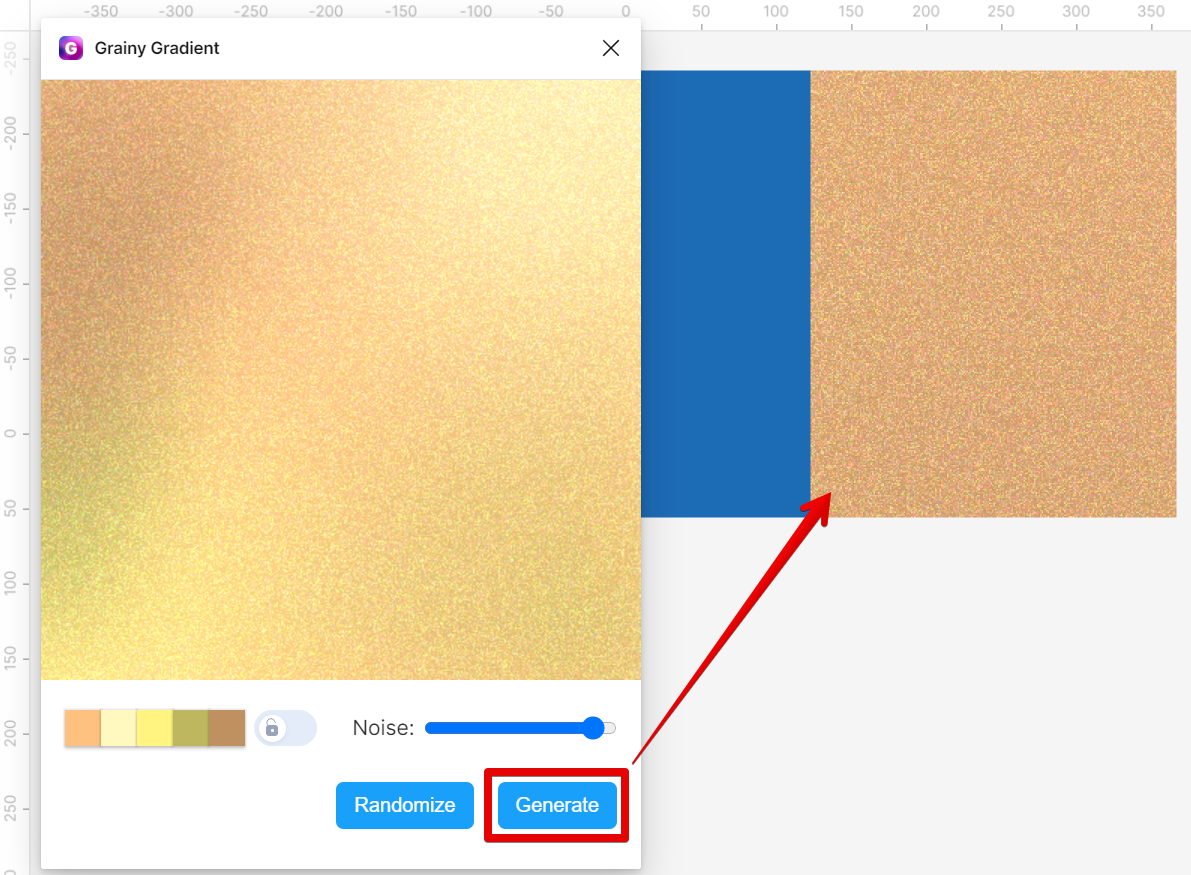
A third way to add a grainy texture to your Figma designs is to use the Grainy Gradient plugin. The Grainy Gradient plugin can be found in Figma’s Resources, and it allows you to create a gradient fill with a variety of different noise textures.

The advantage of using the Grainy Gradient plugin is that it’s quick and easy to use, and it gives your design a colorful touch. It also gives you control over the amount of graininess you add to your design. However, the disadvantage of using the Grainy Gradient tool is that it doesn’t let you choose the number of colors generated.
Conclusion:
There are three main ways you could go about adding grainy texture into Figma – by using the Noise plugin, the Noise and Texture plugin, or by utilizing the Grainy Gradient plugin. Each method has its own set of pros and cons so choose whichever one works best for your needs!
PRO TIP: If you’re looking to add a grainy texture to your Figma designs, be warned that this can be a bit of a tricky process. There are a few different methods you can use, but it’s important to test out each one to see what works best for your particular design. Also, keep in mind that grainy textures can often make a design look cluttered and busy, so use them sparingly.
8 Related Question Answers Found
When it comes to digital design, one of the most versatile tools you can use is Figma. Not only is it great for designing websites and apps, but you can also use it to create high-quality illustrations and graphics. And, one of the best things about Figma is that it’s relatively easy to use.
In Figma, you can add texture to your vector objects in a number of ways. You can use the fill tool to add a solid color, or you can use the gradient tool to add a color gradient. You can also add bitmap images to your vector objects, which can be tiled or stretched to fit the object.
Adding a texture background in Figma is a quick and easy way to add some visual interest to your design. There are a few different ways to do this, but the easiest way is to use the “Fill” tool. To add a texture background using the “Fill” tool, first select the object you want to add the texture to.
There are a few steps to distort shapes in Figma. The first step is to select the shape you want to distort. From there, open the Resources window in the top menu.
Adding a layer in Figma is a simple process that can be completed in just a few steps. Frame Layer
Create a Frame Layer by clicking the Frame Tool in the Toolbar and using your mouse to drag and create the desired size of your frame. Group Layer
Select the layers you want to group and right-click with your mouse then choose Group selection.
Adding curves to your Figma design is easy! With the pen tool, you can simply click and drag to create curved lines. To add a curve to an existing line, first select the line with the selection tool, then click on the “Edit points” icon in the top toolbar.
There are a few different ways that you can subtract a shape in Figma. The first way is to use the Subtract From Shape mode. This mode can be found in the top toolbar, under the Edit menu.
Figma is a vector-based design tool that is gaining popularity in the design community. One of the reasons for its popularity is its ability to easily export designs into code. This means that developers can take a Figma design and turn it into working HTML and CSS code with little effort.


