When you’re working on a design in Figma, there are times when you need to crop a component. Maybe you want to show only part of an image, or you need to make a custom shape from an existing one.
Whatever the reason, Figma makes it easy to crop components. Here’s how:
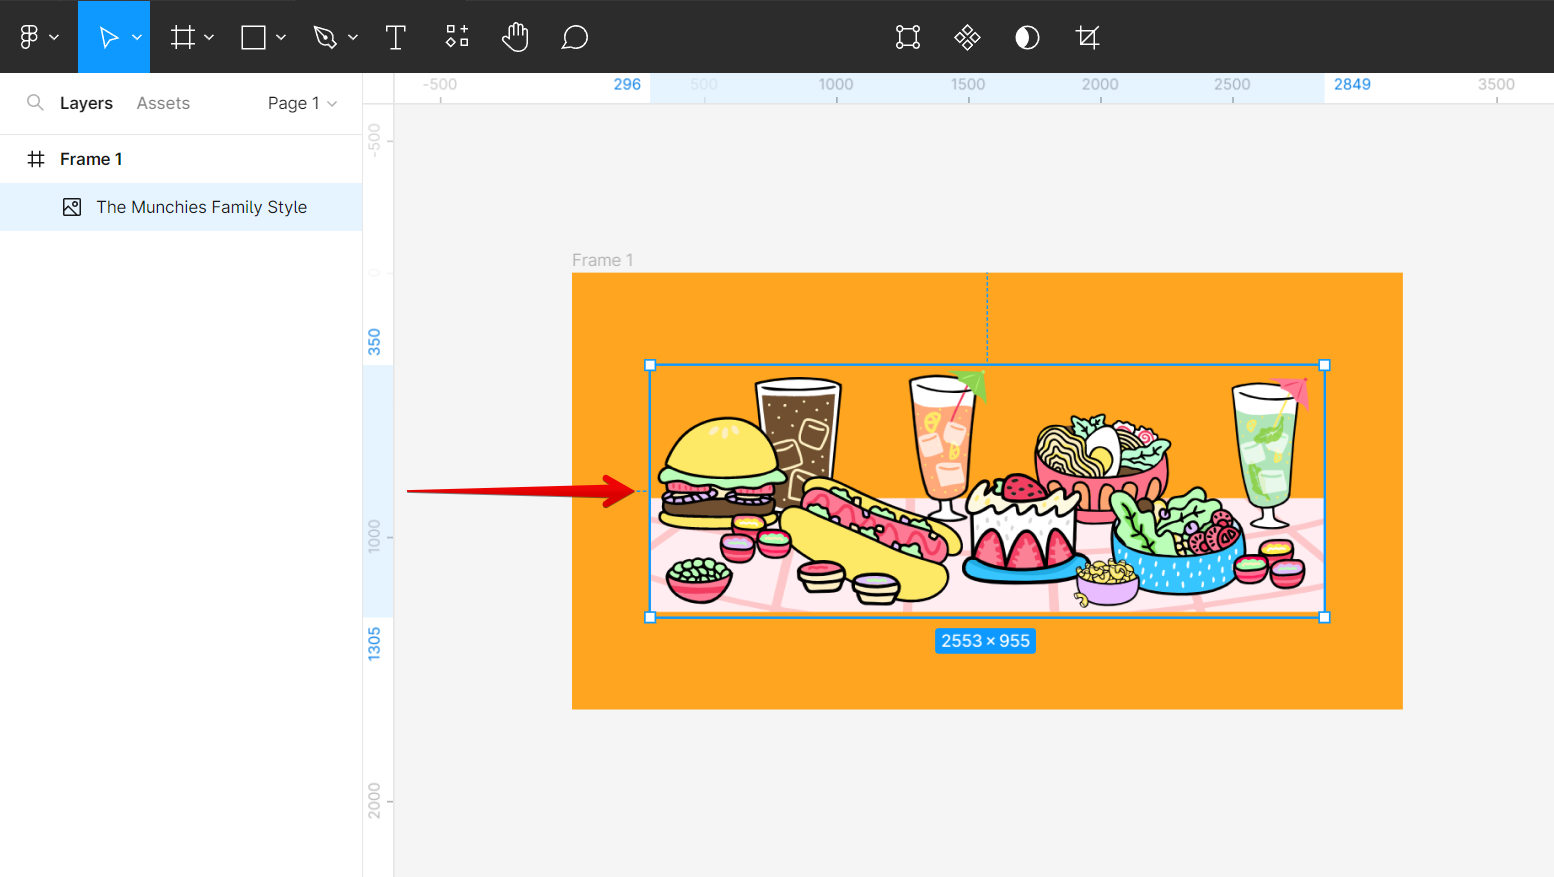
First, select the component that you want to crop.
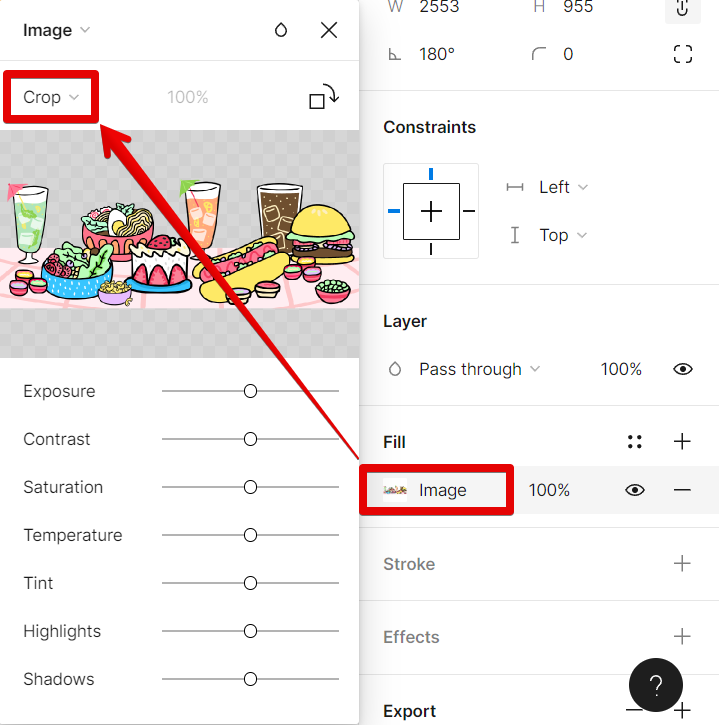
Then, open the Fill options and select the “Crop” option from the drop-down menu. This will bring up the cropping tool on your component.
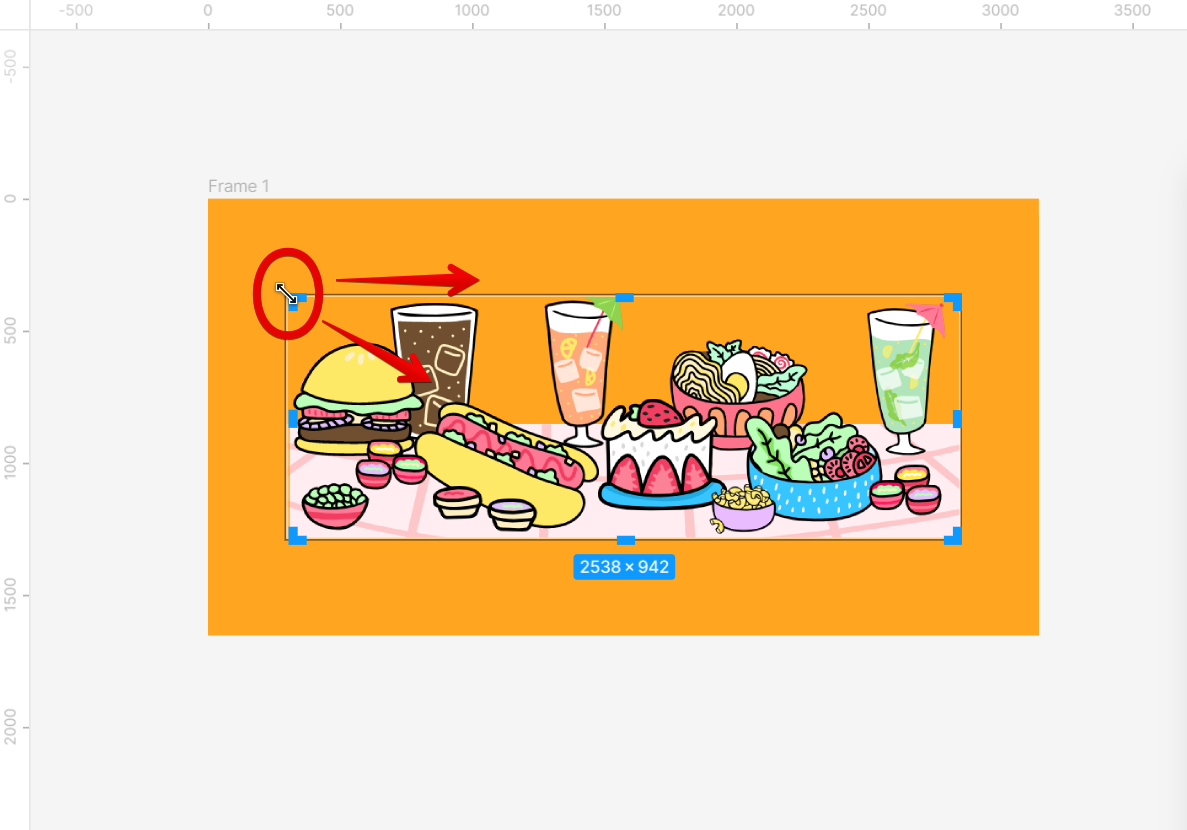
Next, use the cropping tool to select the area that you want to keep. You can do this by clicking and dragging on the crop handles around the component.
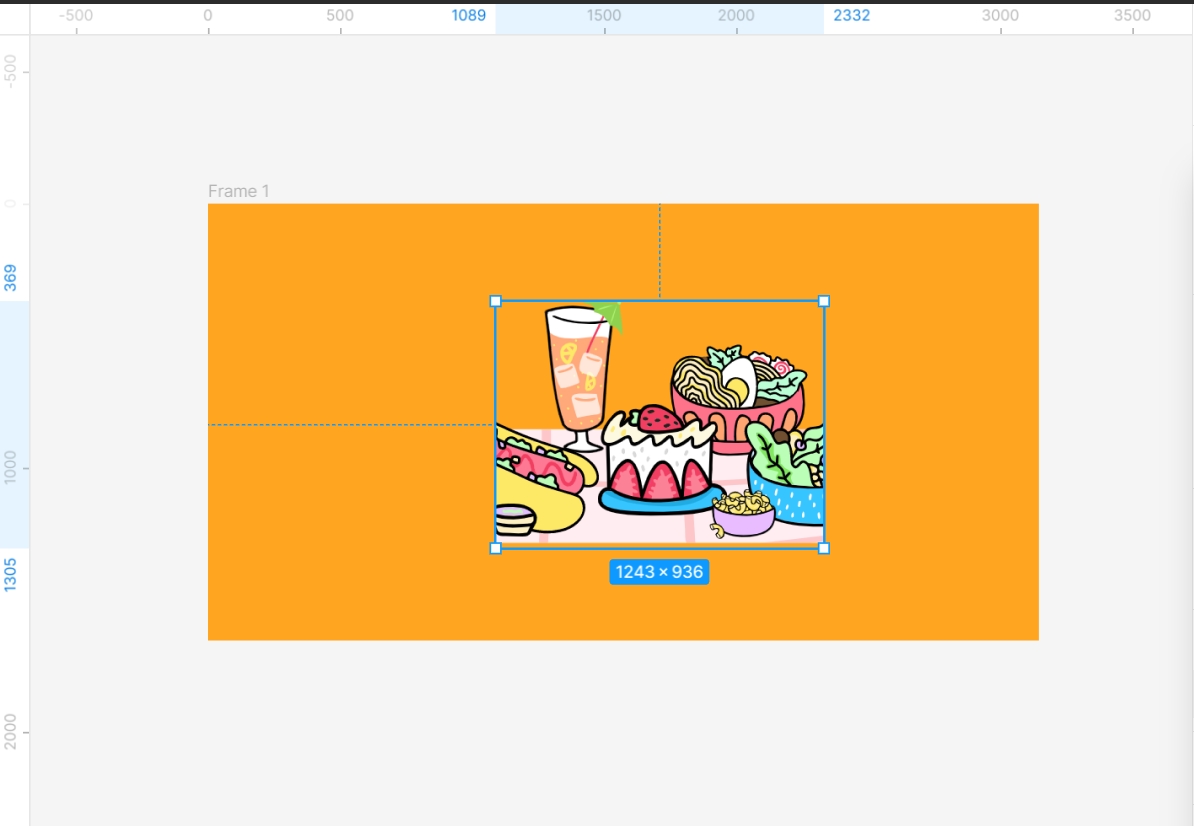
Once you’re happy with your selection, just press “Enter” on your keyboard to apply your changes.

PRO TIP: If you are not familiar with Figma, we recommend that you seek help from someone who is before attempting to crop a component. Incorrectly cropping a component can result in lost work and/or damage to your file.
And that’s all there is to it! Cropping components in Figma is quick and easy, and it can be a great way to create custom shapes and sizes for your designs.
How Do You Crop a Component in Figma?
Cropping components in Figma is a quick and easy way to create custom shapes and sizes for your designs. To crop a component, first, select it and then open the Fill options and select the “Crop” option from the drop-down menu.
This will bring up the cropping tool. Use the cropping tool to select the area that you want to keep, and then press “Enter” on your keyboard to apply your changes. That’s all there is to it!
10 Related Question Answers Found
There are a few ways to crop something in Figma. The first is to use the built-in cropping tool. To do this, select the layer you want to crop, then click on the “Crop” button in the toolbar at the top of the screen.
There are a few ways to crop in Figma. The first is to use the Crop tool, which is located in the left toolbar. With this tool, you can click and drag to create a cropping rectangle.
There are a few ways to get components in Figma:
1. Create them from scratch: You can create a component by selecting the “Create new component” option from the right-click menu. This will open up the component editor, where you can add your own unique styling and content.
2.
There are a few different ways that you can get components in Figma. The first way is to create them yourself using the Rectangle, Ellipse, and Line tools. You can also add text to your shapes using the Text tool.
When you’re working with images in Figma, you may need to crop them to fit a specific space. Cropping an image is a quick and easy way to edit an image without having to open it in another program. Here’s how to crop an image in Figma:
To crop an image in Figma, first select the image you want to crop.
There are a few steps so that you can crop a vector in Figma. The first step is to select the vector image you want to crop by clicking on it. Next, create a new shape that you will use to crop the vector image.
Component libraries are a great way to keep your design system organized and your team on the same page. But how do you actually create a component in Figma? There are a few different ways to create components in Figma, but the most common method is to use the Layer Groups tool.
There are a few ways to crop a circle in Figma. The first way is to use the Crop tool. With the Crop tool selected, click and drag a selection around the area you want to crop.
Component libraries make it easy to maintain a consistent design system across multiple Figma files. When you import a component library into Figma, any changes you make to the library will be reflected across all files that use it. You can even share libraries with other members of your team, so everyone is always up-to-date.
Figma is a great tool for managing design workflows and collaborating with teams. One of the things that makes Figma so powerful is its ability to crop images. This feature can be extremely useful when working with raster images, as it allows you to quickly adjust the size and aspect ratio of an image without having to open it in another program.