Instagram is one of the most popular social networking platforms today. With over a billion active monthly users, it is a great platform for businesses and individuals to market their products and services.
While traditional marketing methods like print ads and television commercials are still effective, more and more businesses are using social media platforms like Instagram to reach their Target audience.
But what if you don’t have a professional photographer or graphic designer on staff? How can you create beautiful, eye-catching images for your Instagram feed without breaking the bank?
Enter Canva.
Canva is a free online design platform that anyone can use to create stunning visuals. And best of all, you don’t need any design experience to use it!
In this article, we’ll show you how to create an Instagram grid on Canva in just a few simple steps.
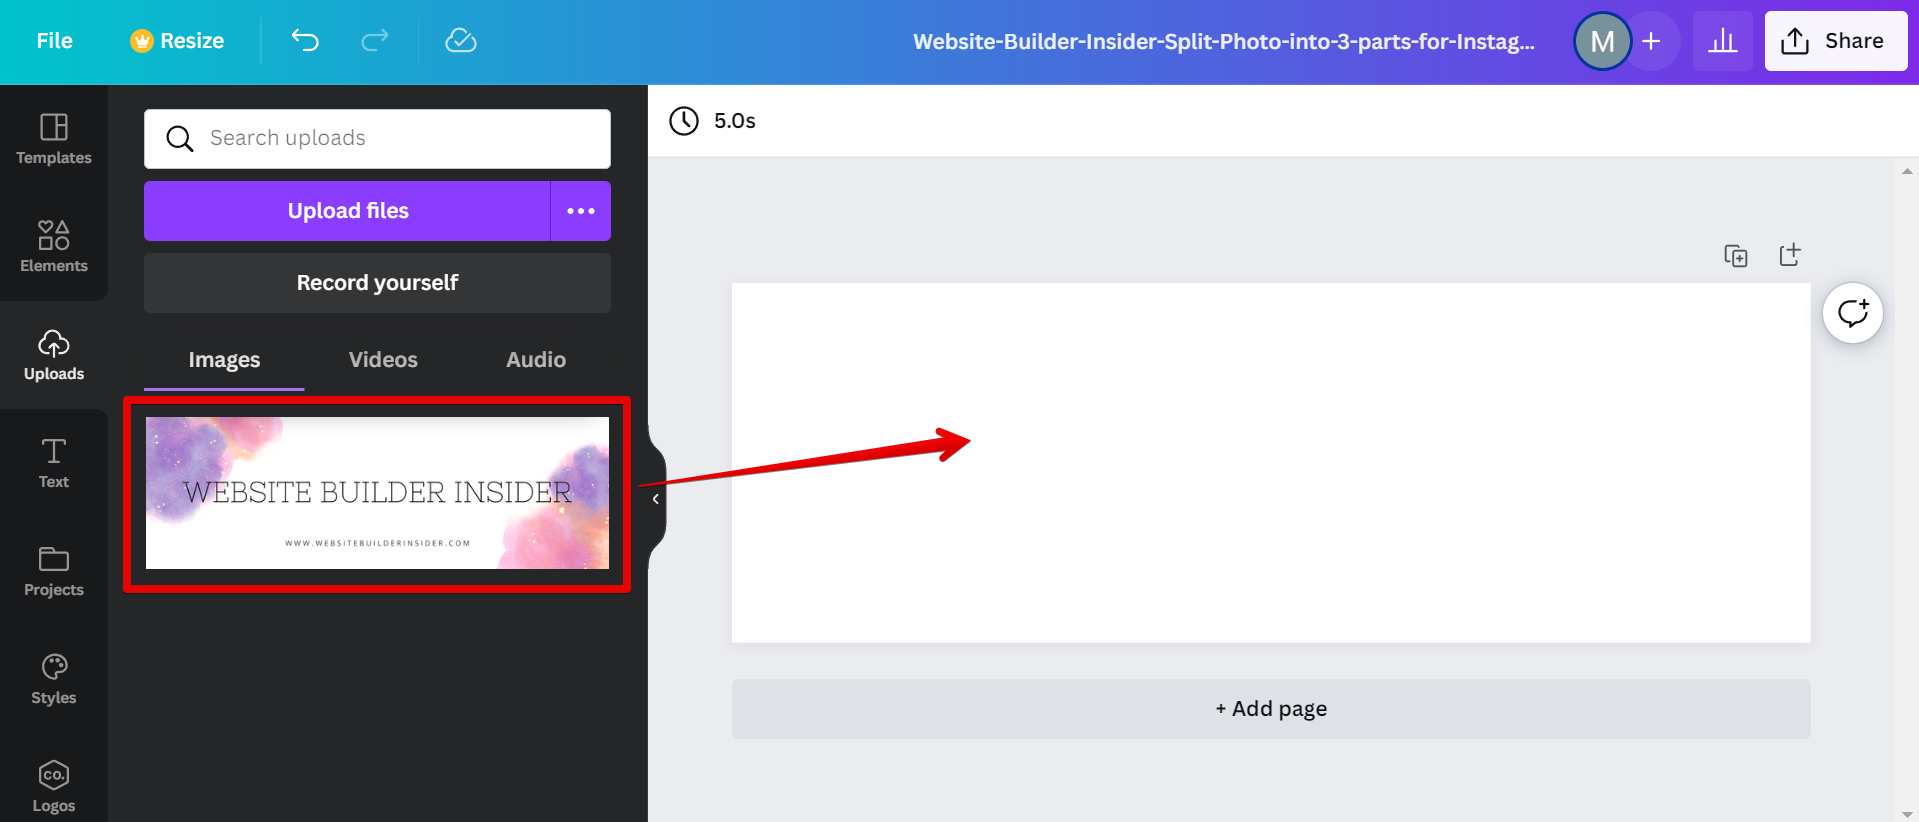
1. Log in to your Canva account and create a new design. Once your canvas is ready, select your photo from the “Uploads” tab on the left, and drag it onto your canvas.
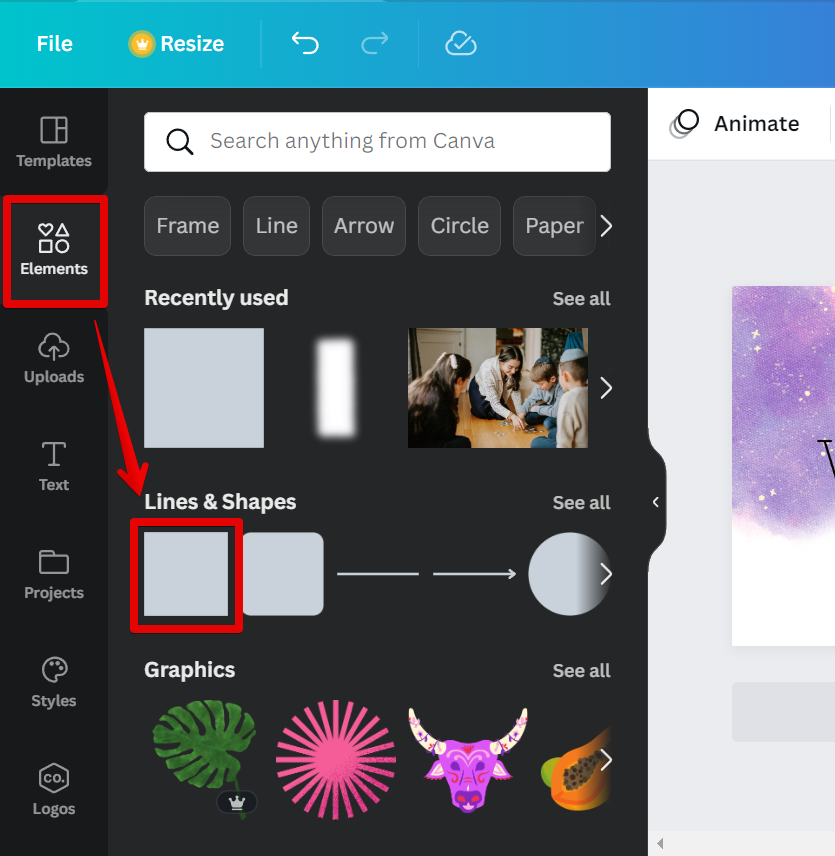
2. In this example, we will make a grid post split into 3 parts and to do that we will need a ruler guide. To make an improvised guide, go to “Elements” on the left menu and select the “Square” option from the “Lines and Shapes” section to insert it into your canvas.
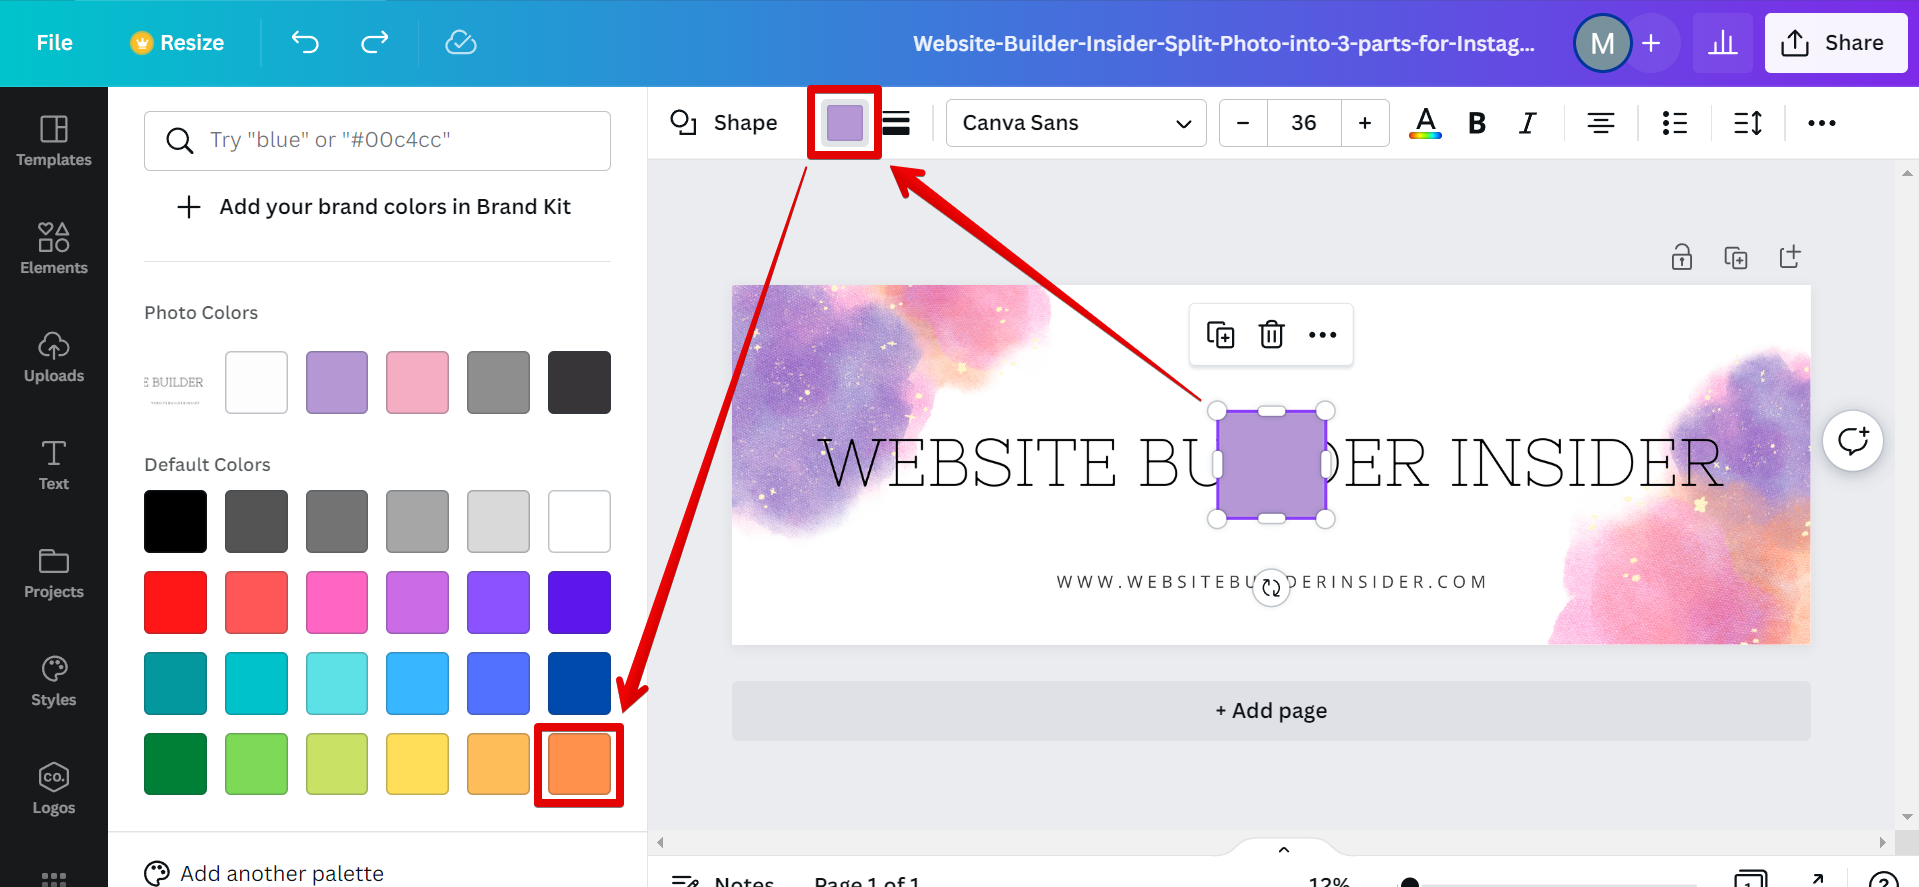
3. Change the color of the square element to make the guide more noticeable.
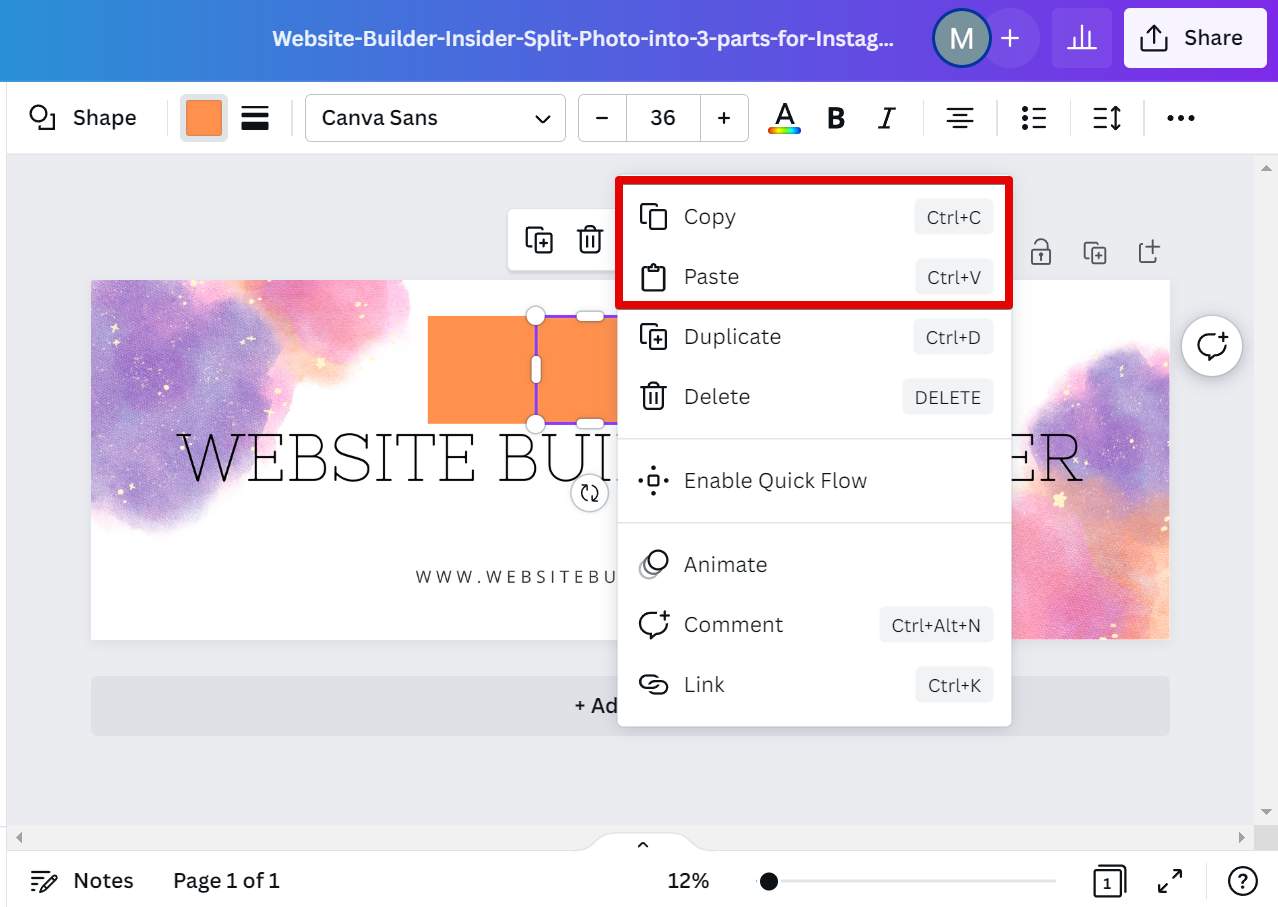
4. Next, copy the square element and paste it on the same canvas.
5. Repeat until you have three consecutive squares.
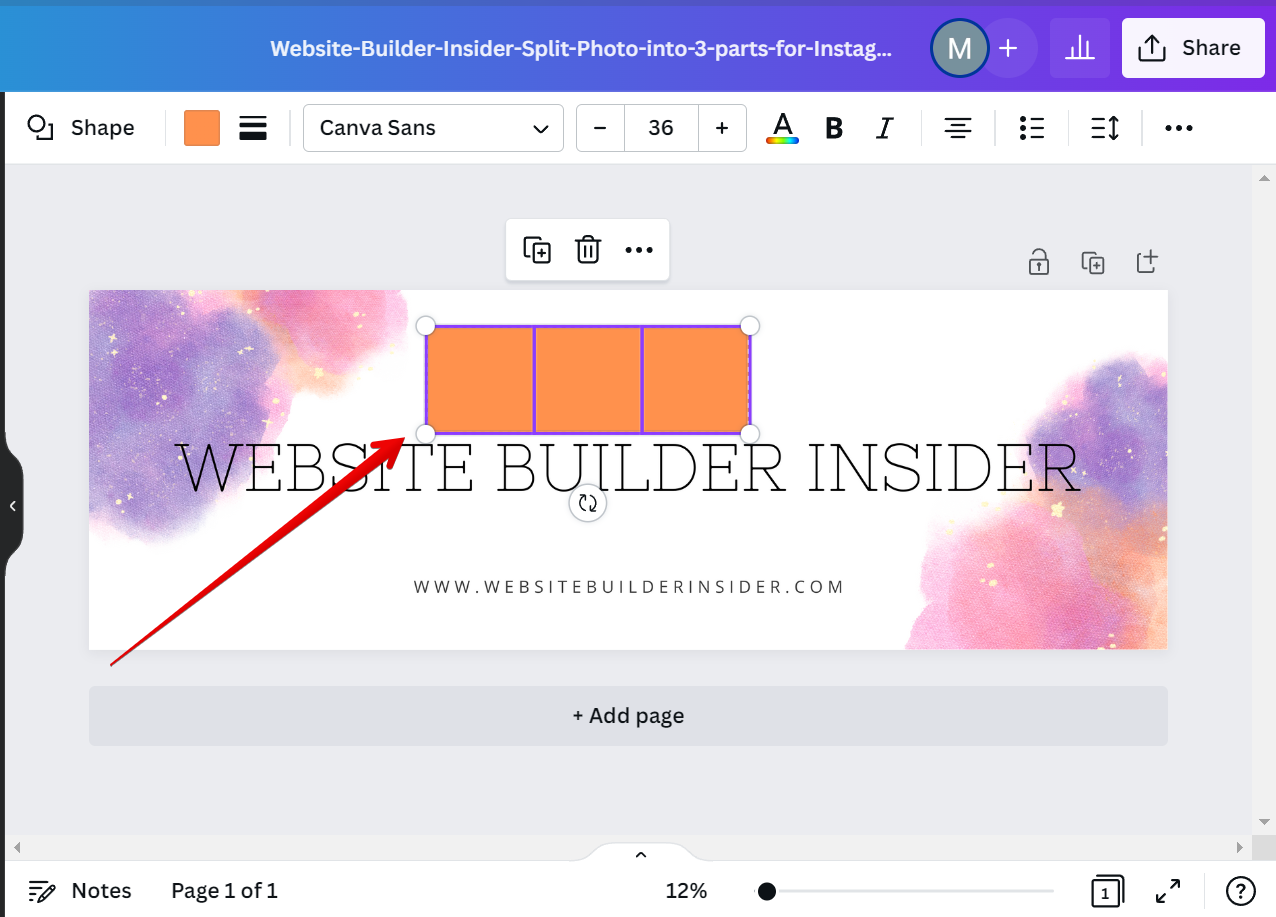
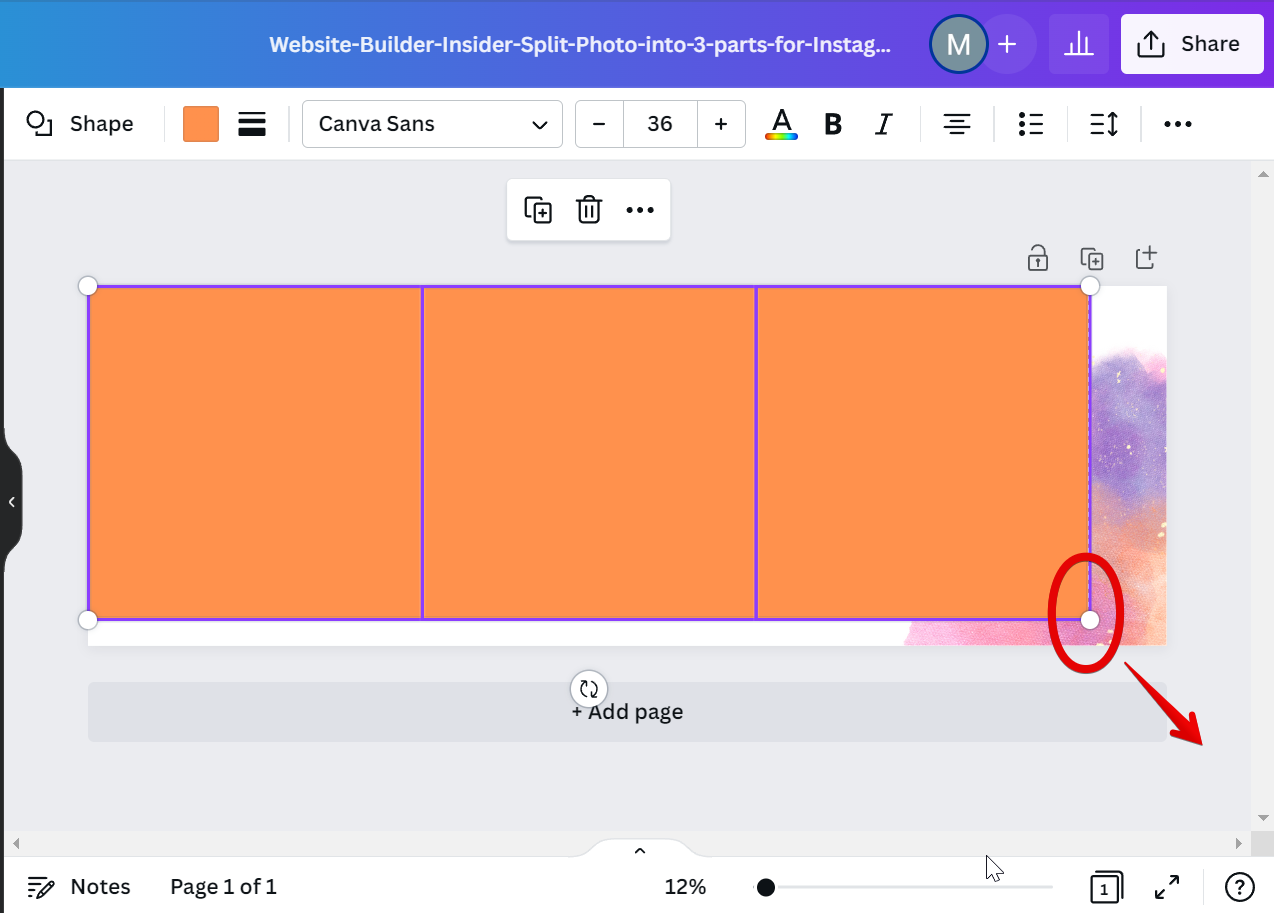
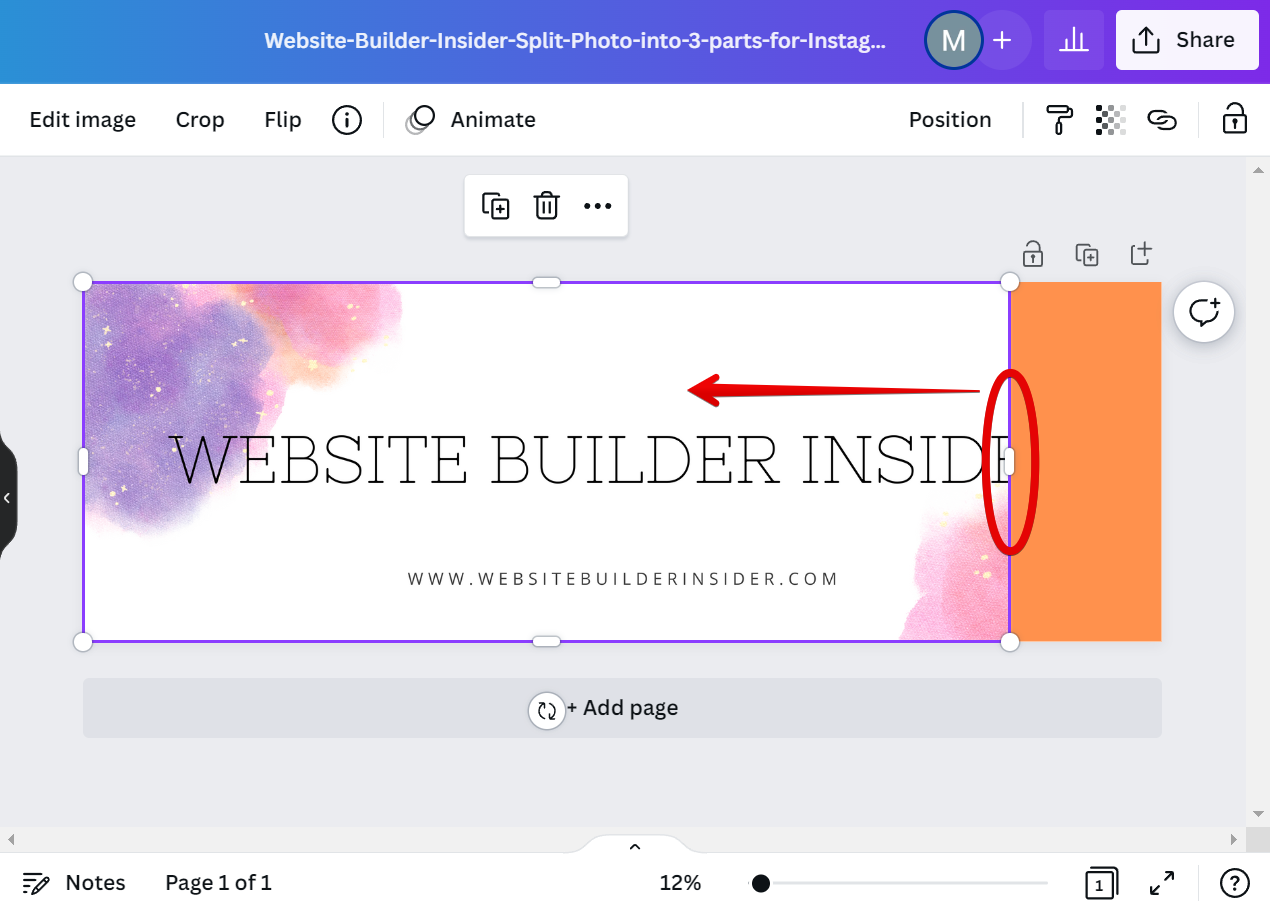
6. Select the three squares and resize them by clicking and dragging the pill handles. Do this until, altogether, they have the same size as your canvas while covering your entire design.
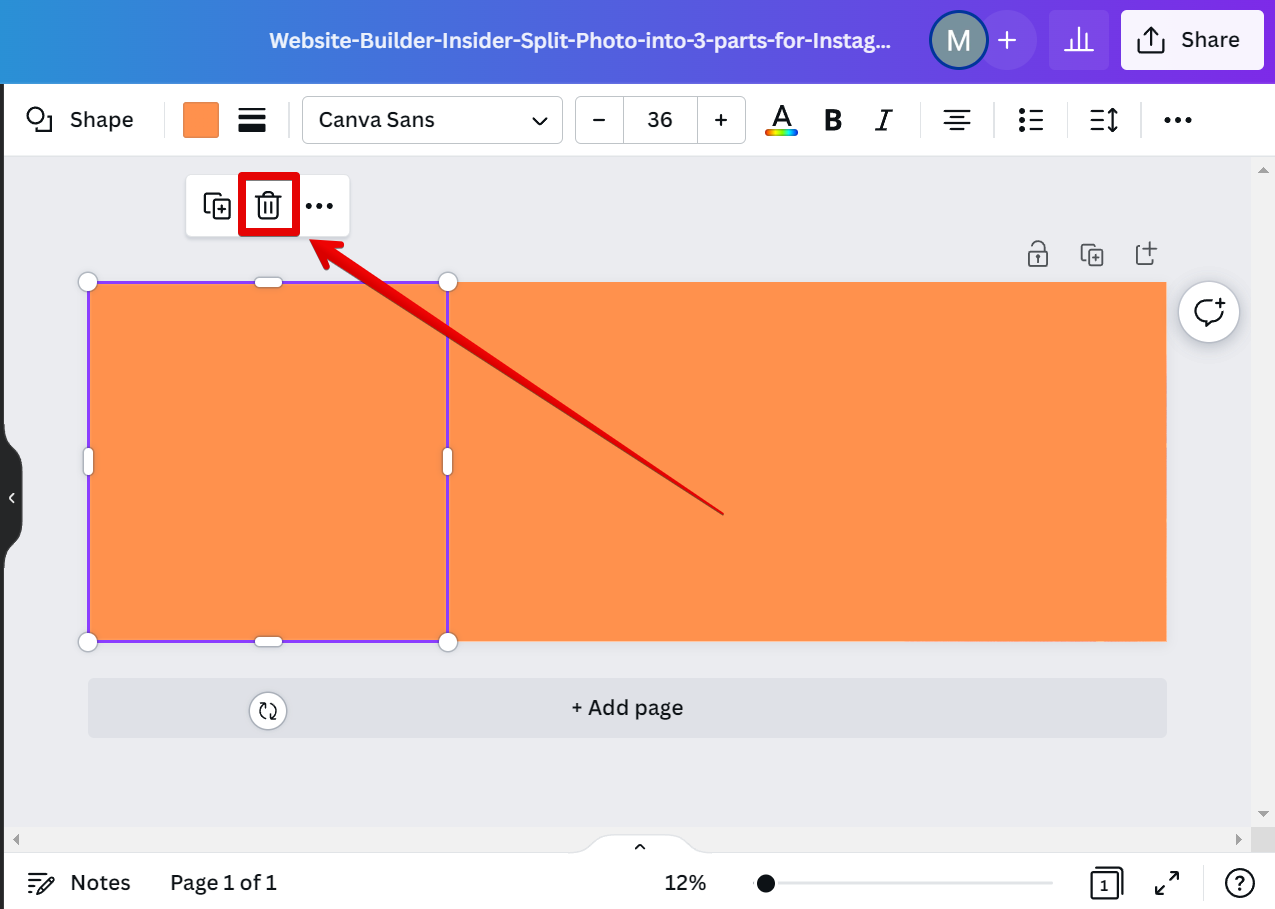
7. Now, click on the first square and delete it.
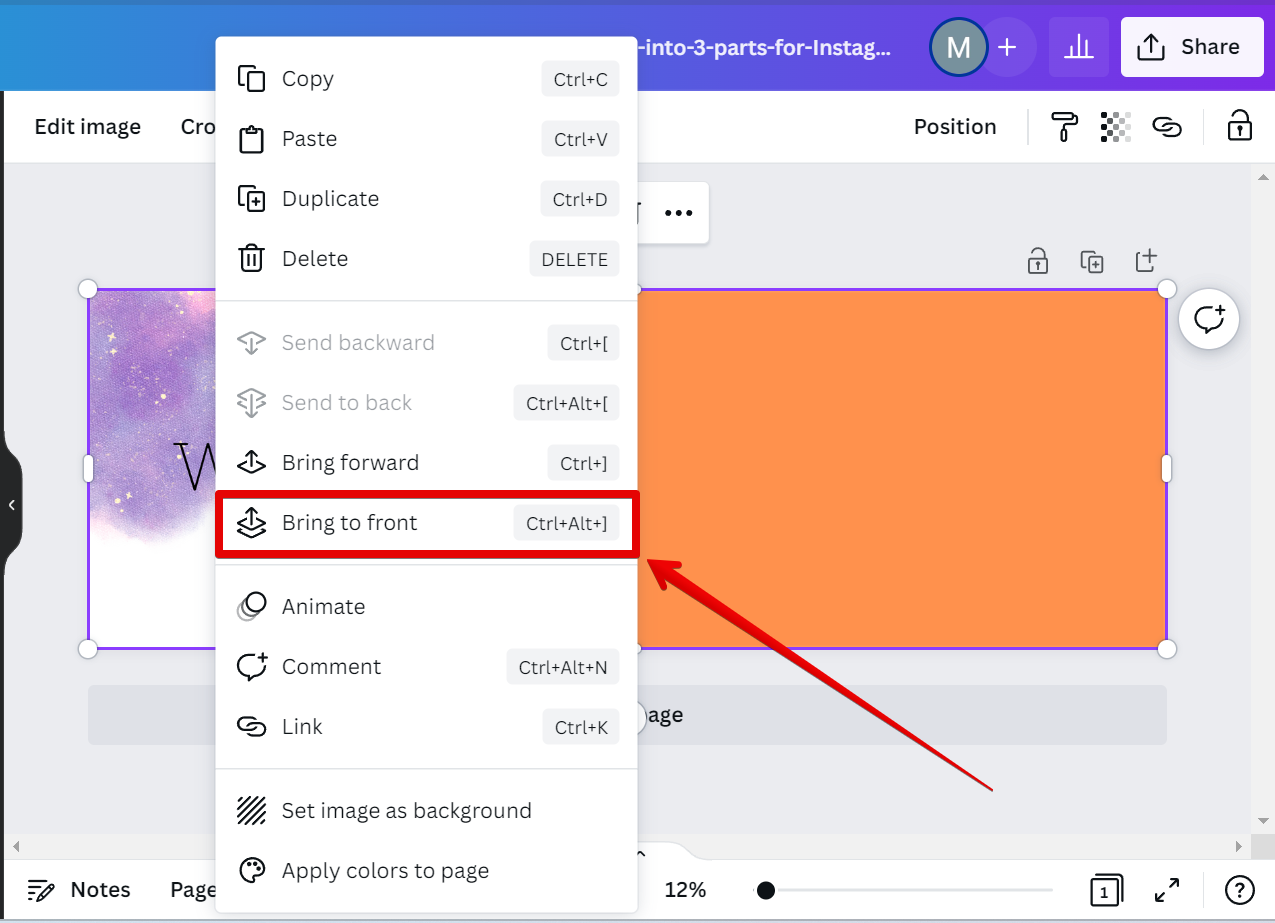
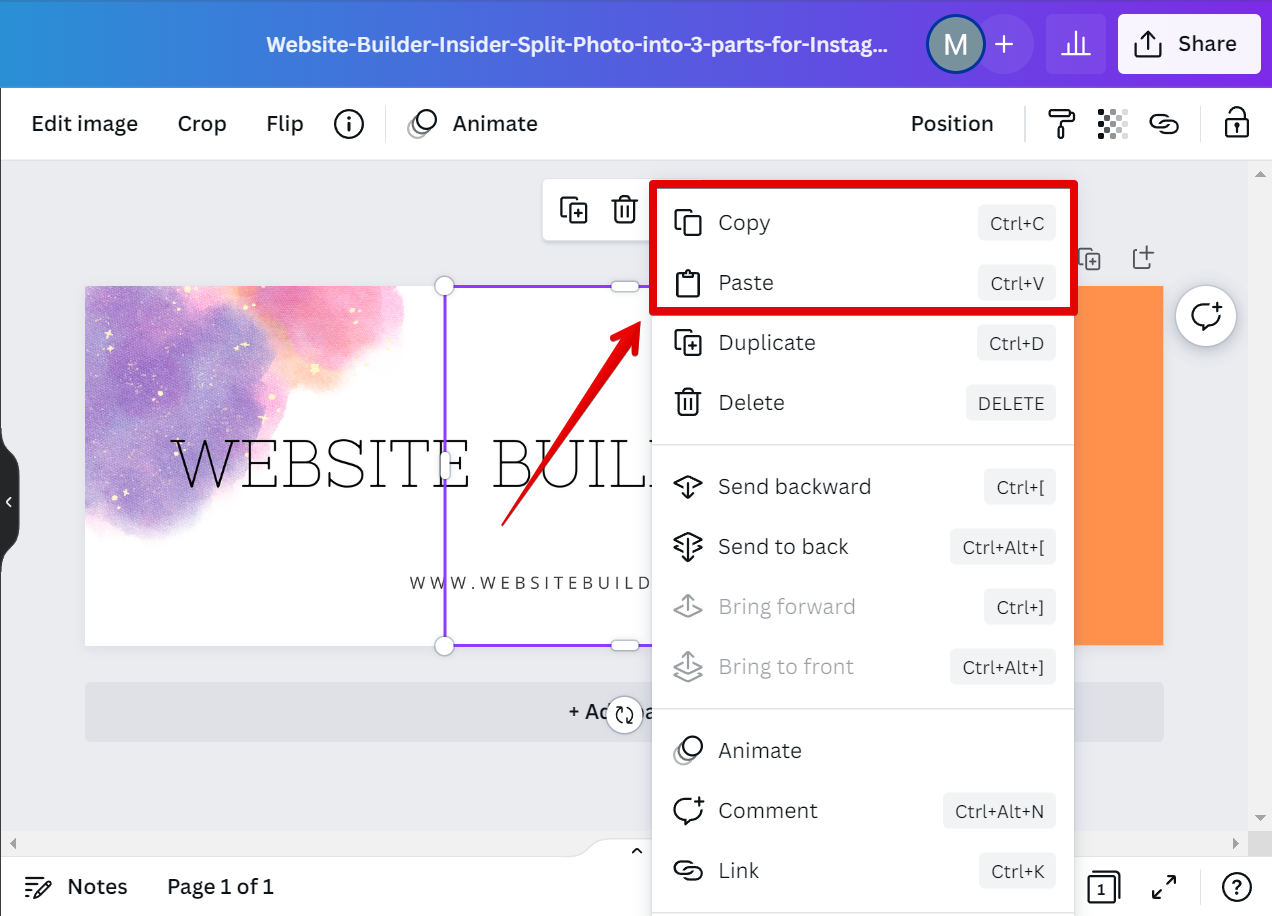
8. From there, select your photo. Right-click on it and select the “Bring to front” option.
9. The next step is to crop it into a square according to the size of the one you deleted while showing the first portion of the photo. Use the others squares as a guide when resizing. You can resize it by clicking and dragging on the pill handles of the photo.
10. Once done, select and copy the cropped first photo and paste it on the same canvas.

11. Crop the pasted photo into a square while showing the middle portion of the original one. Place this in the middle of your canvas. Use the squares as your guide.
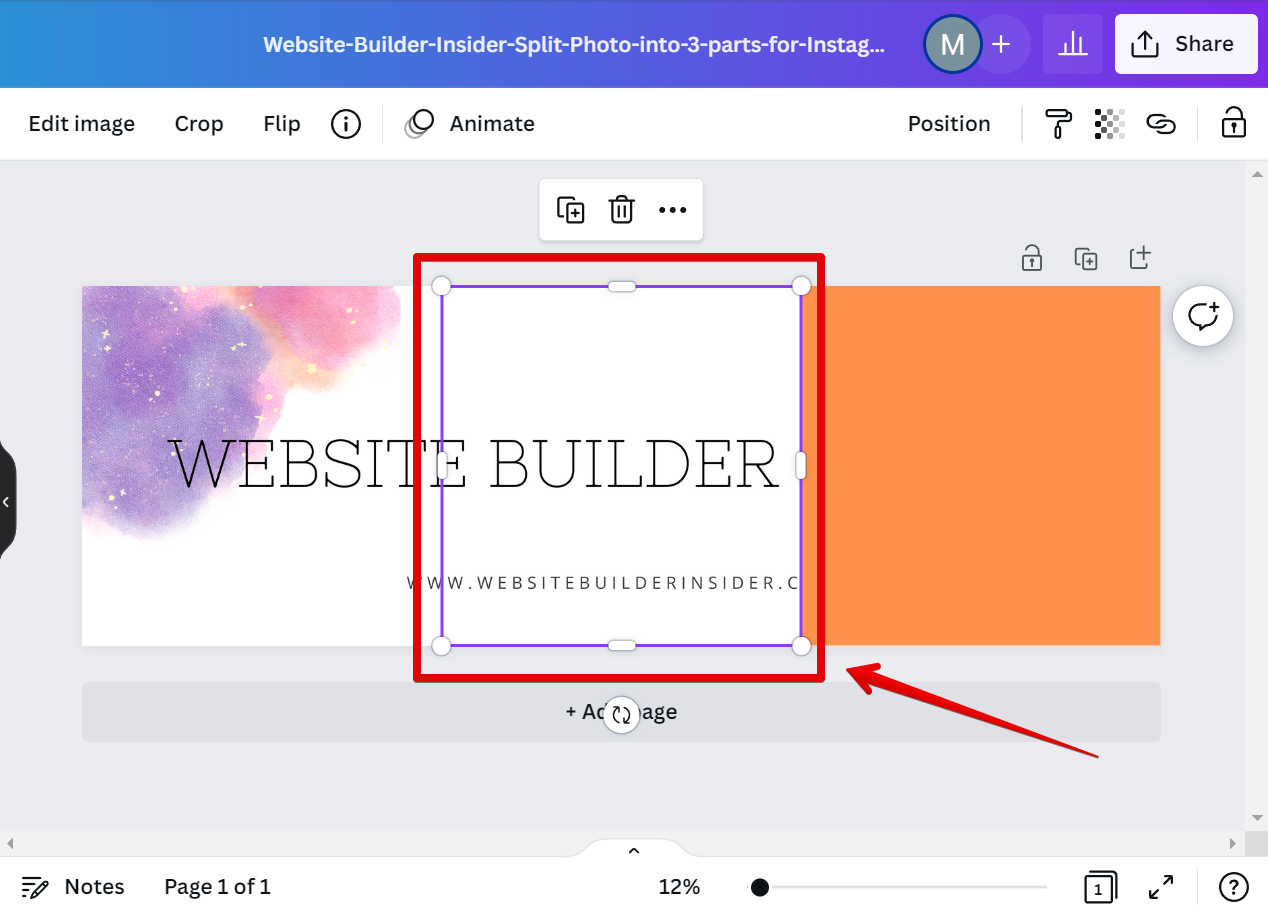
12. Once done, copy the cropped photo again and paste it on the same canvas.
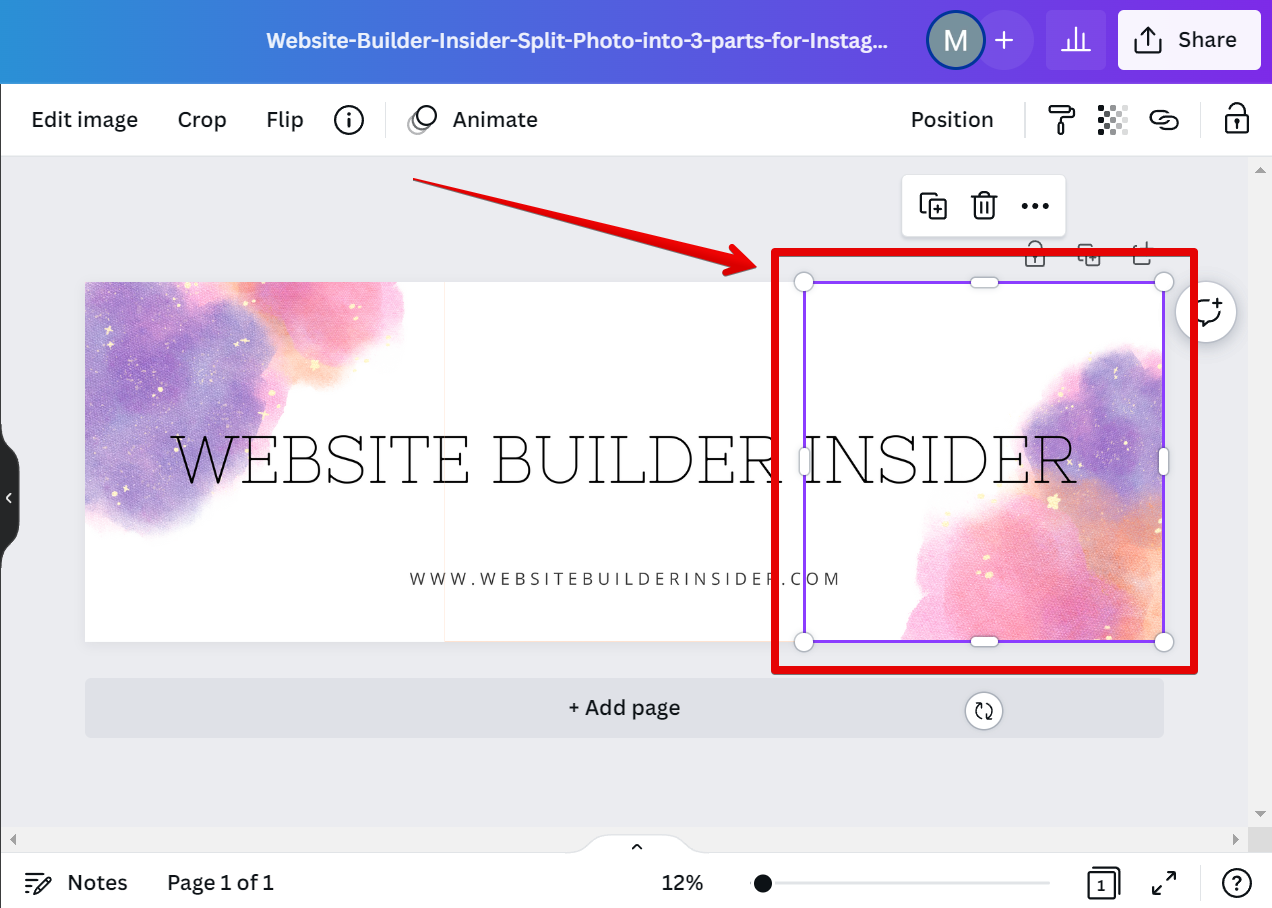
13. Crop the pasted photo into a square while showing the last portion of the original one. Place this on the third square of your canvas. The result should look exactly like the original one split into three parts.
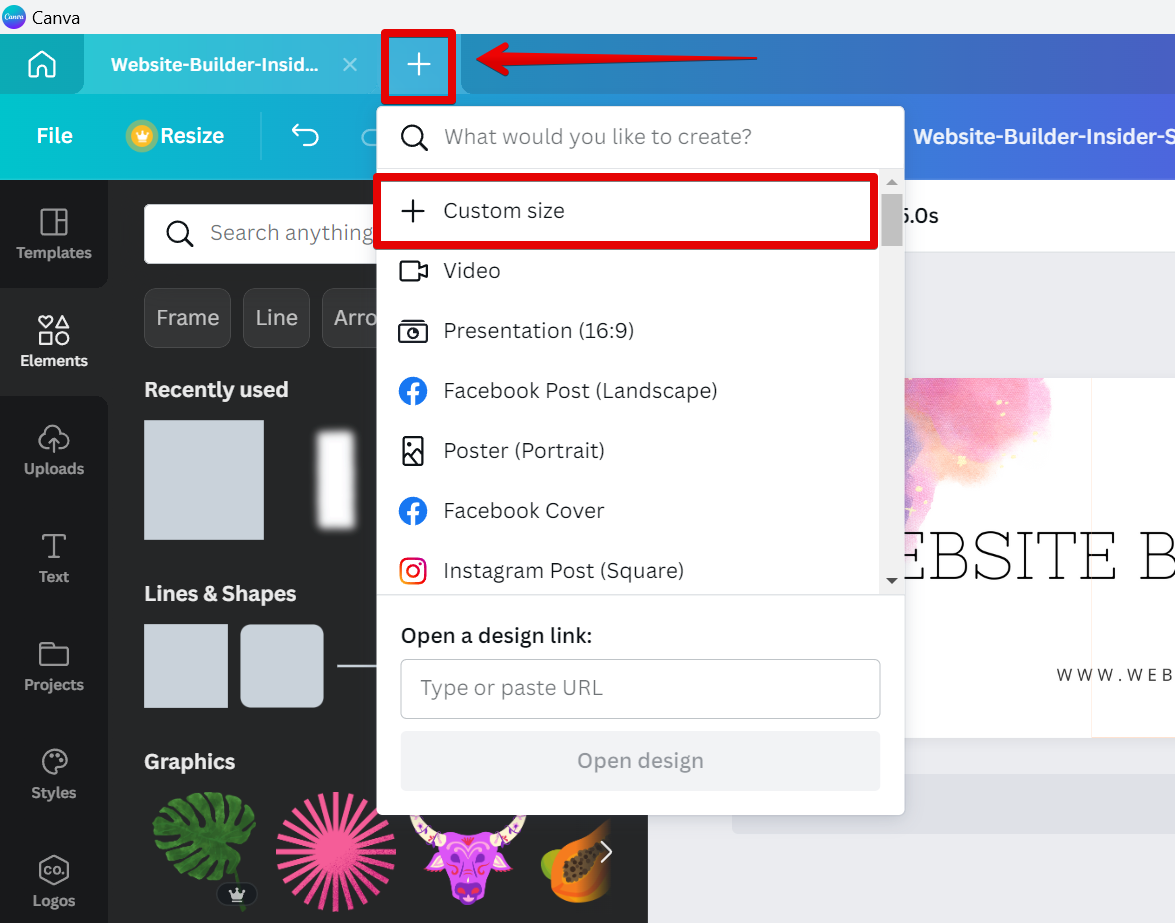
14. Now that you have 3 cropped photos. Make another design canvas by clicking on the “+” sign at the top menu and then selecting “Custom size”.
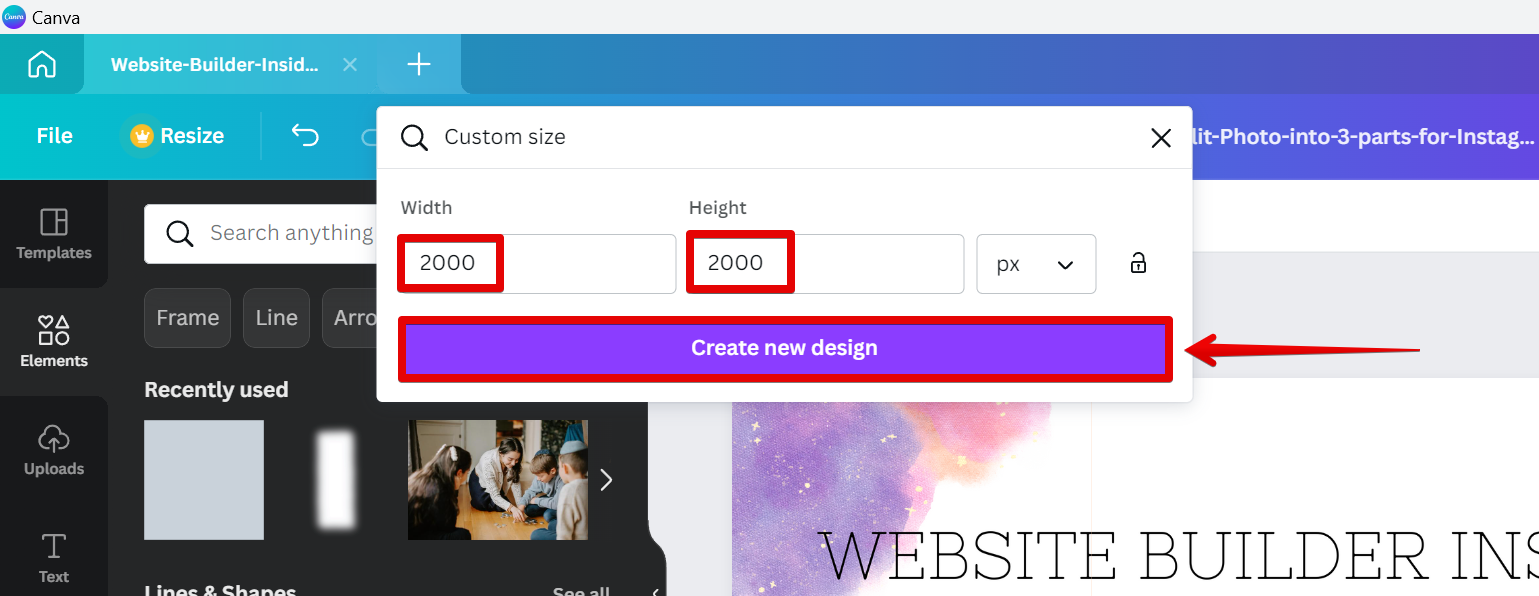
15. Set the size of your canvas to 2000×2000 pixels since we have square-cropped photos. Then, select the “Create new design” button.
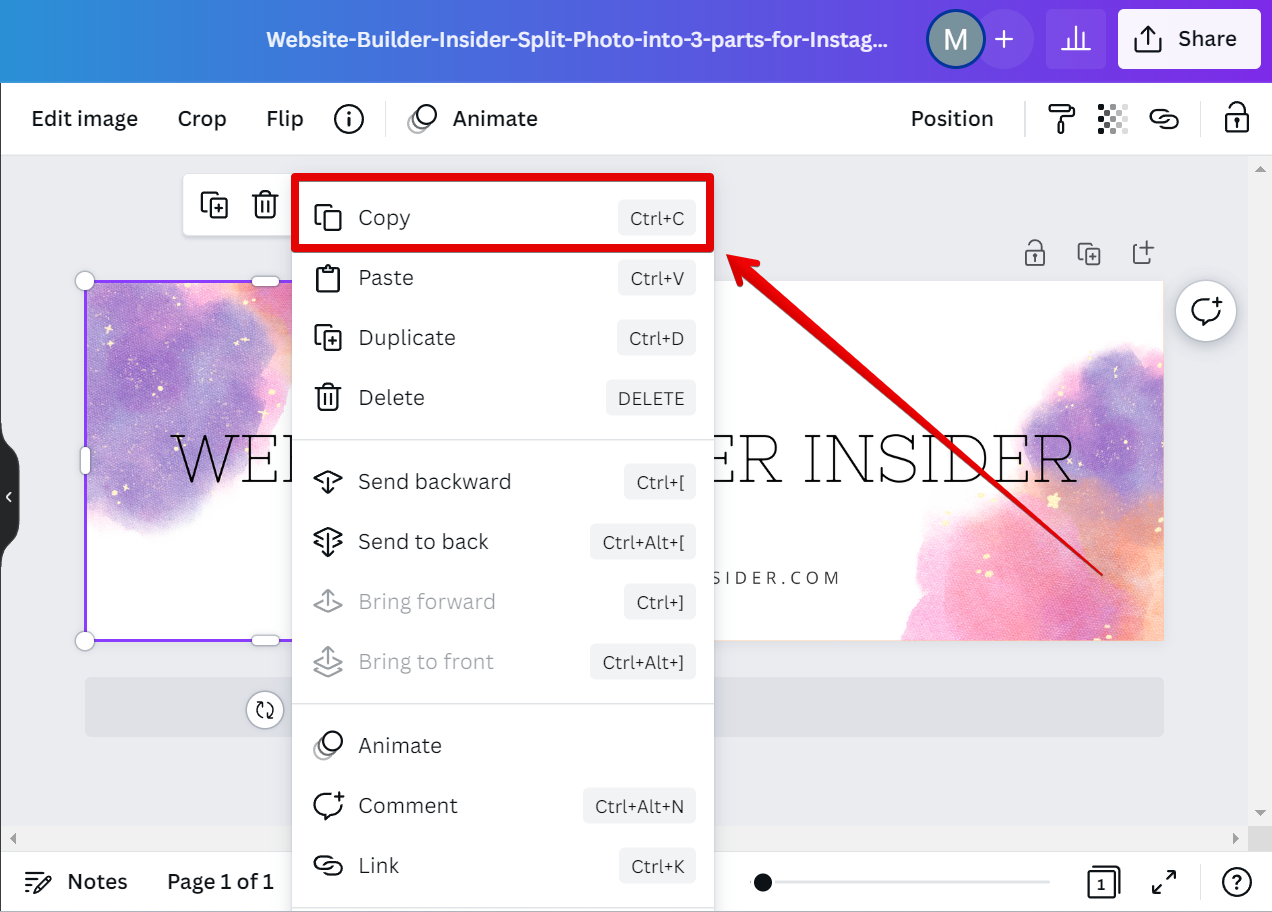
16. Copy the cropped photos from your first canvas one by one.
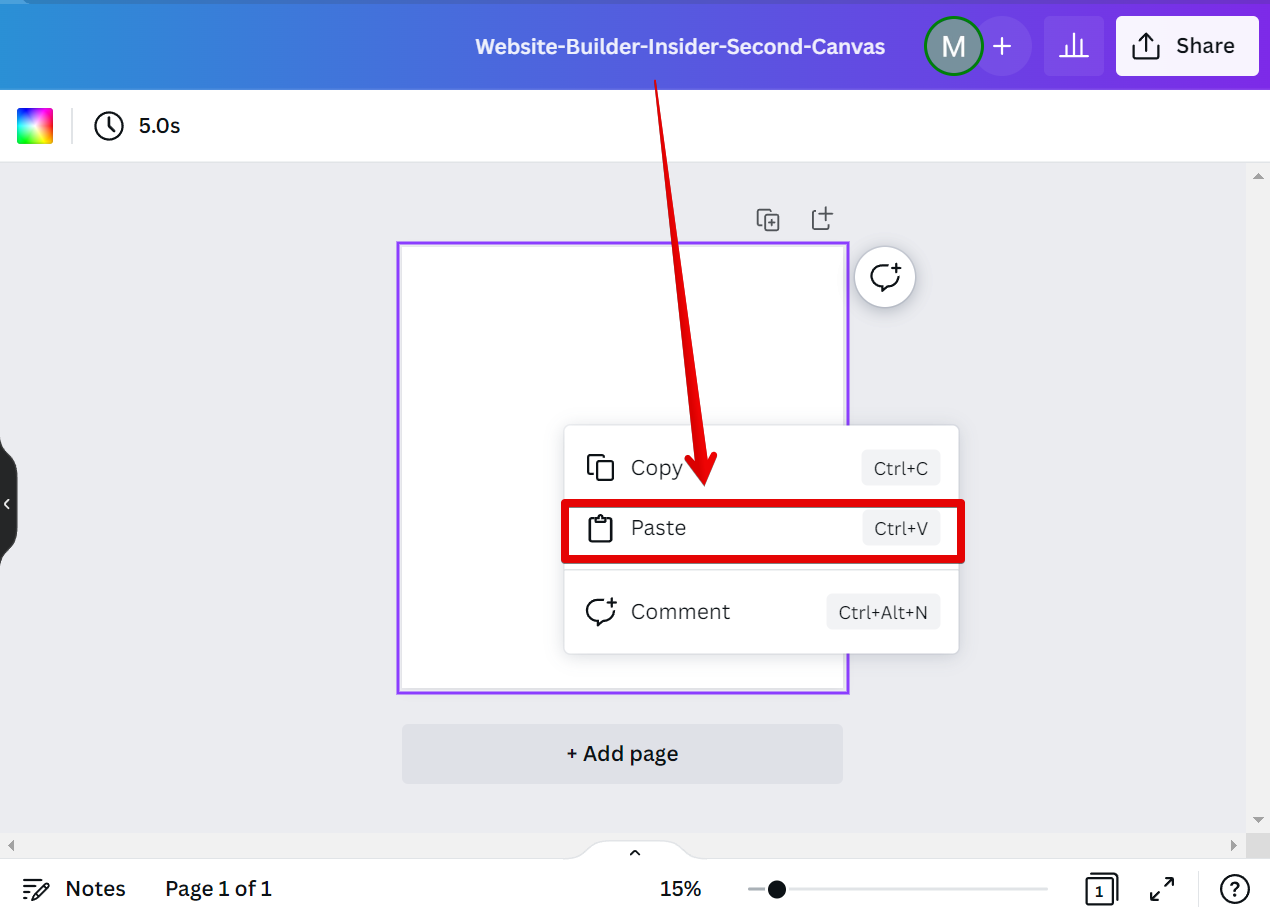
17. Go to your second canvas and paste each of the photos into one page.
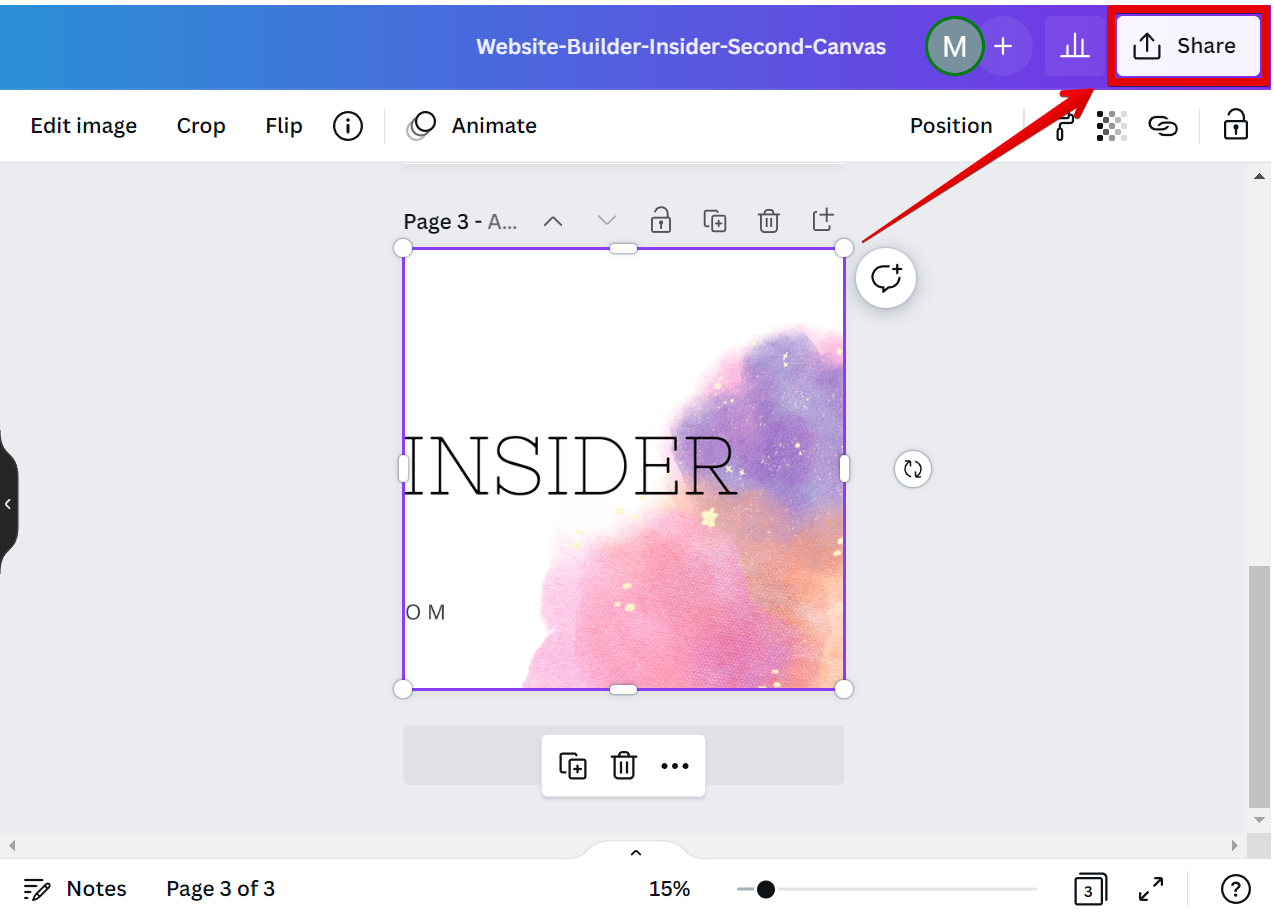
18. Once done copying and pasting all three photo parts, click on the “Share” button at the top-right corner of the second canvas.
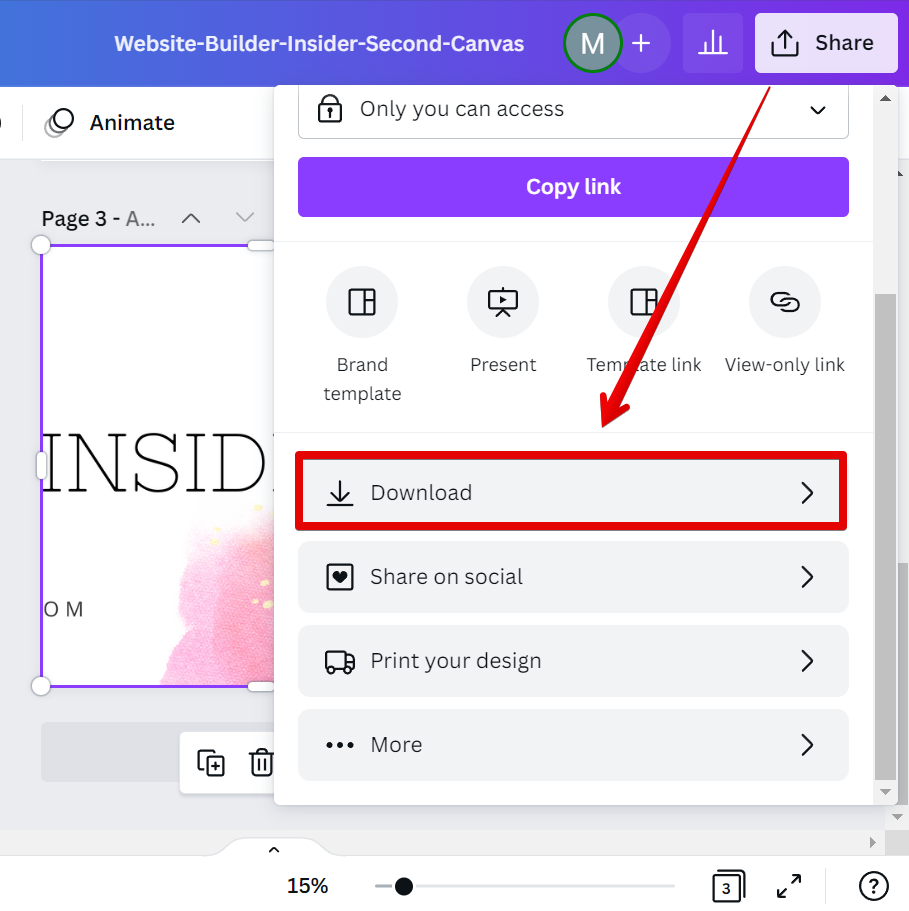
19. From there, select “Download”.
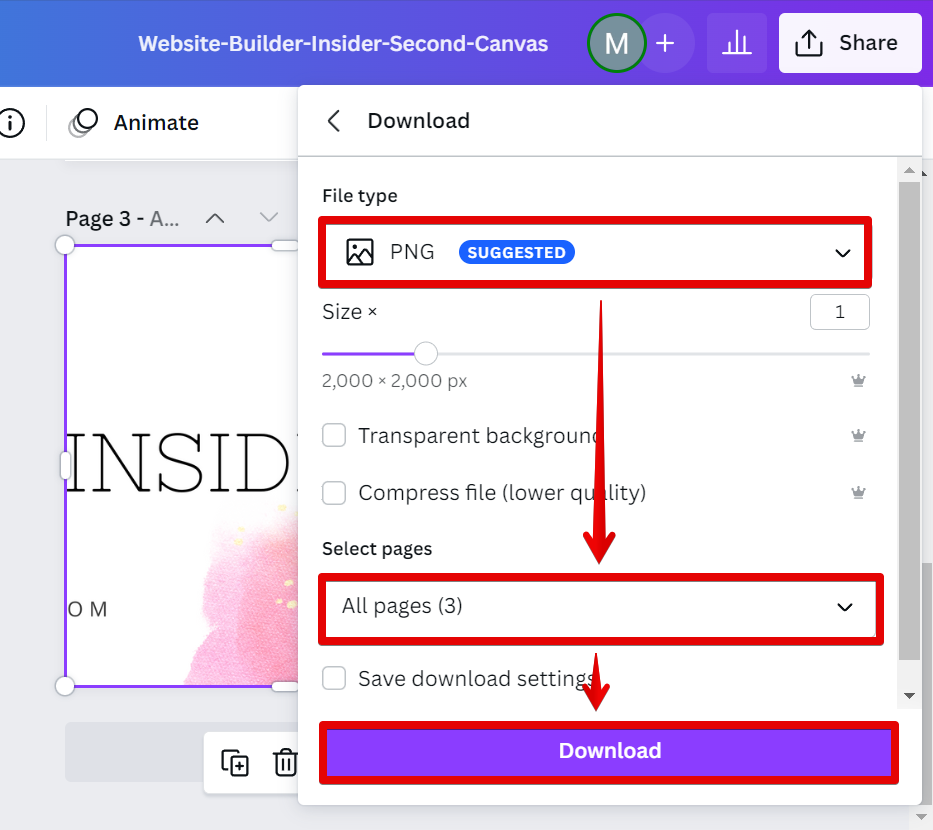
20. Choose “PNG” as your file type and make sure that you have selected all three pages to download. Once done, click on the “Download” button.
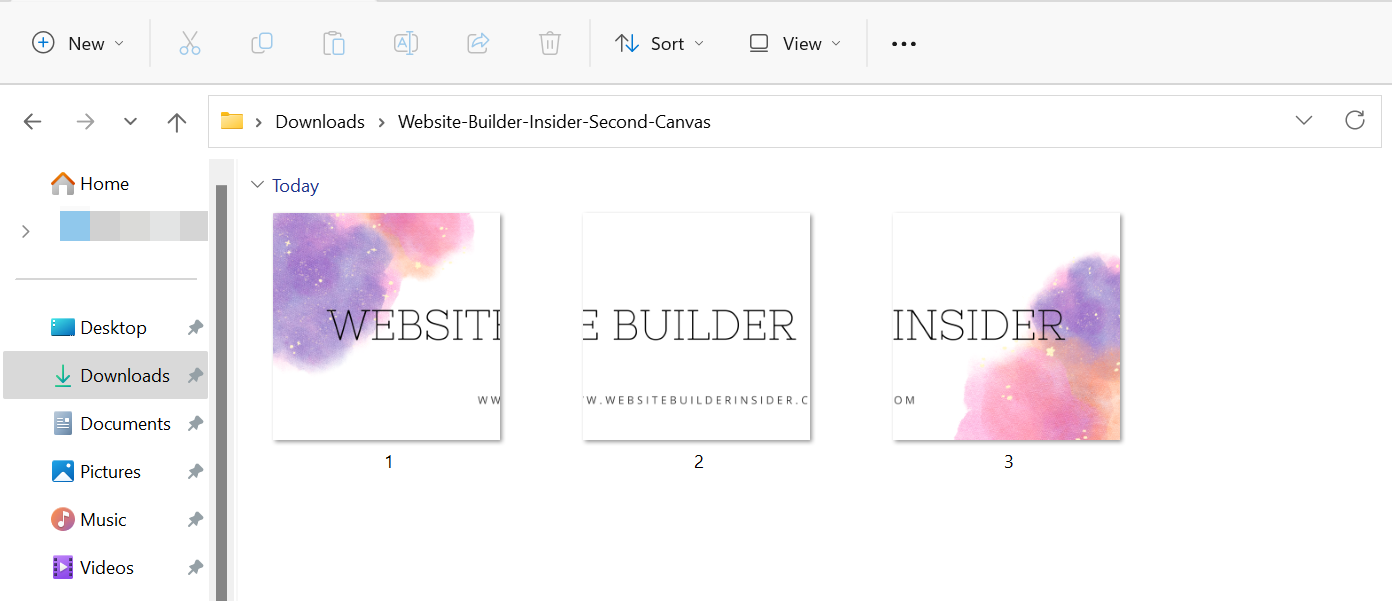
21. The grid post photo split into three parts will now be available in your files. That’s it! Now you’re ready to post your beautiful new Instagram grid on your feed.
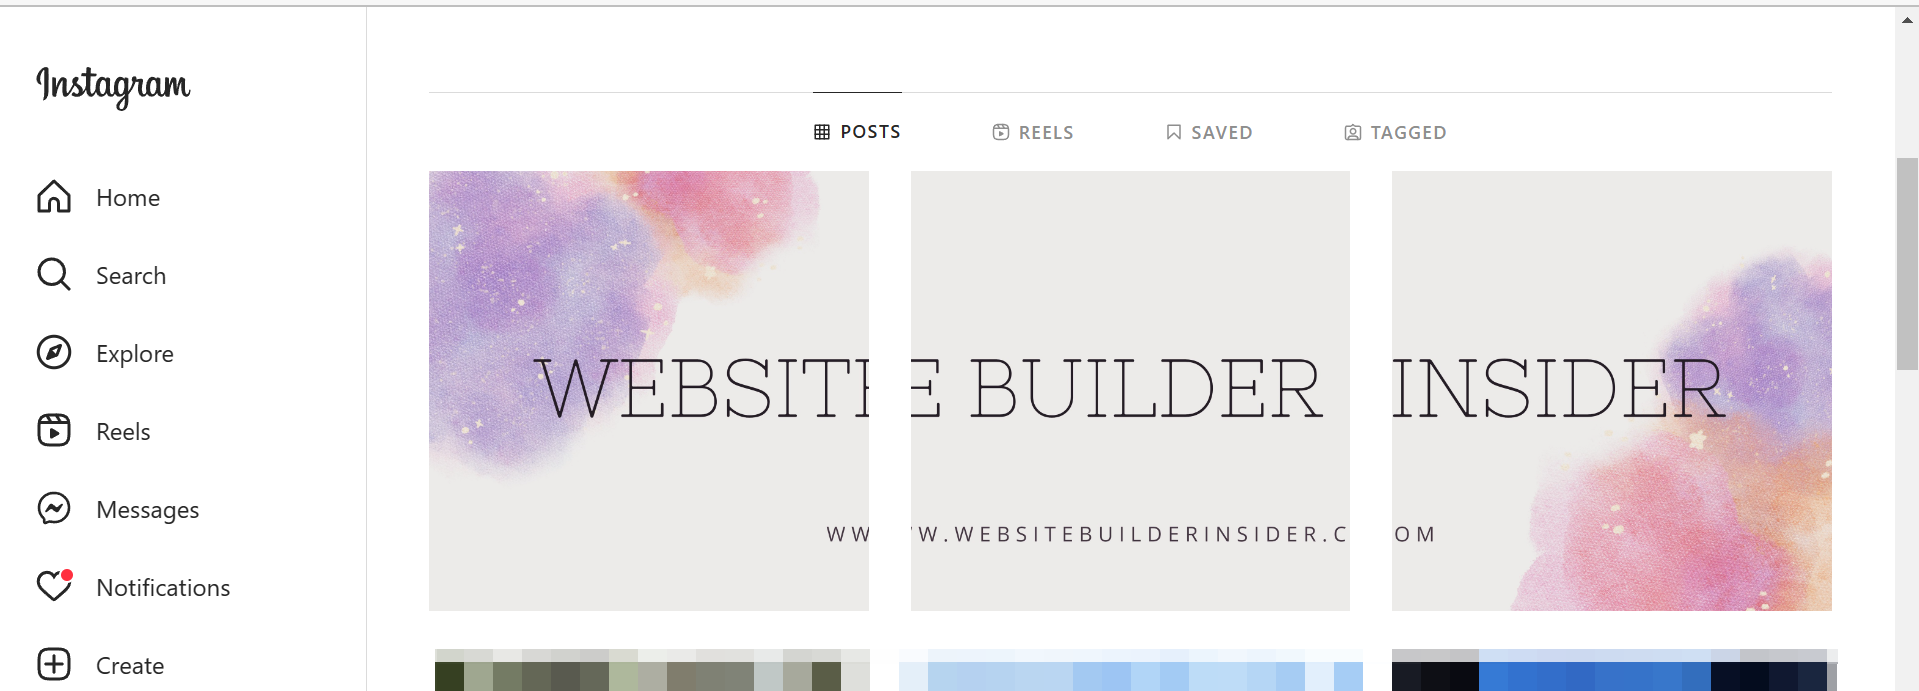
22. Here is what it would look like once you post it on Instagram. You can also apply some filters to the photos before posting to add some style.
How Do You Get a Grid on Instagram on Canva?
It’s easy! Just follow the steps enumerated above and you’ll have your very own grid post in no time!

