There are a few different ways that you can make a scrollable overlay in Figma. One way is to create the overlay frame over the main frame and make it scrollable.
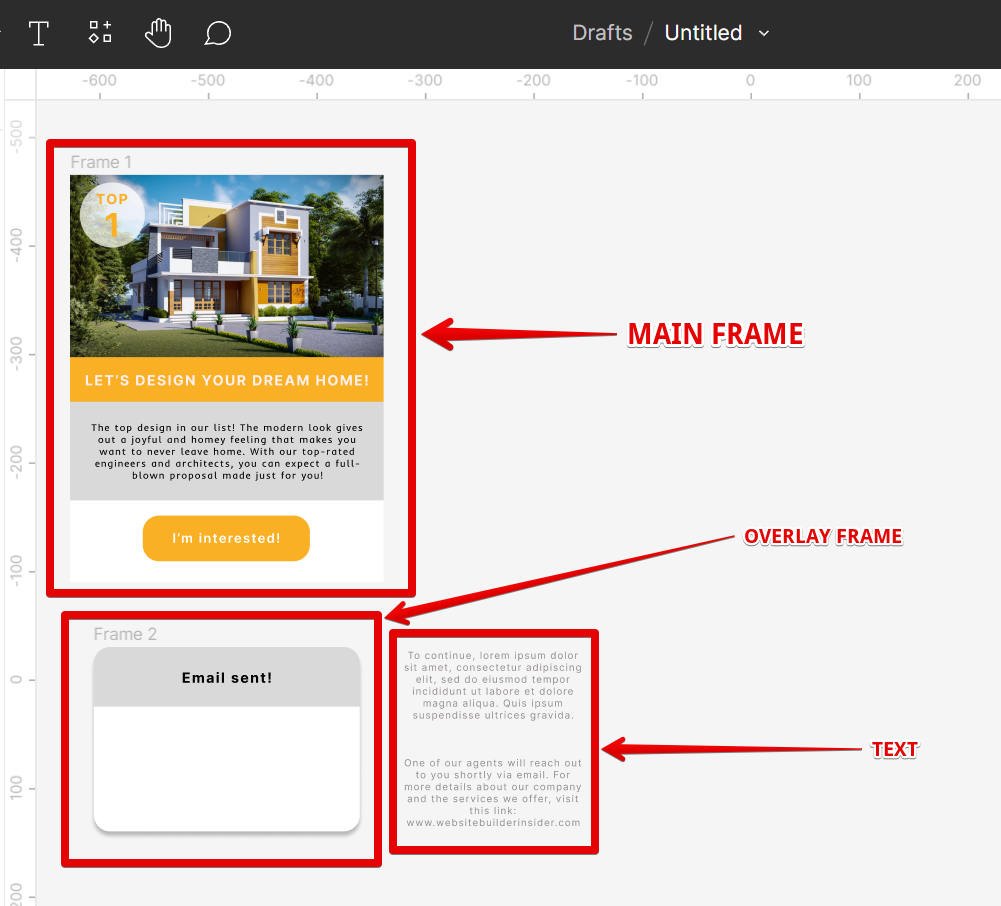
1. In this example, we will show you how to make the overlay frame scrollable. To do this, first, we need the main frame, the overlay frame, and the text to be scrolled which will be placed inside the overlay frame.
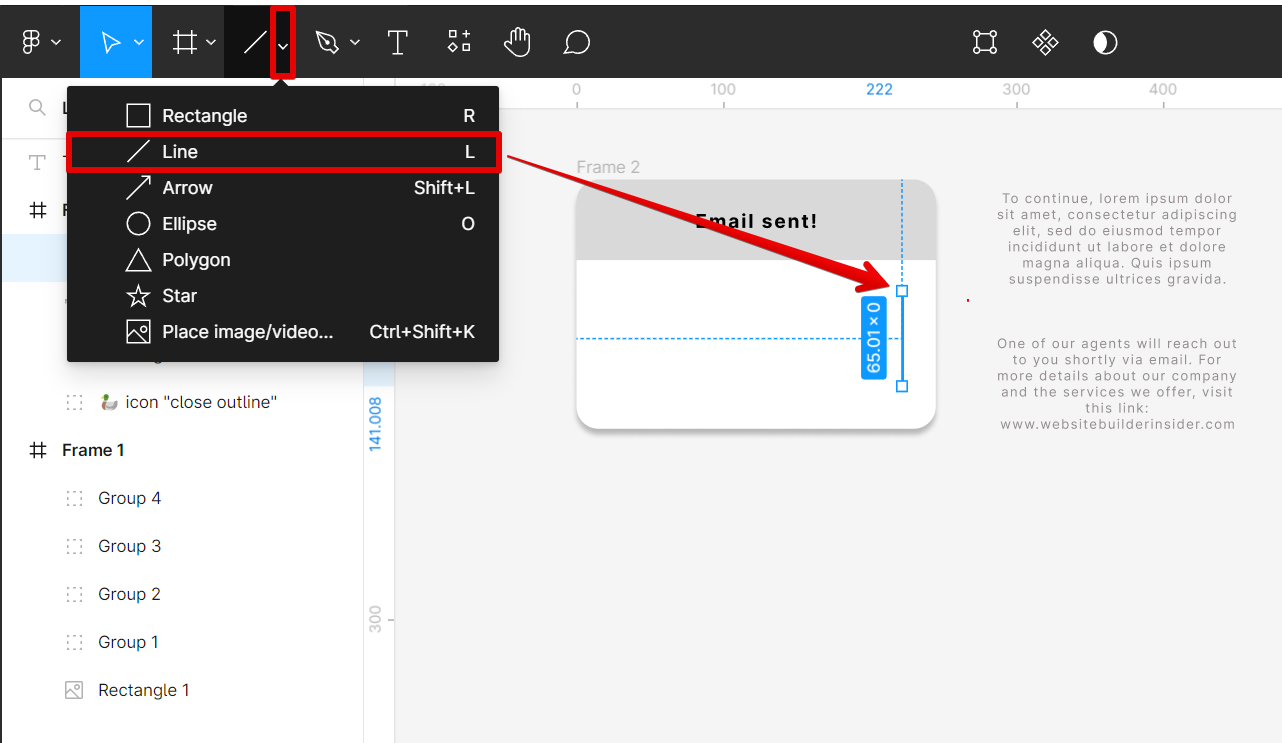
2. The first part that we will be focusing on is the overlay frame. To make it scrollable, we need to make a scrollbar. To do this, first, create the scroll guide using the “Line Tool” from the toolbar.
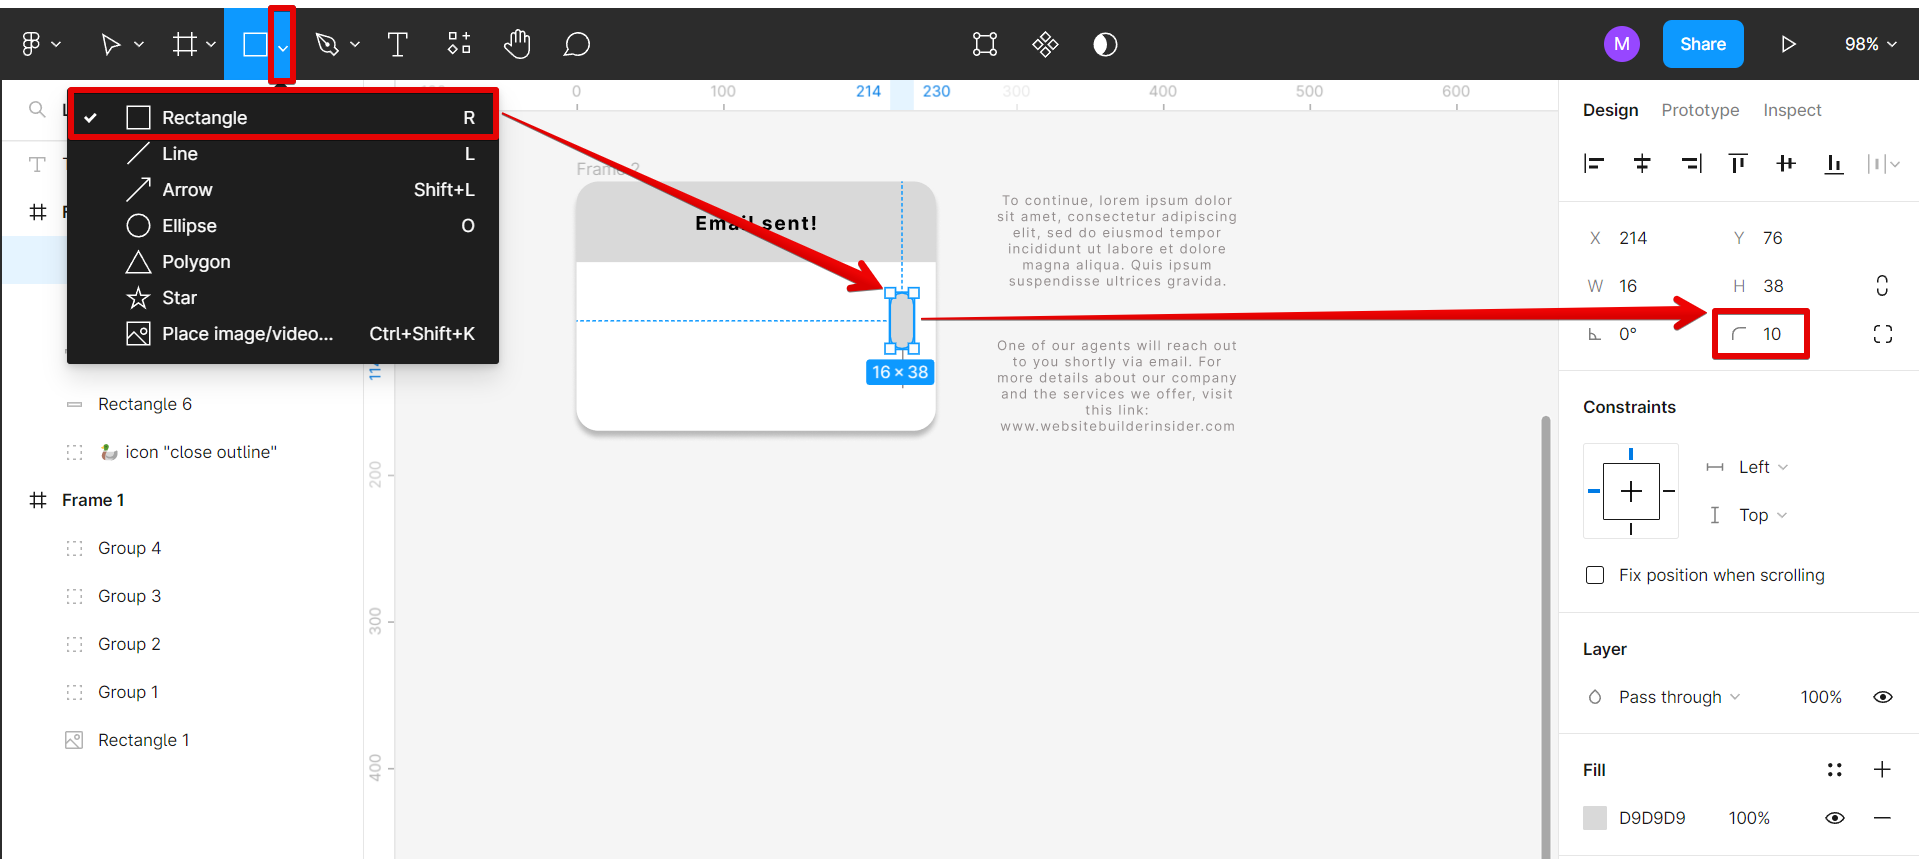
3. Then, create a scrollbar using the “Rectangle Tool” and adjust its corner radius.
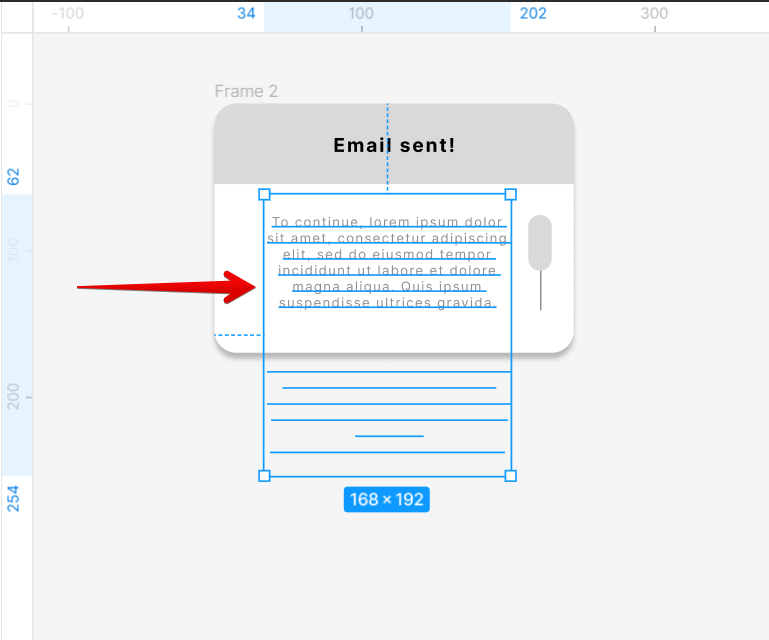
4. Next is to place the text inside the overlay frame. Here, the upper part of the text should be visible.
5. Once done, proceed to the main frame and make a copy of it. You can do this using the keyboard shortcuts “Ctrl+C” to copy and then “Ctrl+V” to paste.
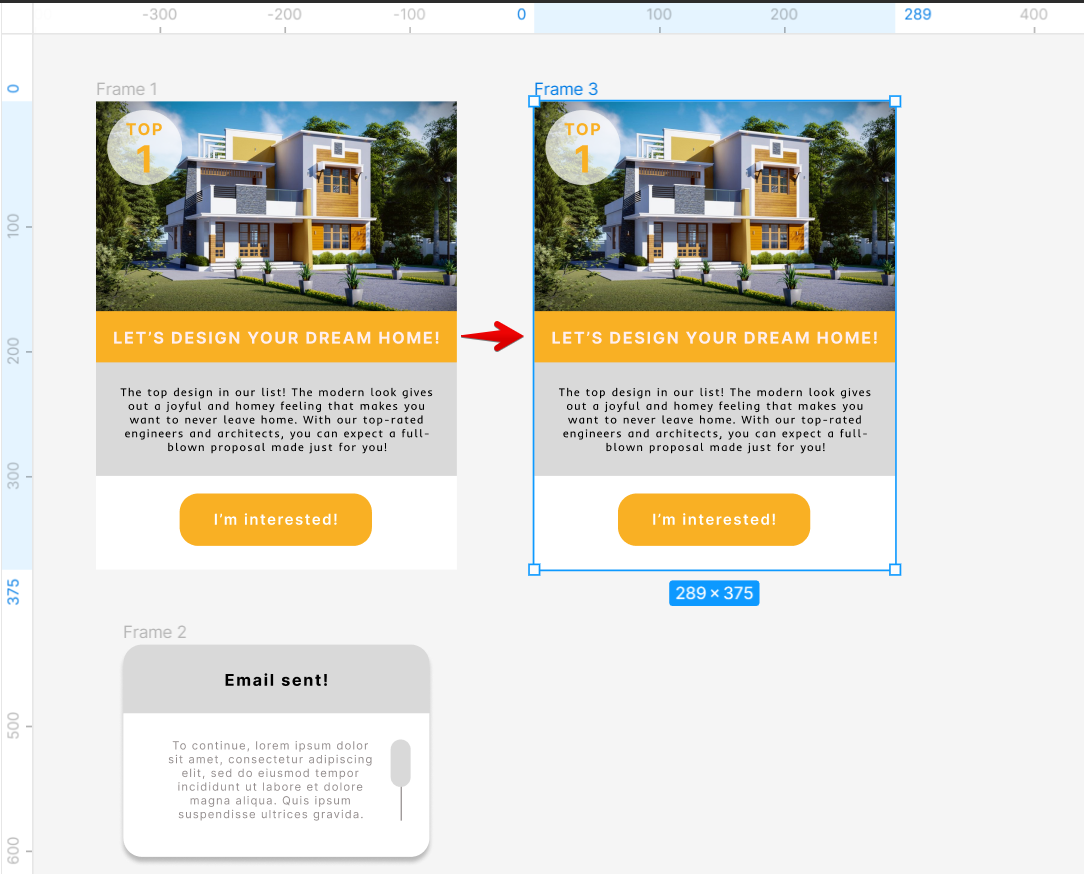
6. Then place the overlay frame over the main frame’s copy.
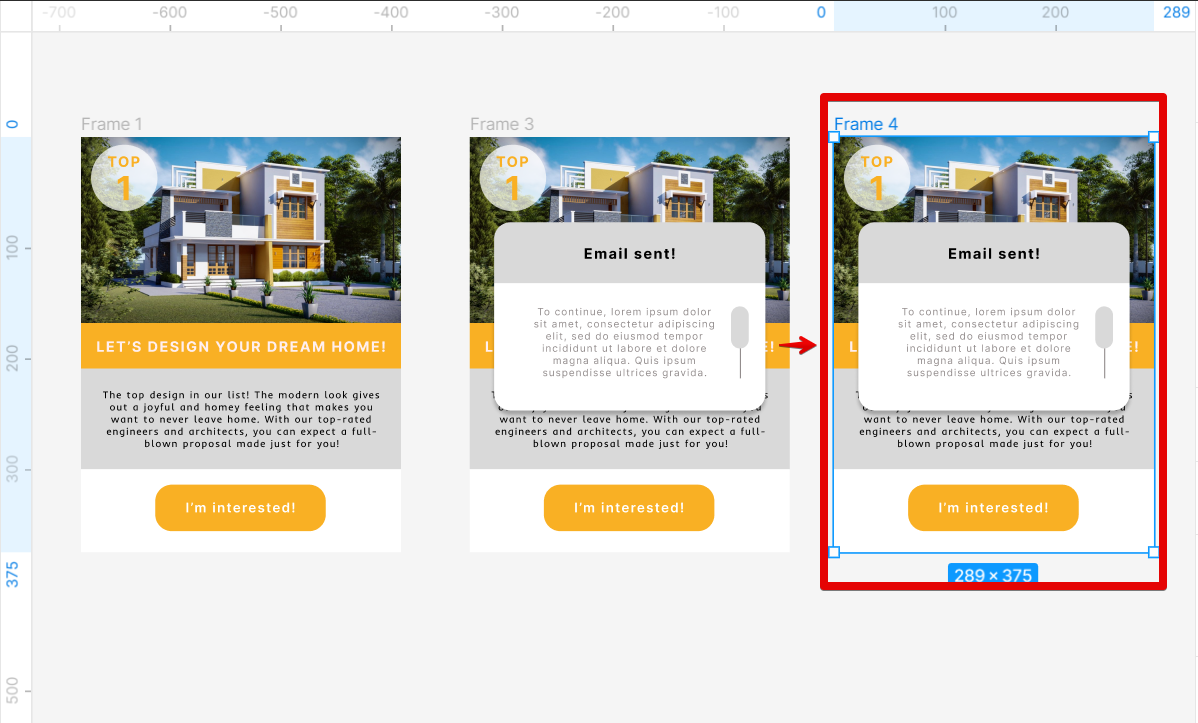
7. Now, make a copy of the main frame with the overlay frame. You can do this using the keyboard shortcuts “Ctrl+C” to copy and then “Ctrl+V” to paste.
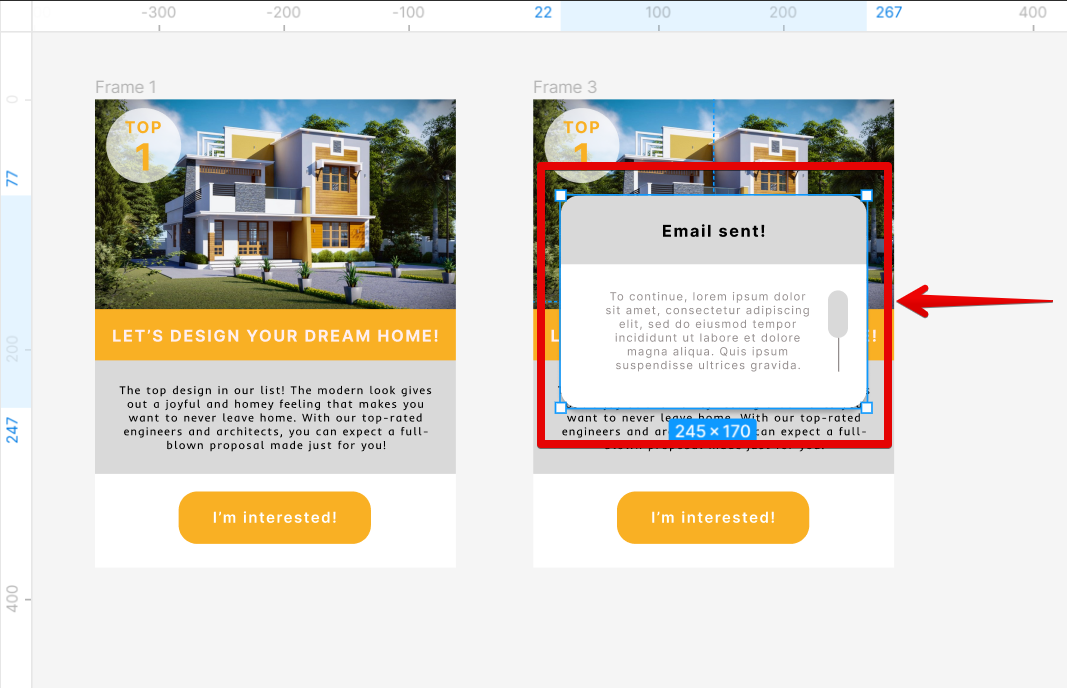
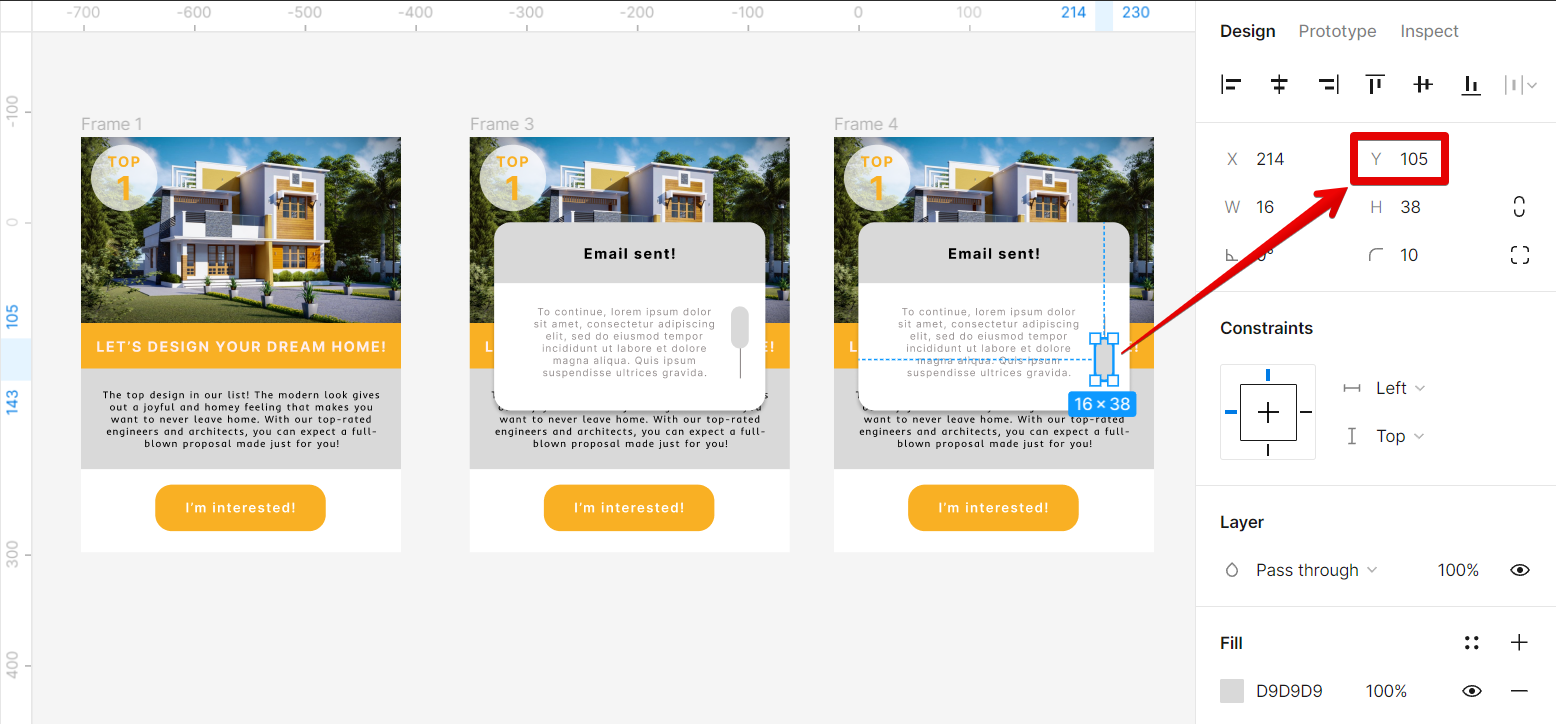
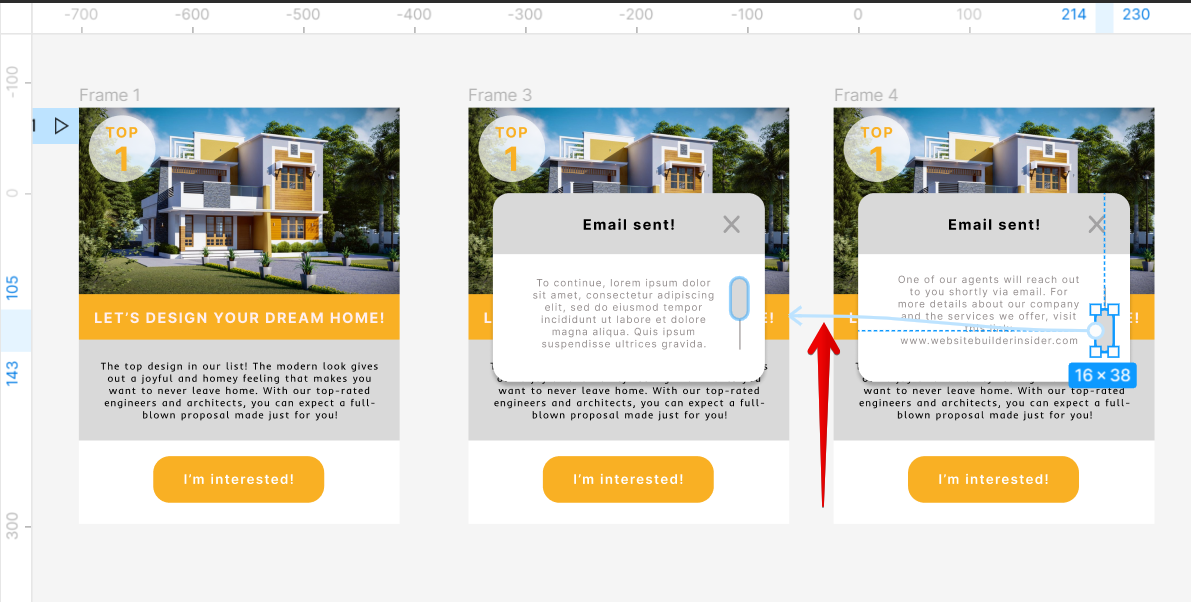
8. The next step is to place the scrollbar of the second overlay frame on the other side of the scroll guide. You can either click and drag on the scrollbar to move it or simply adjust the y-component of its position for more accuracy and to ensure proper alignment.
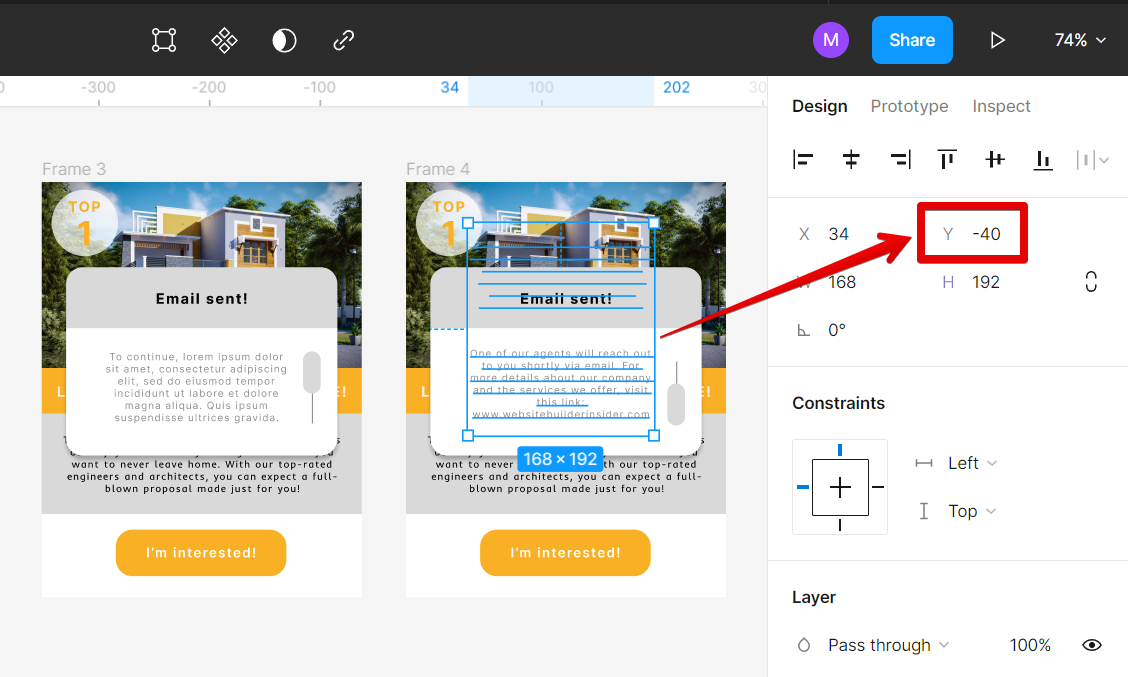
9. Now, adjust the text and show its last part. You can either click and drag on the text box to move it or simply adjust the y-component of its position for more accuracy and to have consistent alignment.
10. You can also choose to add a close icon in your overlay frame. This will serve as your way to close the overlay and go back to the main frame. To do this, go to Resources > Plugins and run the “Eva Icons” plugin.
![]()
11. In the Eva Icons window, select the close icon and place it on both of the overlay frames. Close the Eva Icons plugin window once done.
![]()
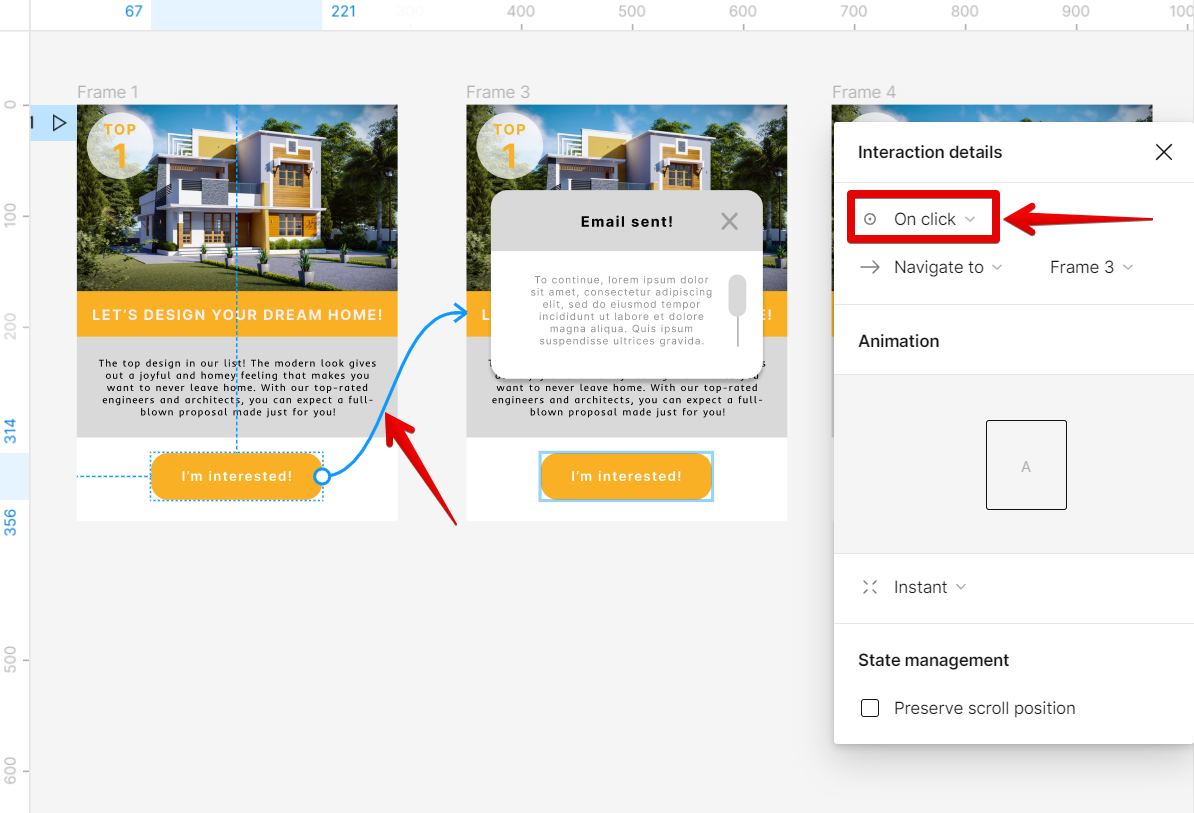
12. Now we’re ready to set up the connection in our prototype. To do this, go to the “Prototype” tab and hover over your mouse on the “I’m interested!” button in the main frame until a plus icon appears.
![]()
13. Next is to connect the main frame’s button to the second main frame with the first overlay frame. Then, choose the “On click” option in the “Interaction details” window.
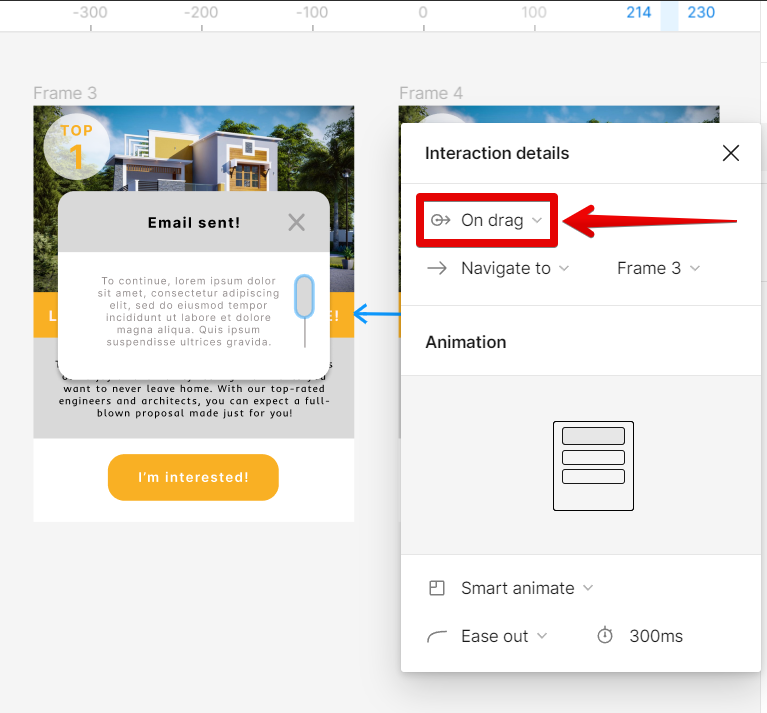
14. Now, connect the scrollbar of the first overlay frame to the third main frame containing the second overlay frame.
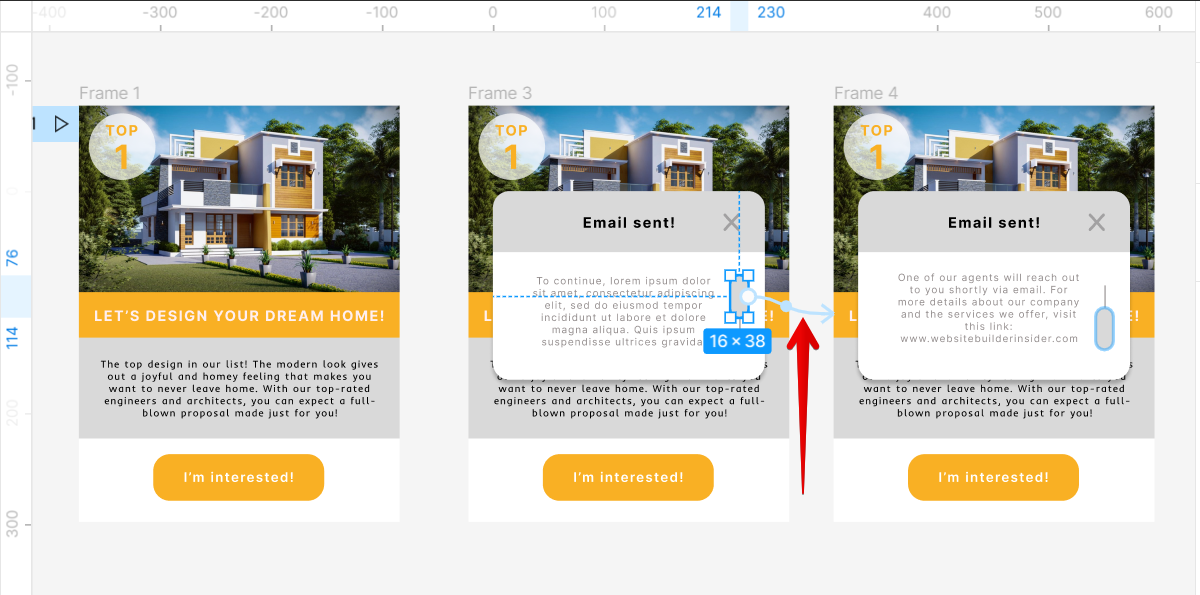
15. From there, choose the “On drag” option in the “Interaction details” window.

16. The next step is to connect the scrollbar of the second overlay frame to the second frame containing the first overlay frame.
17. Then, choose “On drag” from the options.
18. Lastly, connect the close icon to the main frame and choose the “On click” interaction. Do this for both of the overlay frames.
![]()
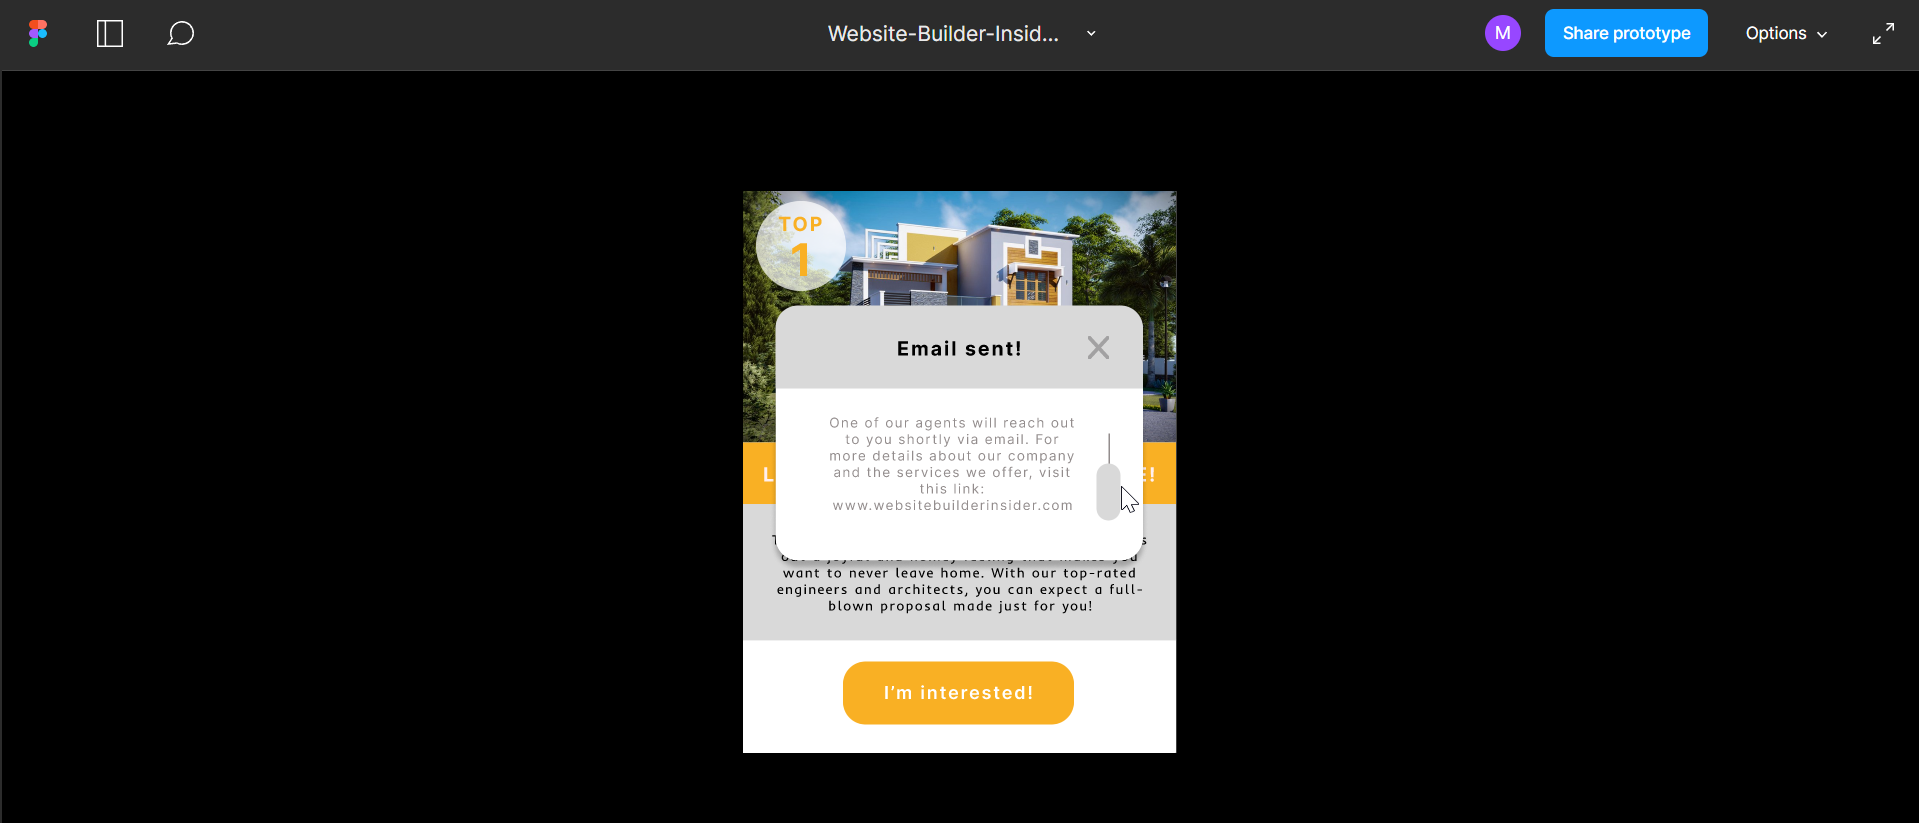
19. Once done, click on the play icon in the upper-right corner to see a preview of your design.
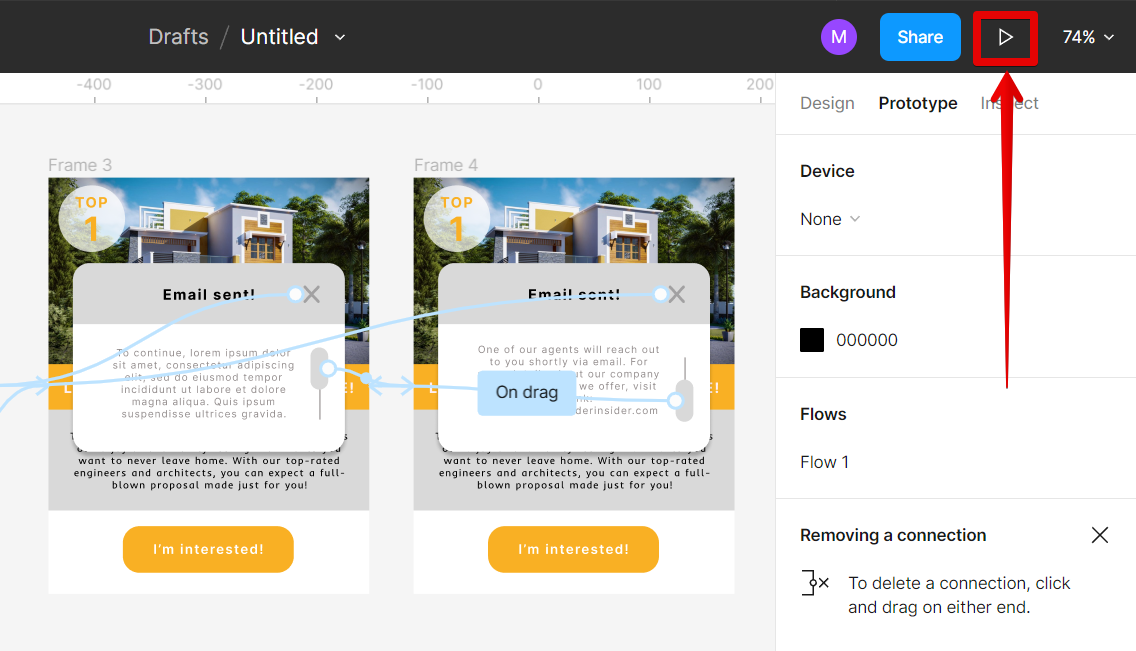
20. Now you can make a scrollable overlay in Figma!