There is one straightforward way to preview before and after in Photoshop. The most common method is to use the History Window.
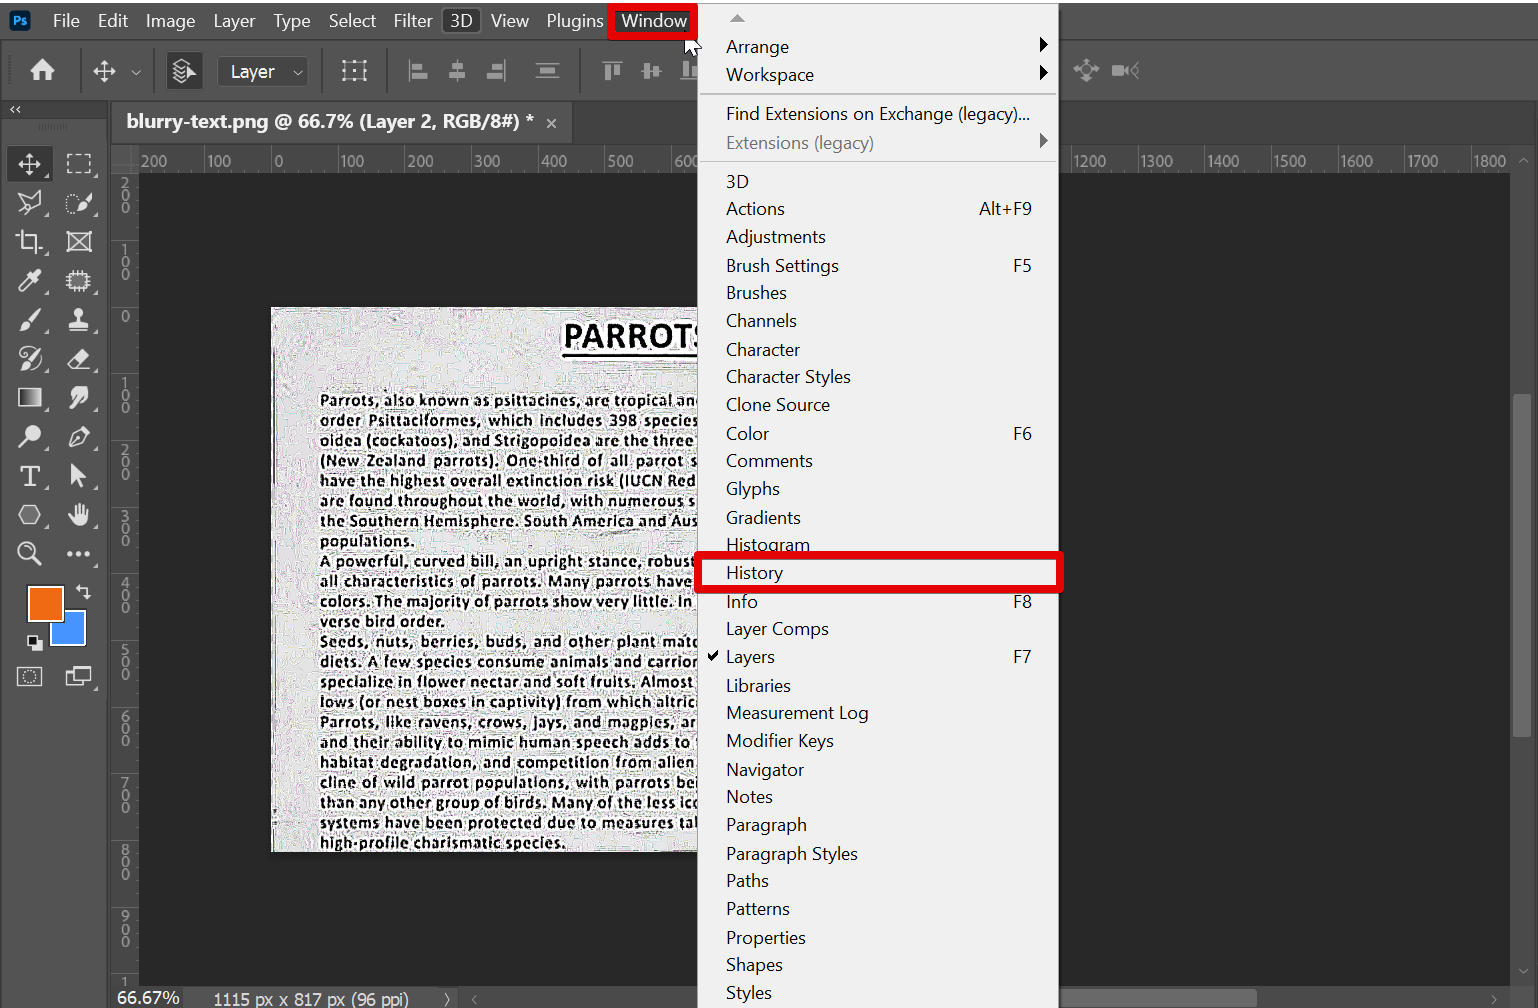
To do this, first, open the History window by going to Window at the top menu and selecting the “History” option.
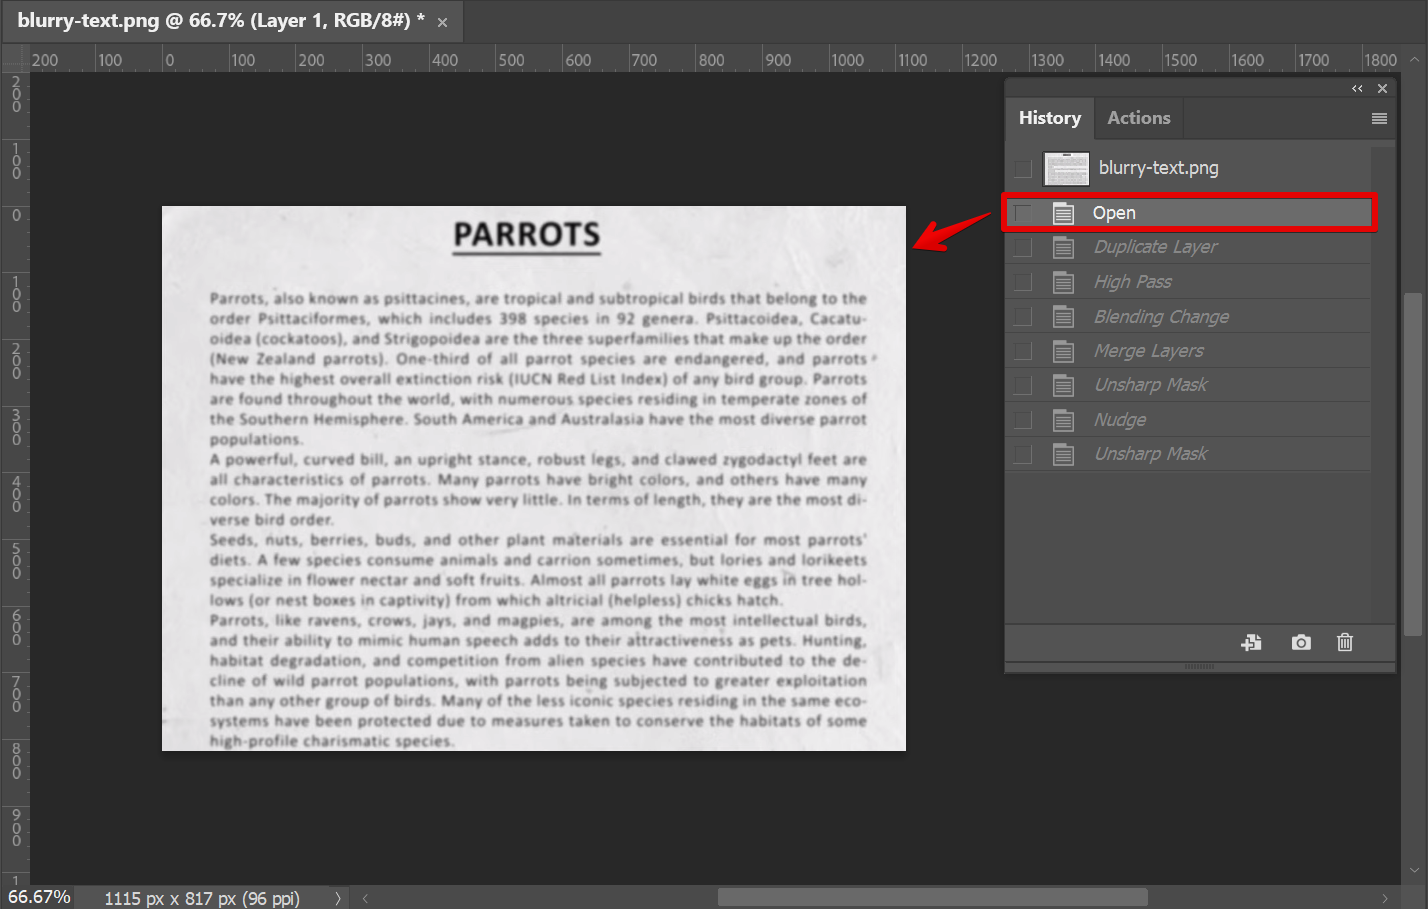
Once the History window is open, you can then select a previous step from the list which will serve as the “before” preview.
NOTE: Using the History window, you can immediately see the before and after previews of the steps that you made in your design.
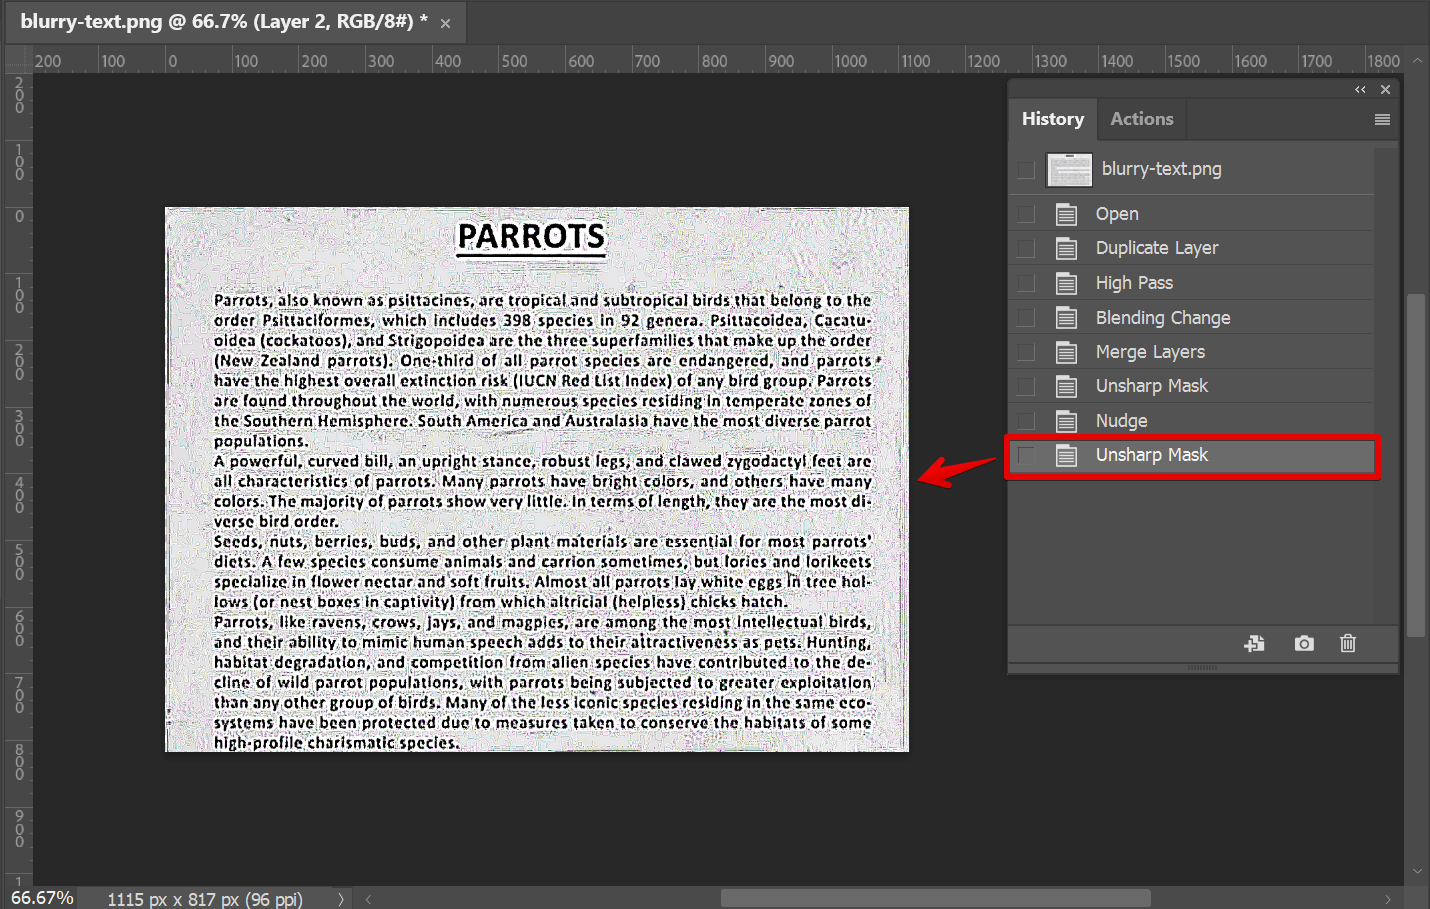
To see the “after” preview, select another step following the previous step that you chose.
PRO TIP: Previewing your work is an essential part of the design process, and Photoshop offers one simple way to do it. The most common way is to use the History window. Here, you can see a preview of each step made in your design and see the before and after effects. With this, you can easily compare the previews of your design.
Preview methods have their own advantages and disadvantages. The History window is the quickest and easiest way to preview your work for each step.
Ultimately, it is up to you to decide which method works best for you. Experiment with each of them and see which one you prefer.
9 Related Question Answers Found
Photoshop is a widely used program for crafting layouts, graphics, logos, and photos. Many people use Photoshop to make simple edits to their photos such as cropping, color-correcting, or adding a filter. Others use Photoshop for more advanced edits such as removing objects from a photo or changing the background.
There are a few different ways that you can view your before and after photos in Photoshop side by side. The first way is to make sure that both images are open in Photoshop. Then, go to the Window tab at the top of the screen and click on Arrange.
In Photoshop, the Preview command allows you to view your image on the monitor at different zoom levels without actually changing the size of the image. To preview an image, simply select the Preview command from the View menu. A dialog box will appear, asking you to choose a zoom level.
Photoshop is a very versatile program that can be used for many different things. One of those things is creating before and after pictures. This can be useful for showing the progress of a project, or for comparing two different versions of an image.
When you want to create a new document in Photoshop, you have to first decide on the size of your canvas. The dimensions of your document will determine the size of your final product. For example, if you want to create a social media post, you’ll need to consider the size restrictions of each platform.
When it comes to digital photography, one of the most important things to know is how to blend foreground and background in Photoshop. This can be a tricky thing to master, but once you get the hang of it, it will become second nature. There are a few different ways to go about this, and each has its own benefits and drawbacks.
Originality is key when it comes to creating art, but how do you know if your work is truly original? Photoshop has a number of features that can help you compare your images to others, so you can be sure that your work is unique. To compare two images in Photoshop, open both files in the program and go to the “Window” menu.
When you are working on a design in Photoshop, one of the most important things you can do is show the brush preview. This will allow you to see how the brush will look when it is applied to your design. There are a few different ways that you can show the brush preview in Photoshop.
There is a big difference between Photoshop and After Effects. Photoshop is a program that is used for creating and editing images. After Effects is a program that is used for creating and editing videos.

