There are two ways that you can roughen the edges of an object in Photoshop.
1. Use the Eraser Tool to roughen the edges of an image.
One way is to use the Eraser Tool. In this example, we will try to use the Eraser Tool to roughen the edges of an image.
To do this, first, select the Eraser Tool from the left toolbar. Then, click on the Eraser Tool settings drop-down arrow in the top menu.

In the Eraser Tool settings, choose a Brush Type that looks rough enough for you, then adjust the Brush Size to your preference. You will then see that the Brush Type has been applied to your cursor. Click and drag your cursor on the edges of your image in Photoshop to roughen the edges.

And voila! You have successfully roughened the edges of your image in Photoshop.

2. Use the Ripple Filter to roughen the edges of text.
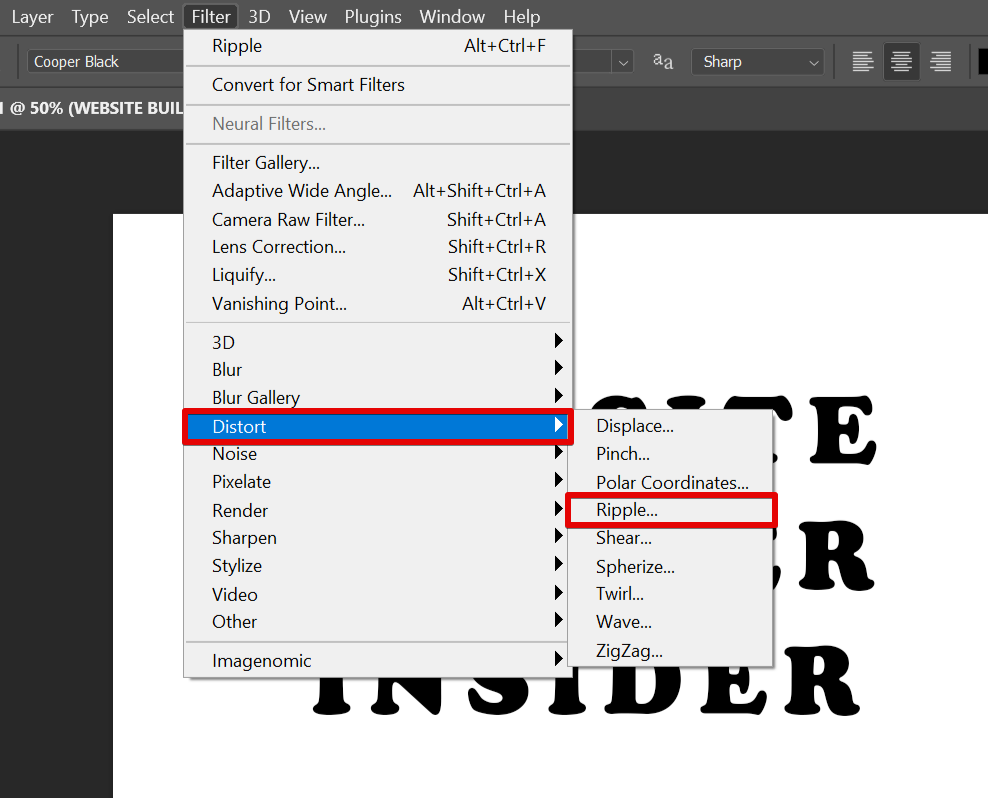
Another way to roughen edges in Photoshop is to use the “Ripple” filter. To access this filter, open the Filter menu.

Then, go to Distort > Ripple to open the Ripple settings window.

In the dialog box that appears, select the “Convert to Smart Object” option.

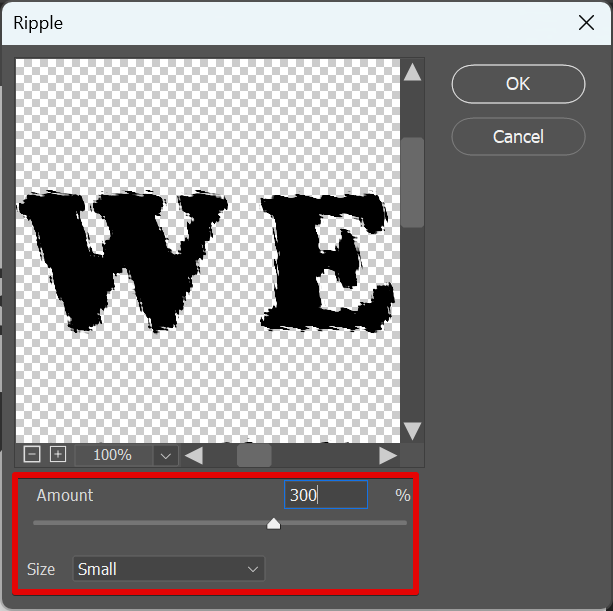
The Ripple settings window will then appear. Specify how much you want to roughen the edges of the image. You can do this by adjusting the “Amount” and “Size” of the ripple. Once done, click “OK.”

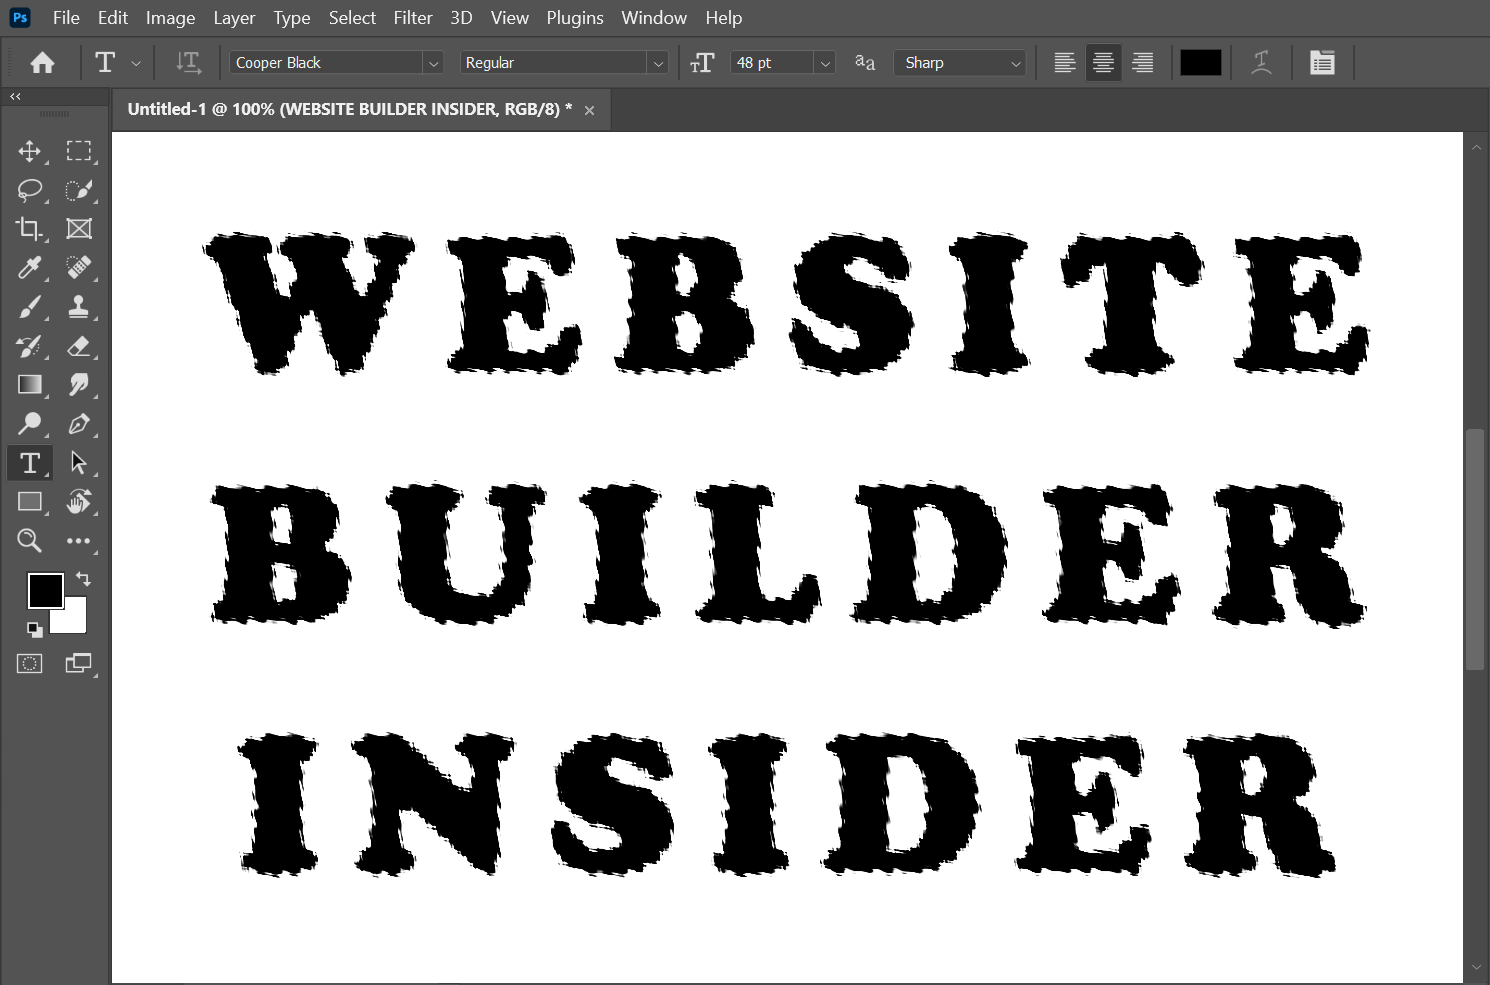
And there you have it! You have successfully roughened the edges of your text in Photoshop.
