Everyone has something to say.
That is why starting a blog is so appealing. It gives one the opportunity to express anything that anyone in the world can read.
Unfortunately, many people see the actual process of creating a blog as an insurmountable roadblock.
Luckily, making a blog is easier now than ever before.
Where once creating a website required expert coding and design skills, today a blog can be set up with virtually no prior experience.
Using our TOP GUIDE, you’ll have a blog up and running in no time.
So what are you waiting for?
Start blogging today with this awesome guide! Click To TweetSTEP 1: Choose Your Blogging Platform
The first choice you will be faced with is which blogging platform to use.
A blogging platform enables you to manage all of your content, create a visual design, and add important features that help you increase your site’s usability.
Without a doubt, the best option for blogging on the market today is WordPress.
Why WordPress?
- It’s completely free to download and install on any web host.
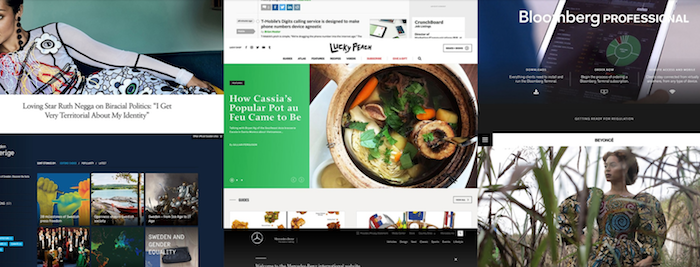
- It offers thousands of free and premium themes, including niche designs that meet virtually any taste.
- It is compatible with tens of thousands of plugins that add valuable features to your site.
As a result, the rest of this article will focus on creating a blog using the WordPress platform.
STEP 2: Choose a Domain Name
Every site needs a domain name. Your blog is no different.
A domain name is the web address that users can type in to access your blog. They are written out like this: http://www.example.com.
Choosing the right domain name is important and, truthfully, can be frustrating. After all, most of the simplest, single-word names are already taken.
It is, therefore, important to put some effort into not only selecting a name but ensuring that you can use the name of your choice.
We recommend following three basic guidelines:
- Create a Brand Name – If you think about it, everything and everyone is a brand. Your name represents who you are just as much as the name Google represents the internet company. Don’t make the mistake of choosing a generic name for your blog. Instead of NewsAboutX.com, consider JohnsNewsAboutX.com.
- Keep it Short – As stated above, it can be difficult to find a concise domain name these days. Despite this, it’s still possible to keep it brief and easy to remember.
- Make Sure It’s Easy to Type – When your blog is ready to roll, you’re going to want to share it with all of your friends and family. Make sure it’s easy to type – and pronounce, for that matter – to ensure that none of them ends up on some other website.
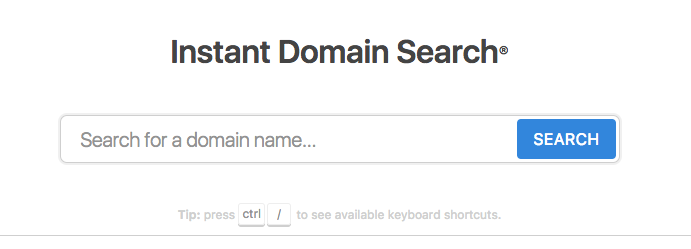
Once you choose a domain name, check to make sure it’s available using a service like InstantDomainSearch.
STEP 3: Sign Up With Web Host and Install WordPress

Your website will live on a server provided by a web host. All of the text, photos, and videos that comprise your blog will be stored remotely and will be made accessible to anyone who visits your website.
Not all web hosts are the same, however, and finding the right web host can optimize not only your user experience but that of your visitors.
Luckily, we’ve got you covered.
Our guide to choosing the best web host can help you figure out exactly what to look for and all of the best companies that offer it.
Most hosting companies make installing WordPress simple with a one-click installation option available directly from the control panel (cPanel). This means that once you sign up for a host, you will be able to add WordPress with a click of a button.
If, however, your host does not offer one-click installation, adding the platform on your own is just as simple.
STEP 4: Choose a Theme and Customize Your Blog
 Once WordPress is installed and ready to go, you can select a theme and begin customizing your site.
The WordPress administration panel on the left side of the screen will provide you with all of the tools you need to do things like add posts and pages, upload media, moderate user comments, and modify your blog’s appearance.
To choose a new theme for your blog, simply click the Appearance section of your admin panel and select Themes.
From there, select Add New and you will be directed to a new page from which you can either select a pre-installed theme or upload your own.
WordPress has countless themes; some paid and some premium. A paid theme will make your blog more unique than a free theme, and provide you with more features than most free templates ever could.
You won’t believe how amazing WordPress themes can be!
Check out our list of top WordPress themes if you need help selecting one that is guaranteed easy to install and even easier on the eyes!
You can further customize your blog with plugins. Plugins are tools that can make your website more powerful. They can do anything from helping you optimize your website for search engines (SEO) to checking your site for broken links.
We recommend adding as many plugins as you desire but only doing so one at a time to ensure they don’t adversely affect your blog.
STEP 5: Add Pages and Posts
After deciding on a theme and customizing it, you can begin adding pages and posts to your blog.
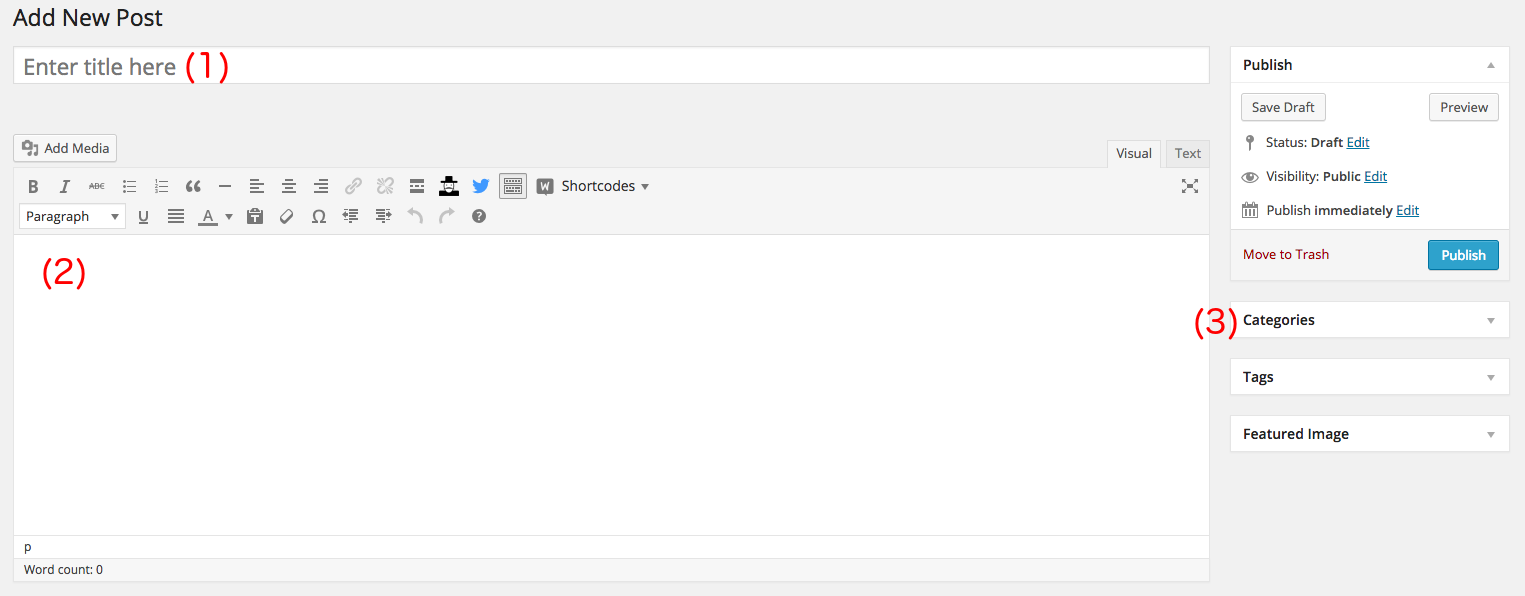
Both pages and posts use the same basic editor, which features a place to insert a title (1), to enter, edit, and enhance the body of your content (2), and to change things like categories, tags, and your featured image (3).
Pages should be reserved for the different sections of your site like About Me, Contact, and cornerstone content.
Anything created using the Posts function will feature and read like a standard blog post.
STEP 6: Get Traffic and Monetize Your Blog
Congratulations! Your blog is ready!
Now all you need to do is get people to visit your new site.
This is easier said than done, however, but there are many methods you can employ to get things rolling.
The best way to begin is by letting everyone in your immediate circles (ie family and friends) know about your site. You should be proud of your accomplishment and your loved ones should care!
Of course, the whole point of a blog is to get people you don’t know to read and connect with your content. That is why you need to work on getting traffic outside of the people you know.
We recommend starting by signing up for social media accounts and posting and promoting new content as you create it. If you use the medium well, you should be able to find people who are interested in what you have to say.
Next, create an SEO gameplan. Figure out what keywords you want to target and hammer them hard by writing great content consistently. Before you know it, your blog will be ranking on search engines and people will begin to find it naturally.
The more useful your content, the better it will fare.

The Original Monetization of Traffic
If you begin to notice that you have a respectable following, you may even consider monetizing your blog.
You can do this easily using an advertising service like Google AdSense. AdSense automatically integrates ads into your blog and can determine the ideal time to hit your viewers with a targeted ad.
AdSense will also make sure that the ads published are discreet and you can even set it to ensure specific ads (ie for alcohol) are not shown to your readers.
And there you have it!
You’ve reached the end of our guide. We hope you found it helpful and we encourage you to share your blogs with us. We’re always happy to learn that we helped!